Brush Embroidery Snowflake Tutorial
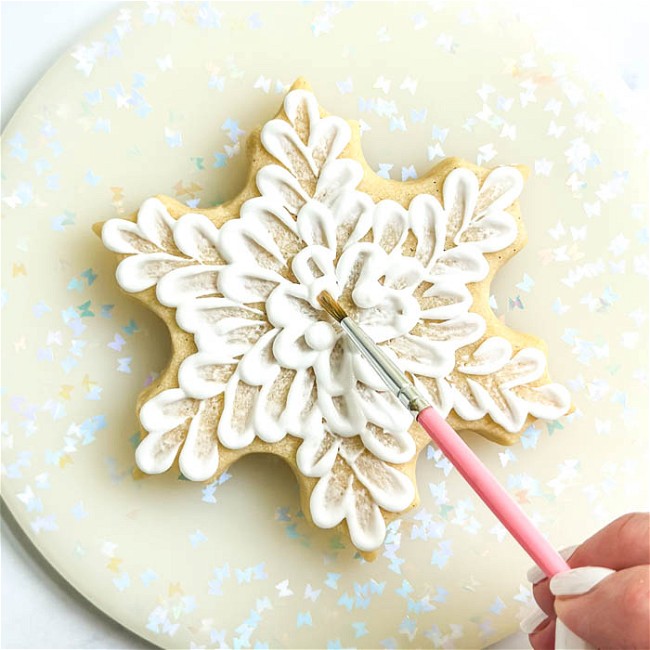
This unique way to decorate snowflake Christmas cookies captures the dazzling beauty of winter snow showers. With each individual snowflake, you can express your own individuality through using different sized dots or moving the brush strokes in a different way. Each snowflake is unique, and this beginner-friendly way to decorate snowflakes will make your Christmas cookie platter sparkle.
- Print recipe
- Share on Twitter
- Share on Facebook
- Share on Pinterest
-
Snowflake Cookie Cutter
- 1 Tipless Piping Bag
- Bright White Food Coloring
- Small-Tipped Food-Safe Paintbrush
- White Sanding Sugar (You can also use regular granulated sugar if you do not have sanding sugar)
- Spatulas & pint glasses to fill your piping bags
- Scissors
-
1
Bake and cool cookies before decorating. Get Ann Clark's no-fail sugar cookie recipe here. Or, make a decadent batch of Christmas cookies with this delicious Vanilla Bean Cookie recipe. Make sure cookies are fully cooled. If they are warm, the icing will run off of them. Make royal icing. Learn how to mix different consistencies of royal icing here>>
Prepare the following icing colors:
Piping Consistency:
White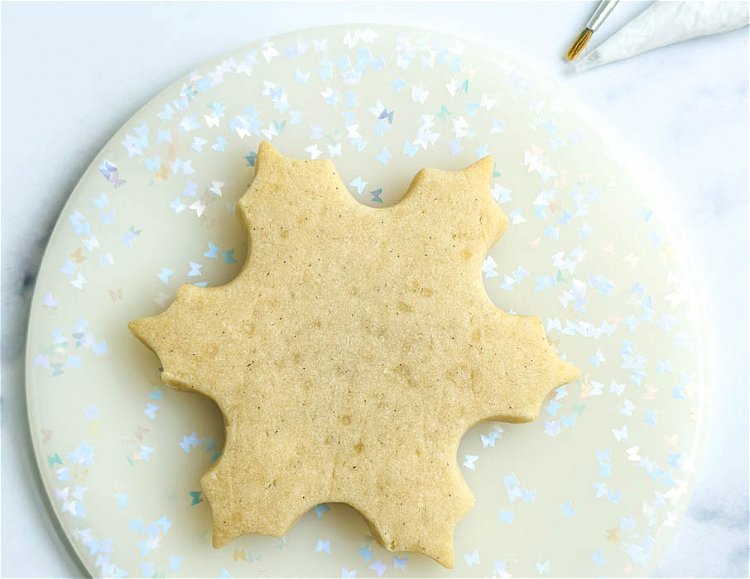
-
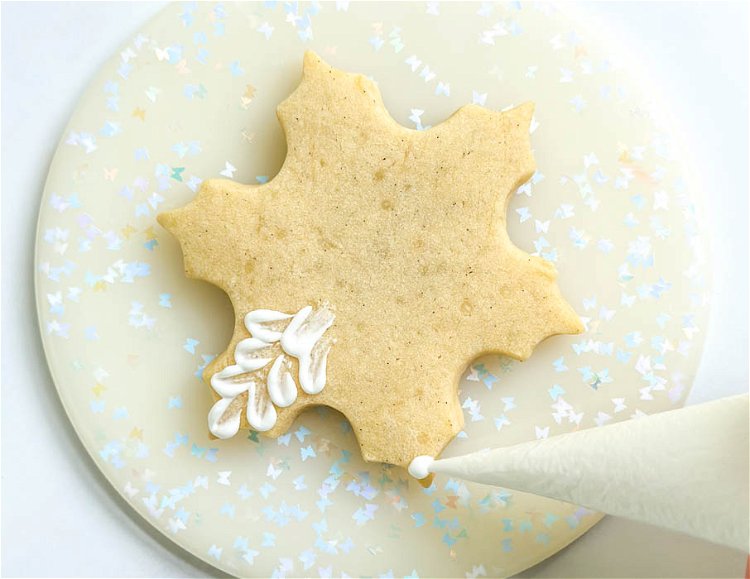
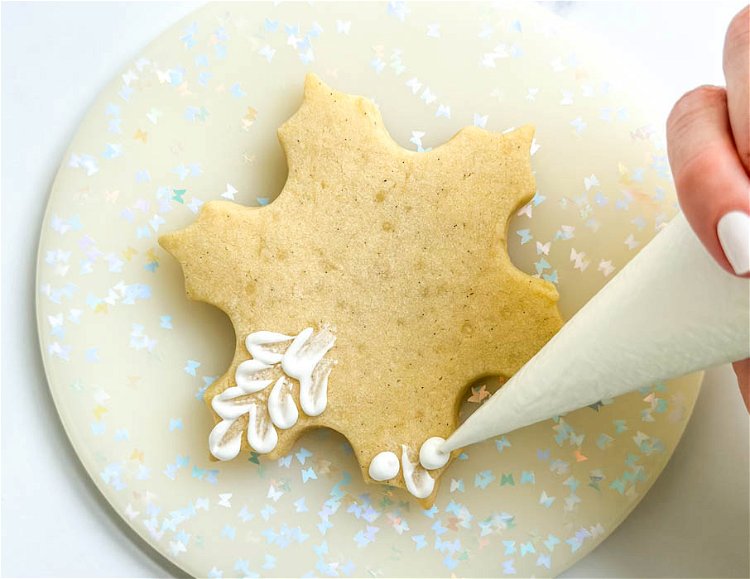
2Starting with the outer points of the snowflake, pipe a pea-sized dot of royal icing.
-
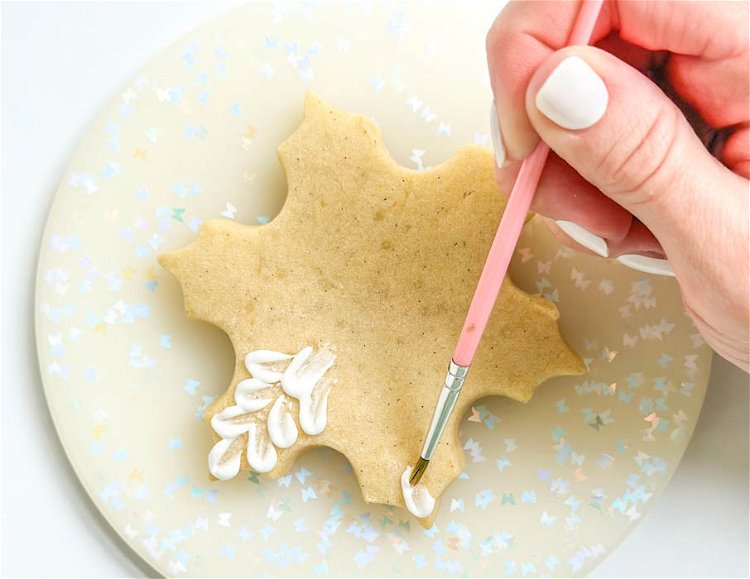
3Using the paintbrush, brush the middle of the dot of icing, dragging it towards the center of the cookie. We're aiming for a brushed look that still maintains the thickness of the original dot at the edge. We'll be continuing this motion to create a layered pattern design on the cookie.
-
4Now that the initial dot is brushed, we can move on by piping two dots at a time. This design allows us to work continuously without needing to wait for layers of icing to dry. Relax and take your time. However, I do recommend not stopping and restarting at a later time, because the last step in the process will require our icing to be a little bit wet and pliable--not fully dried.
-
5
Using the paintbrush, brush the two dots of icing diagonally towards the middle of the snowflake section, as shown in the photo. Continue piping and brushing until all six sections are filled, and you have a circle of empty space in the middle of the snowflake shape.
Pro Tip: This design is great for beginners because it's very forgiving. You can easily adapt this design by making smaller or larger dots than I did (and using a smaller or larger brush). This design is about the artistic quality and will look great even if it isn't super precise. No two snowflakes are exactly the same, right?!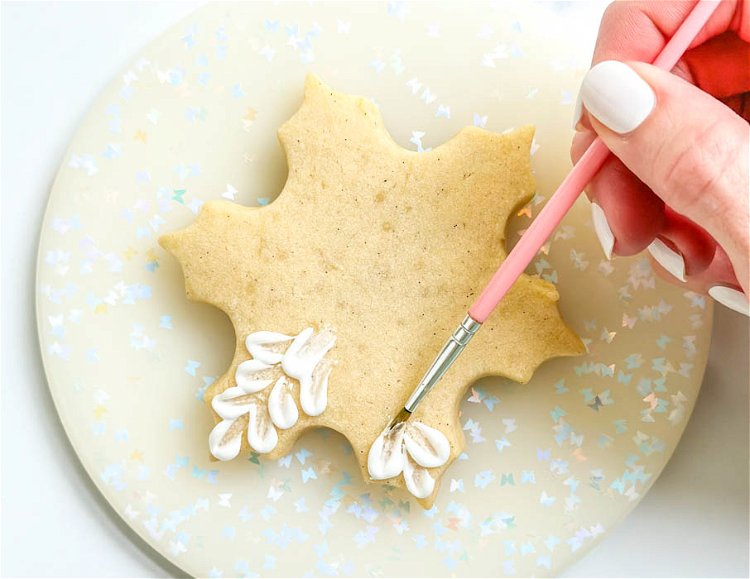
-
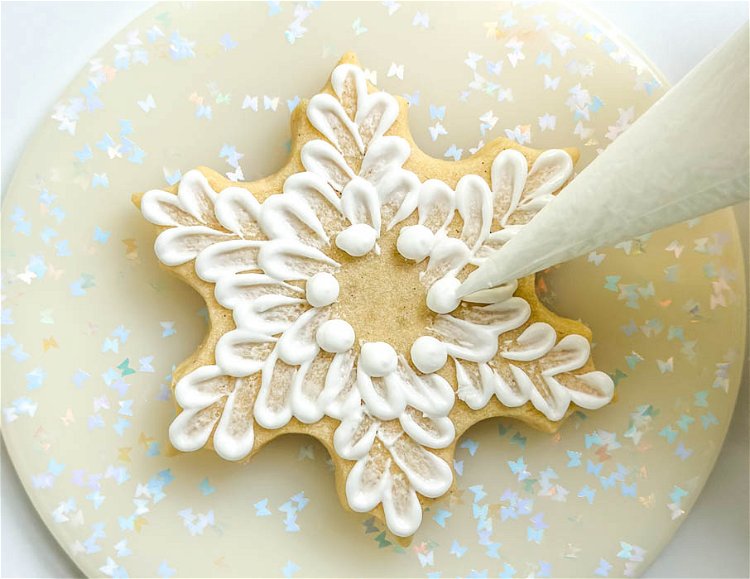
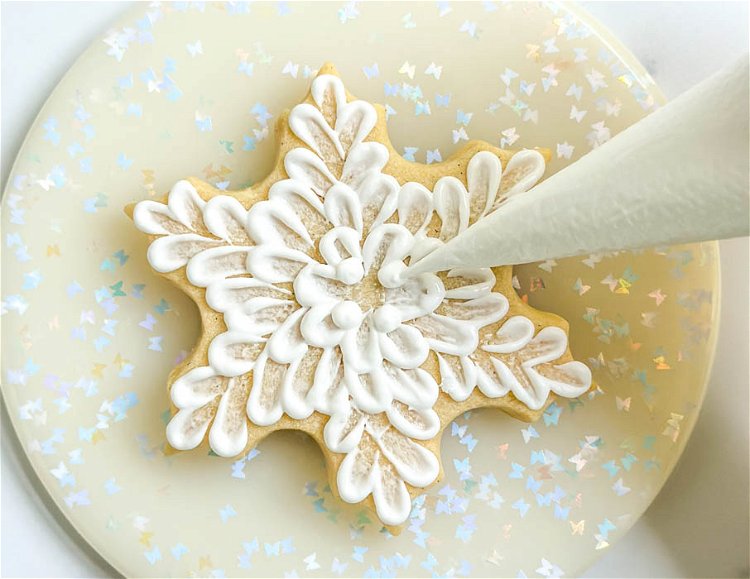
6Now that we've reached the center of our snowflake, pipe a circular pattern of dots fairly close to each other, but not completely touching.
-
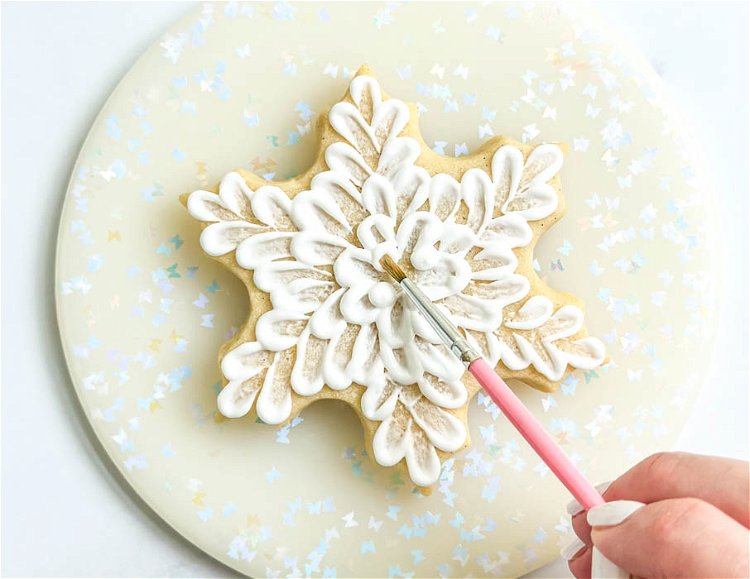
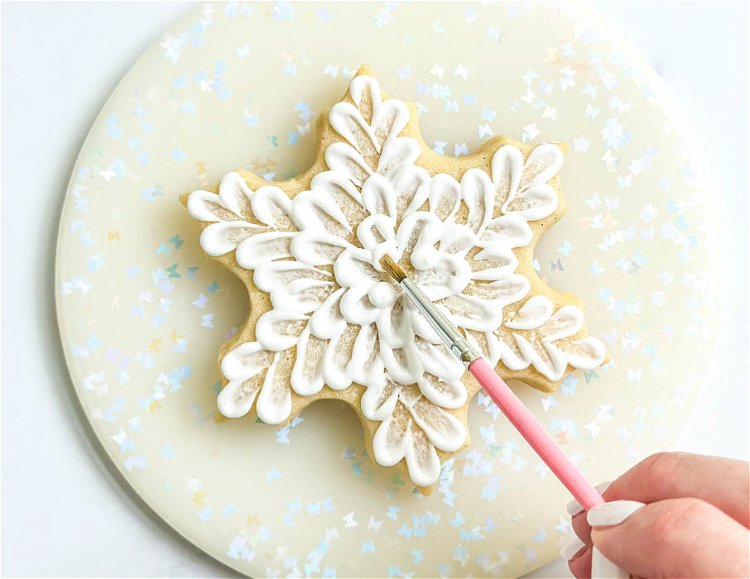
7Using your paintbrush, brush each dot into the center of the cookie as shown.
-
8Repeat step 6 above, except piping fewer dots since our circle is getting smaller. Pro Tip: It will create more visual interest in this design if you keep the brush strokes in an alternating pattern on this cookie. In this step, I've piped my second round of circular dots in an alternating pattern to the first round of circular dots. This is intentional for the design, but also helps to keep me on track for not going off-center with my brush strokes!
-
9Using the paintbrush, brush each dot into the center of the cookie. At this point, we should be in the center of the cookie and have a completely covered cookie.
-
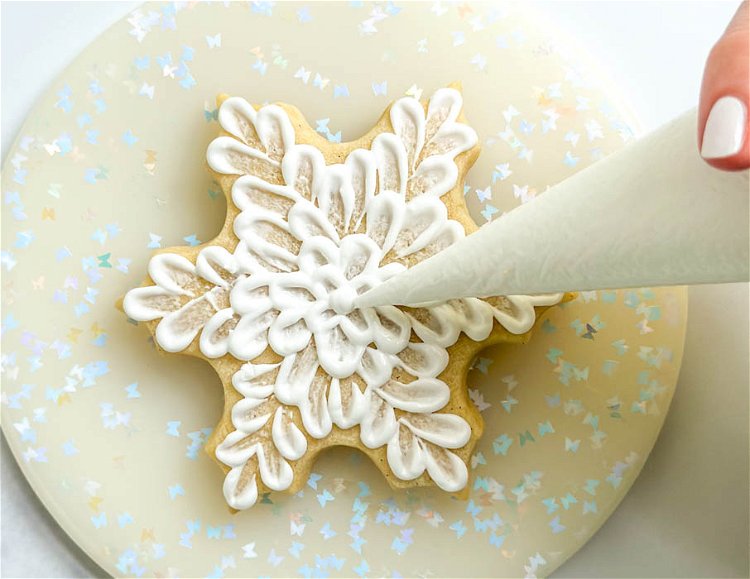
10Pipe a single dot in the center of the cookie. Don't brush this one!
-
11
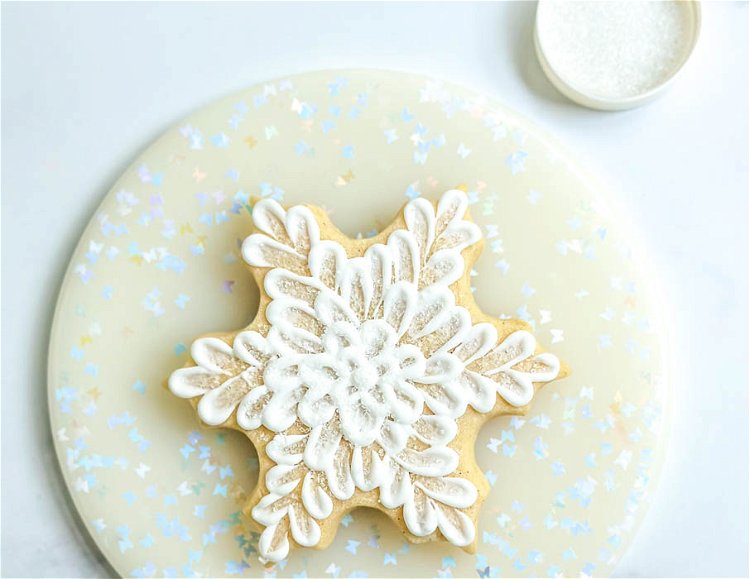
Carefully transfer the cookie to a clean plate. Sprinkle the white sanding sugar all over the cookie. Now you can admire this beautiful edible snowflake!
-
12
WATCH: Decorate a Snowflake Cookie Using the Brush Embroidery Method:
Recipe Video
Cookies decorated by Laura Luk of Butterfly Bakes Atlanta


