How to Decorate a Baby Bottle Sugar Cookie
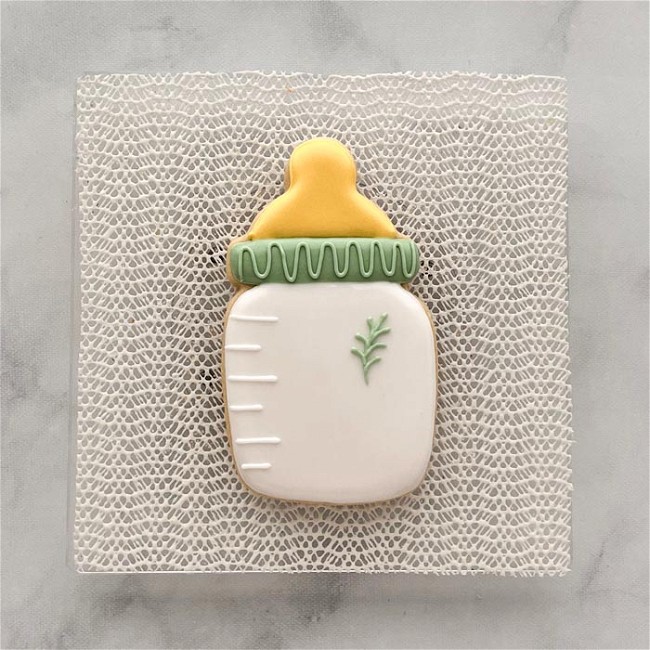
Perfect for baby showers, these darling cookies offer a sweet way to welcome a little one into the world.
- Print recipe
- Share on Twitter
- Share on Facebook
- Share on Pinterest
- 6 Tipless Piping Bags
- Bright White Food Coloring
- Leaf Green Food Coloring
- Lemon Yellow Food Coloring
- Mocha Brown Food Coloring
- Super Black Food Coloring
- Spatulas & pint glasses to fill your piping bags
- Scissors
-
1
Bake and cool cookies before decorating. Make sure cookies are fully cooled. If they are warm, the icing will run off of them. Make royal icing. Learn how to mix different consistencies of royal icing here>>
Prepare the following icing colors:
Piping Consistency:
White
Sage
Green (create sage green by mixing leaf green with a tiny amount of mocha brown and super black food coloring)
Yellow
Flood Consistency:
White
Sage Green
Yellow
Pro Tip: To get softer, more pastel colors, mix bright white into your brighter hues.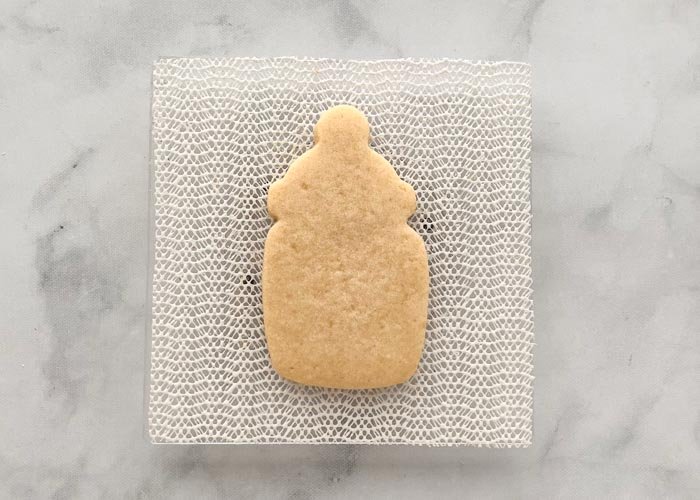
-
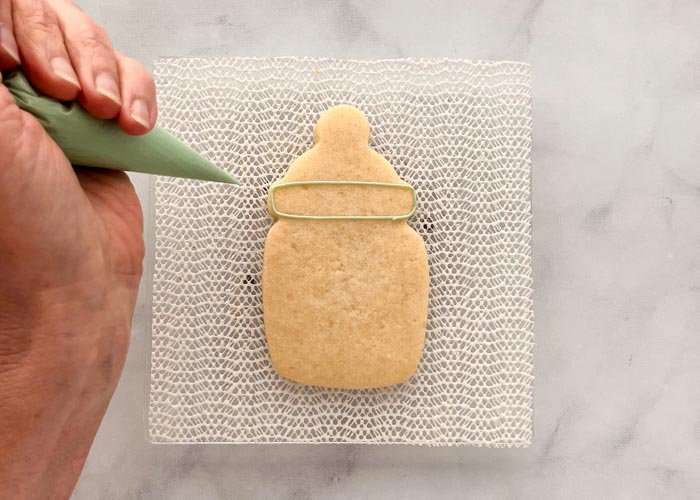
2Outline the rim of the bottle with green piping consistency icing. It will look like an elongated oval.
-
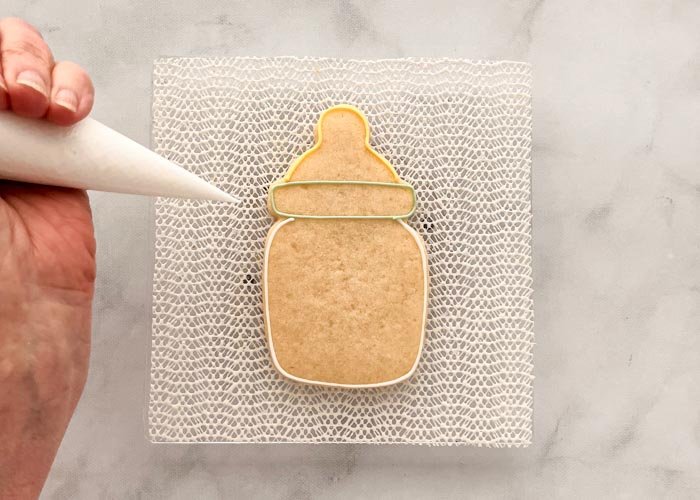
3Outline the main area of the bottle with white piping consistency icing.
-
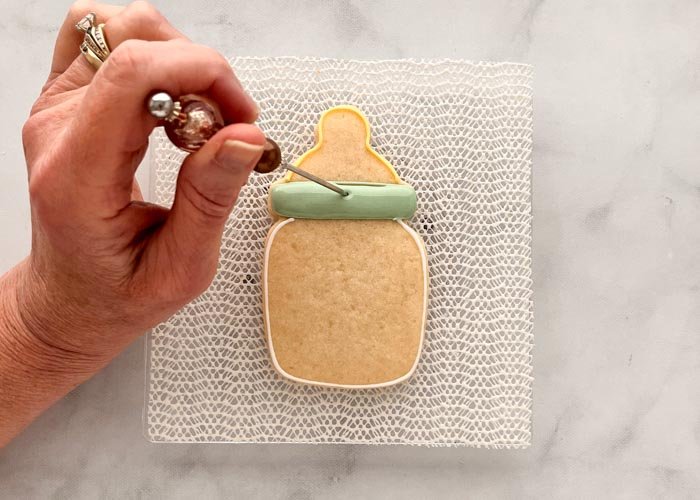
4Using green flood consistency icing, fill in the elongated oval at the rim of the bottle. Use a scribe tool or toothpick to ensure full coverage. Let dry for 30-60 minutes, or until crusted over.
-
5
Using flood-consistency white icing, fill in the main part of the bottle with white icing.
Pro tip: Pipe a few squiggles of piping consistency icing in the body of the bottle before flooding. Flood with white flood consistency icing while the squiggles are still wet. These squiggles will help to prevent your flood icing from collapsing in the center and creating craters.
If you want definition when piping two colors next to each other, it can be helpful to stop just shy of the edge and without applying pressure to the bag, coax the icing to the edge. You can also use a toothpick or scribe to help guide the icing to the edge.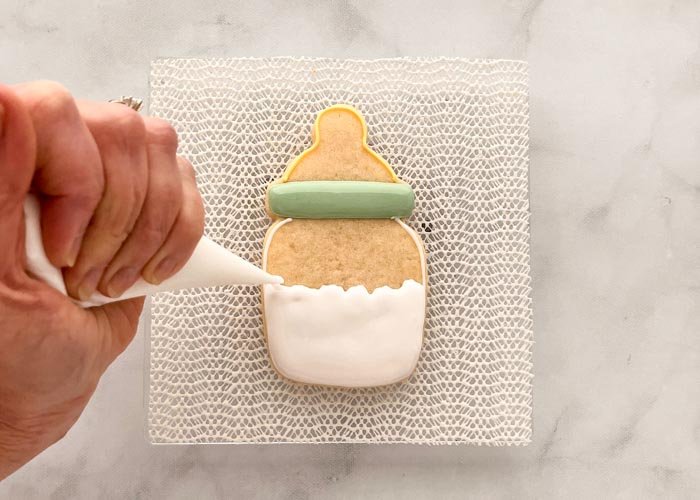
-
6
Once the green icing is dry, pipe the bottle tip. Using yellow piping consistency icing, outline the top of the bottle. Then, using flood-consistency yellow icing, fill in the area, using a scribe tool or toothpick to ensure full coverage.
Ensure that all of your flood consistency icing is dry before moving on to the next step. It will take 30-60 minutes to dry.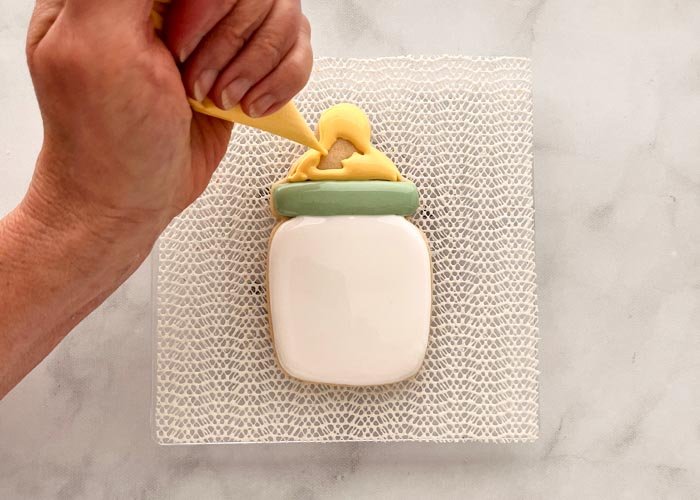
-
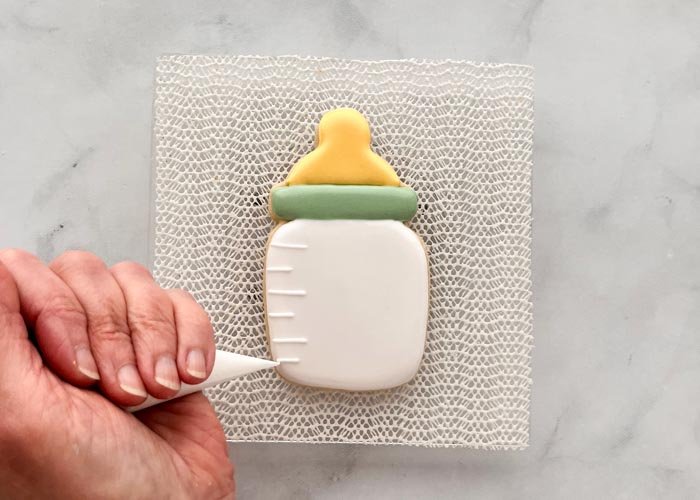
7Time for detail work! Using white piping consistency icing and a piping bag with a very fine tip, pipe lines on the side of the bottle to denote measurements. This added texture makes the bottle look more realistic and professionally done. Remember that the flood consistency you're piping onto may still be soft, so be careful to not touch it while piping details.
-
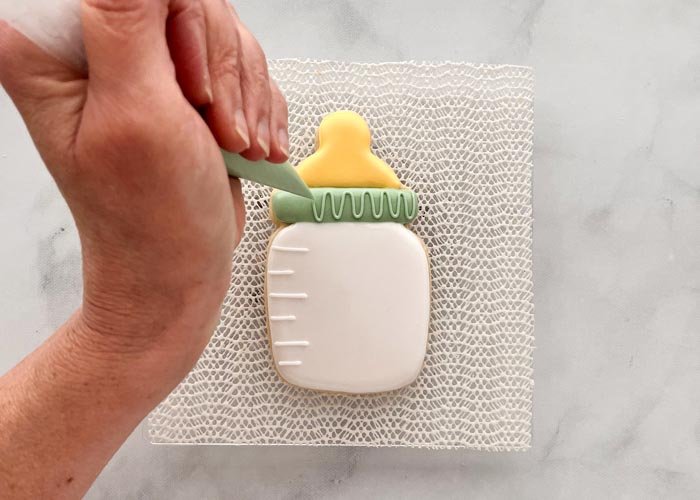
8With green piping consistency royal icing, add vertical squiggles to the rim of the bottle to create detail in that area.
-
9
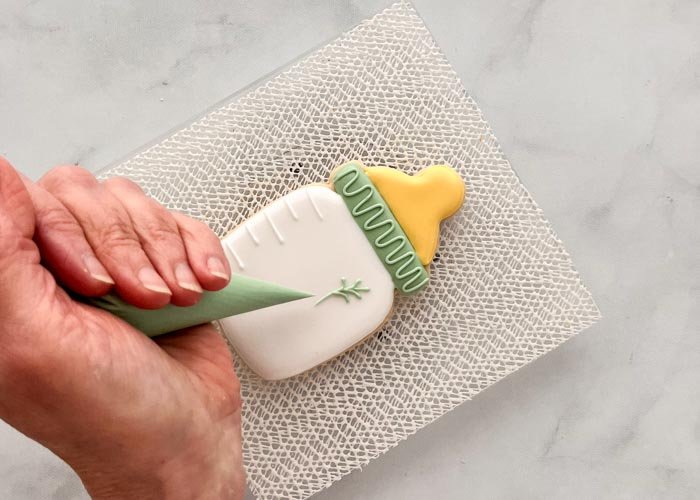
To add a sprig of greenery, use your green piping consistency icing to pipe a small, fine curved line. This will be the stem of the greenery. Using the same fine piping tip, gently pipe leaves, starting at the tips of the leaves and bringing your piping bag inward toward the stem. This will ensure that if you apply too much pressure and end up with fatter leaves, they will be larger at the tips of the leaves and will narrow down to a point toward the stem, which looks more realistic than the alternative.
-
10
The details make this bottle cookie really pop.
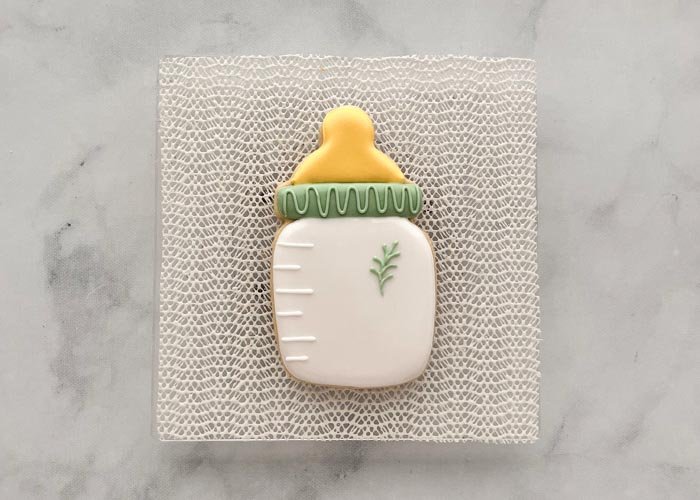
Cookies decorated by Mary Mansfield of The Flour Gardener


