How to Decorate a Bee Sugar Cookie
This bee-utiful beehive is an adorable addition to baby shower sets, birthday sets, or cookies made for your favorite beekeeper or gardener.
- Print recipe
- Share on Twitter
- Share on Facebook
- Share on Pinterest

-
1
Bake and cool cookies fully before decorating. We’re only using outline consistency for this cookie because it’s a smaller size cookie with numerous sections. A thicker “toothpaste” consistency will allow us to fill in those small sections, avoiding craters and creating definition between the sections. Prepare the following colors of icing:
Outline/Piping Consistency Icing:
Golden Yellow (create golden yellow by mixing a small drop of Mocha Brown food coloring into yellow royal icing)
White
BlackPro Tip: You can achieve a golden yellow color by mixing yellow gel color with a small amount of brown gel color.
Also, the best practice for achieving black royal icing is to only add enough black gel color to fresh royal icing until a dark gray color is reached. Gel color develops in royal icing over time, so the dark gray icing color will darken to a true black once dried. You may still encounter color bleed with dark gray icing, but you reduce the risk by adding a conservative amount of black gel color when possible. Other factors that can affect color bleed in royal icing include the temperature and level of humidity in the room. Warmer temperatures and higher humidity increase the risk of color bleeding when dark, pigmented colors are next to lighter colors.Color Bleeding: When the dark, pigmented icing discolors adjacent lighter icing (in this case, the black stripes on the bee discoloring the yellow stripes and white wings).
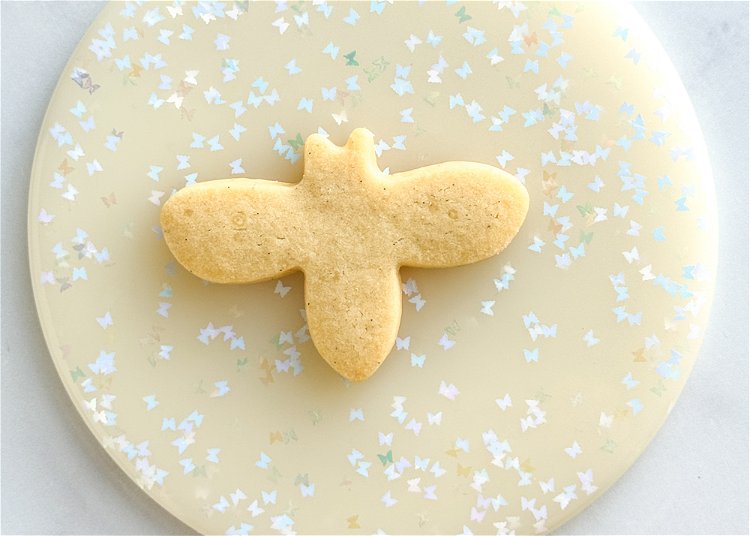
-
2
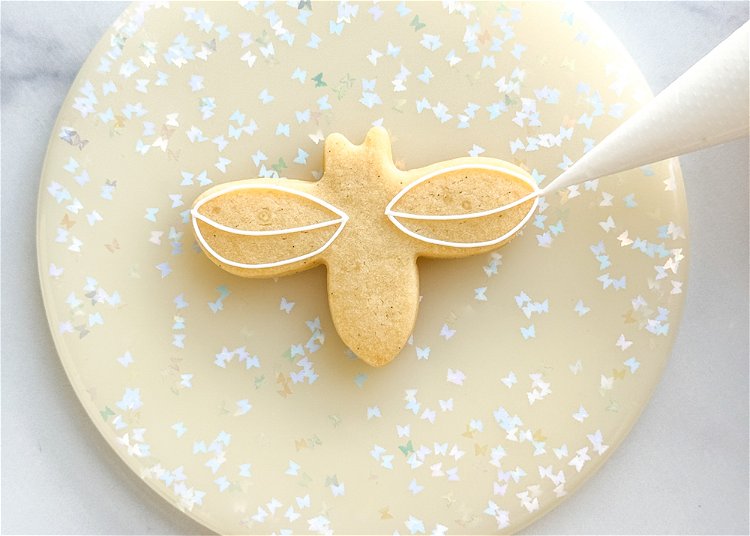
Using the white outline consistency icing, outline the wings of the bee as shown in the photo.
-
3
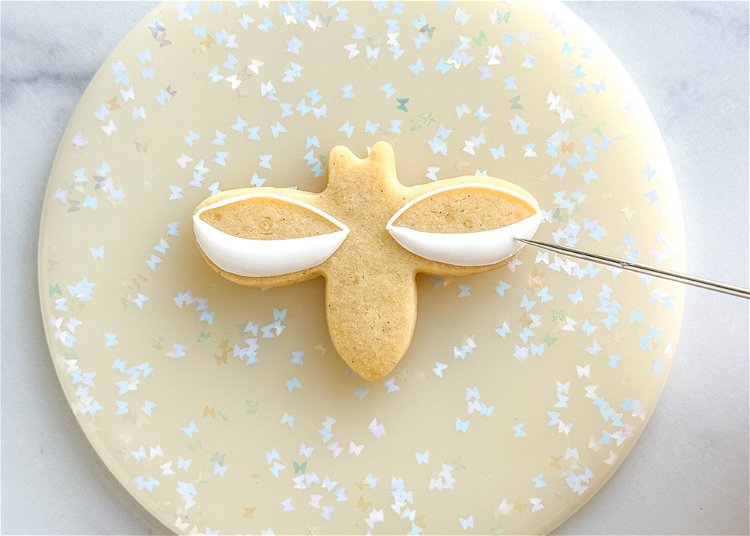
Fill in the bottom sections of the wings with the white outline consistency icing. Smooth out the icing using a scribe tool or toothpick. Let these sections crust over for 10-15 minutes before filling in the top section of the wings. Letting the icing crust over ensures that there is good definition between the wing parts.
-
4
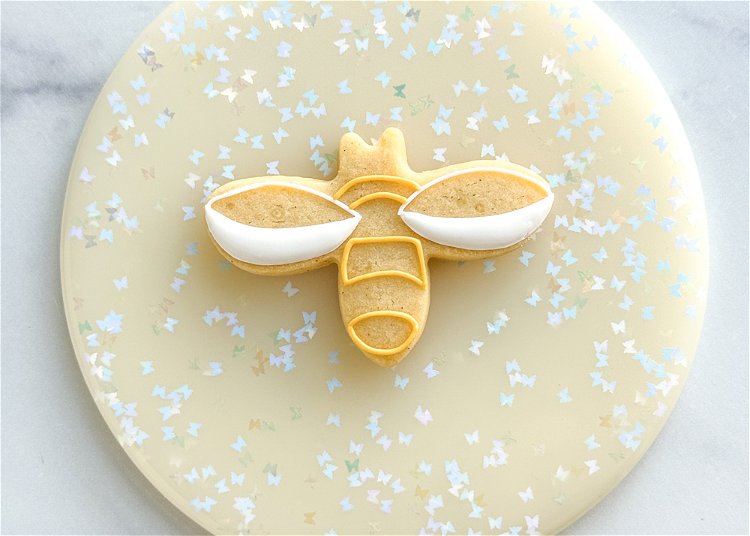
Using the yellow outline consistency icing, outline the three sections of the bee, as shown in the photo.
-
5
Fill in each section with the yellow outline consistency icing, smoothing out the icing with your scribe tool or toothpick.
-
6
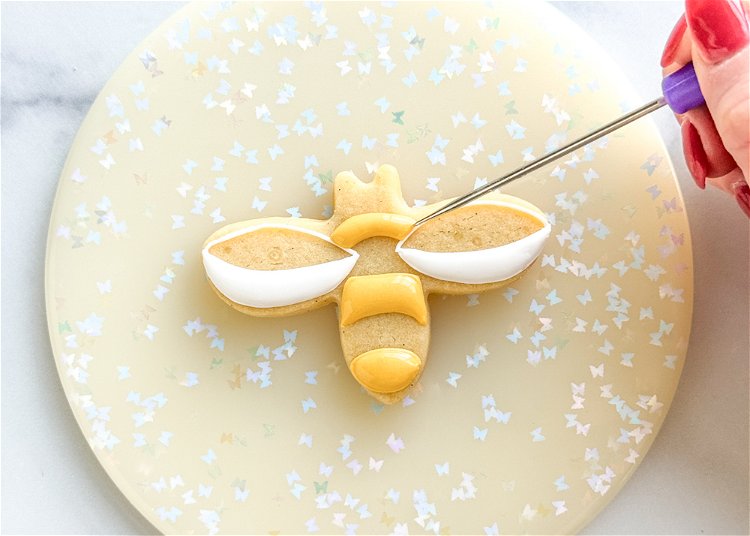
Using the white outline consistency icing, fill in the top sections of the wings. Smooth out the icing with your scribe tool or toothpick. Allow the icing to dry for at least one hour before moving onto the next step.
-
7
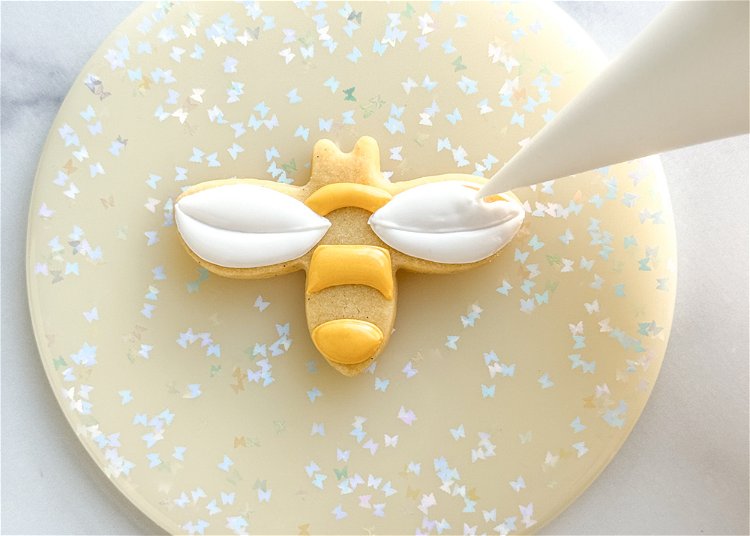
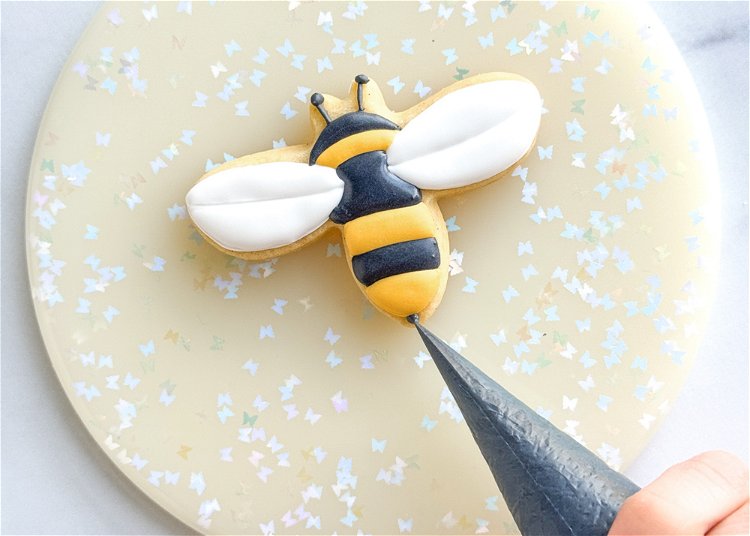
Once the yellow and white sections have dried for at least one hour, pipe the remaining sections of the bee using the black outline consistency icing. Smooth out the icing with your scribe tool or toothpick.
-
8
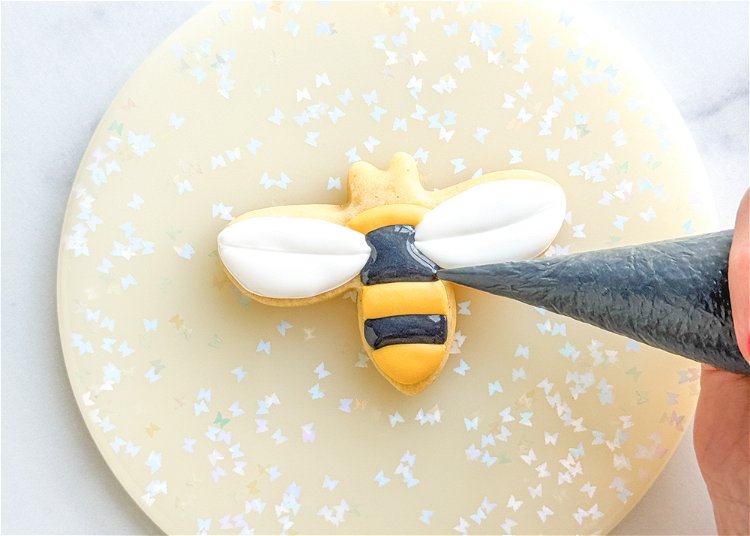
Pipe two small black lines as the bee’s antennae. Add a small dot at the end of each line.
-
9
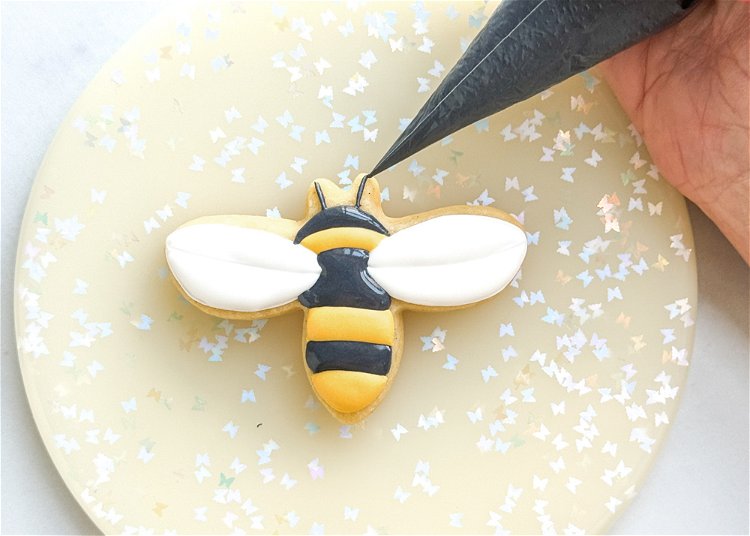
Pipe a small black dot at the bottom of the bee and use your scribe tool or toothpick to drag it out to form the bee’s stinger.
-
10
Add this bee cookie to your next flower, garden, or pollinator set!
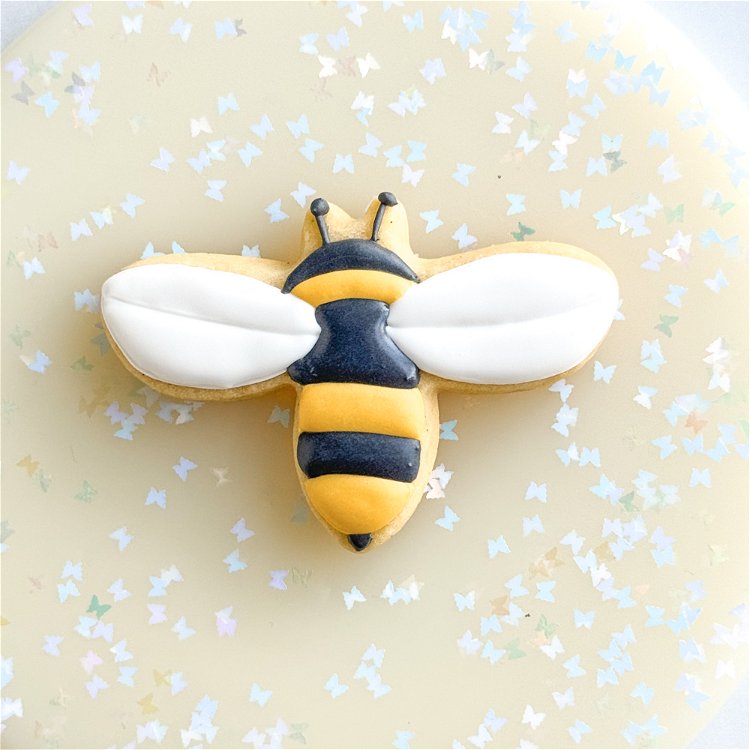
Cookies decorated by Laura Luk of Butterfly Bakes Atlanta.


