How to Decorate a Beehive Cookie
Rated 5.0 stars by 1 users
Category
Tutorials
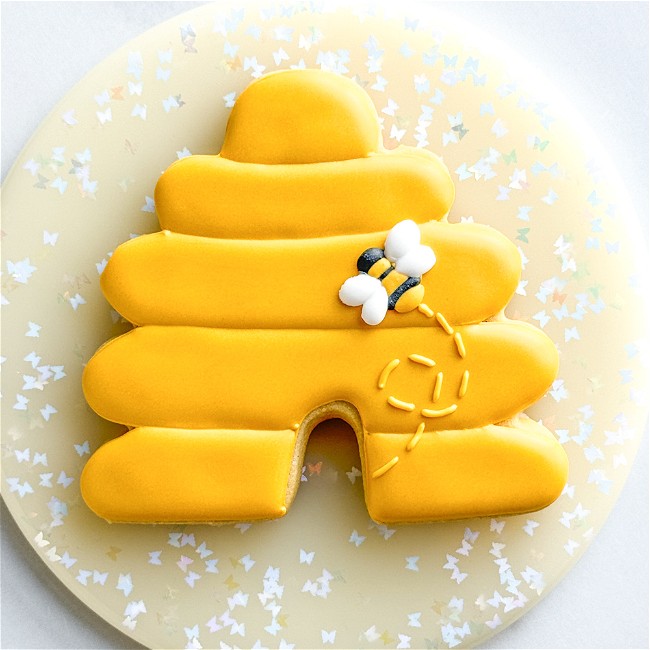
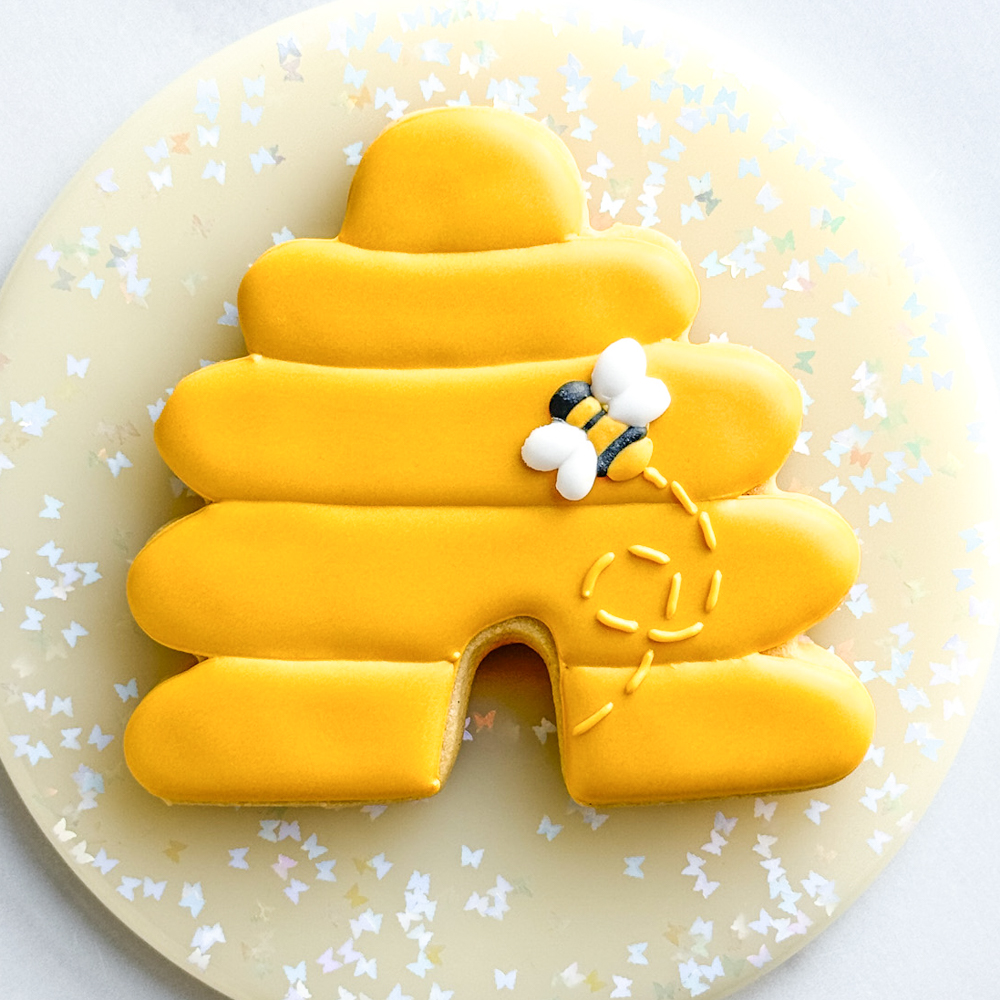
This bee-utiful beehive is an adorable addition to baby shower sets, birthday sets, or cookies made for your favorite beekeeper or gardener.
Ingredients
-
Beehive Cookie Cutter
-
Piping Bags
-
Lemon Yellow Food Coloring
-
Mocha Brown Food Coloring
-
Bright White Food Coloring
-
Super Black Food Coloring
-
Parchment Paper
-
Thingamagenie (or a sharp toothpick)
Directions
Bake and cool cookies fully before decorating. Also prepare Prepare royal icing in the following colors and consistencies:
Outline/Piping Consistency:
Golden Yellow (create golden yellow by mixing a small drop of Mocha Brown food coloring into yellow royal icing)
White
BlackFlood Consistency:
Golden Yellow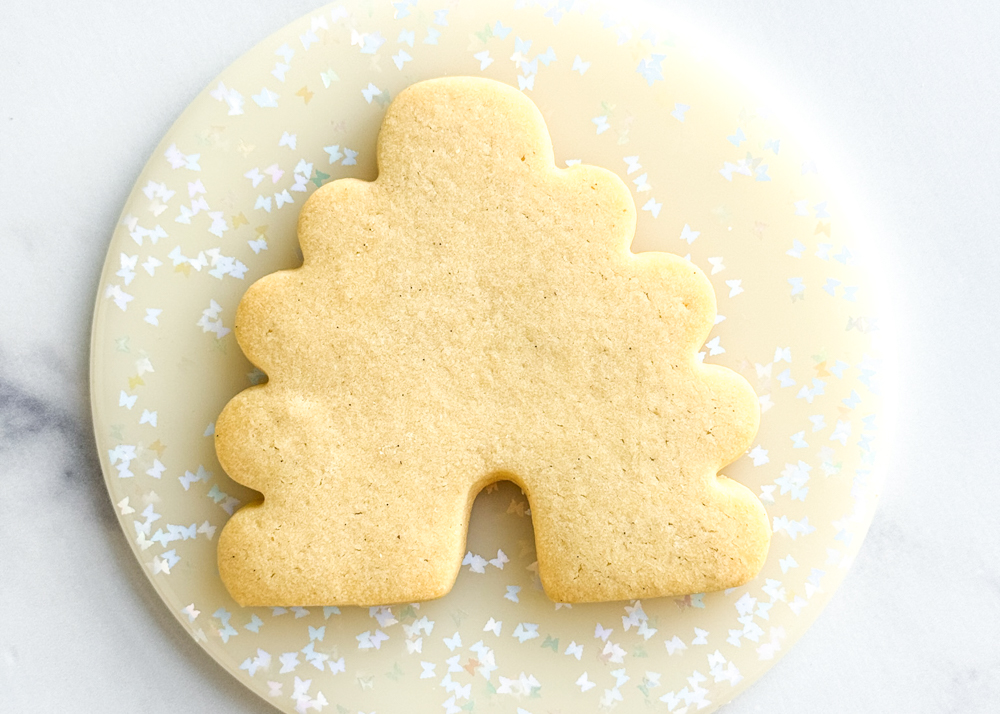
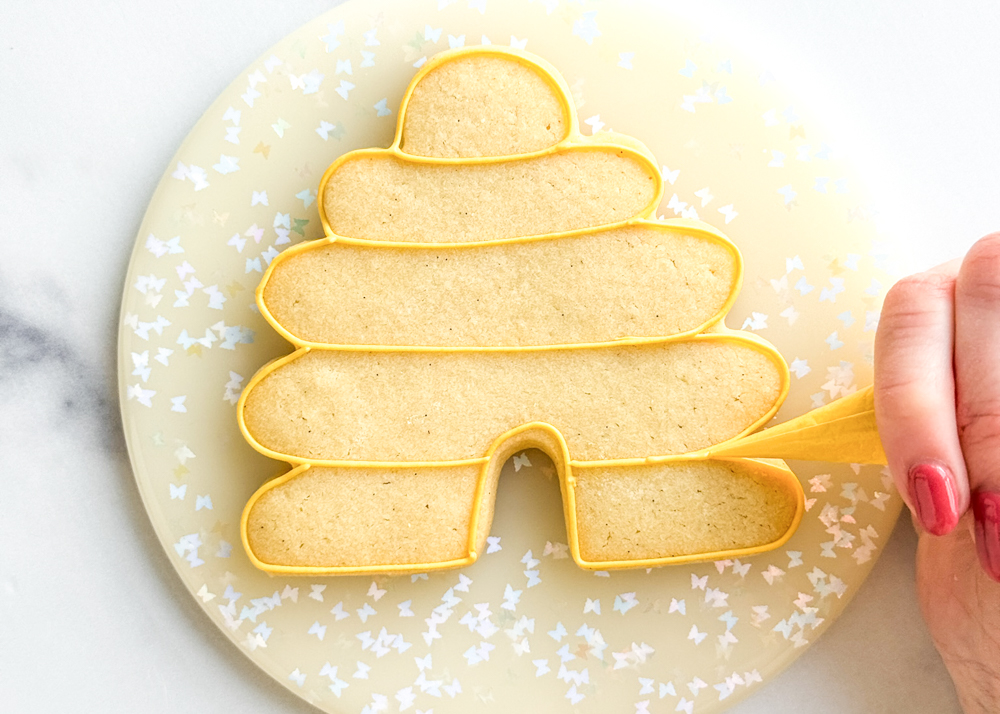
Using the yellow outline consistency icing, outline the cookie shape and the elongated ovals of the beehive design. Outlining each of these separately will create good definition between the areas.
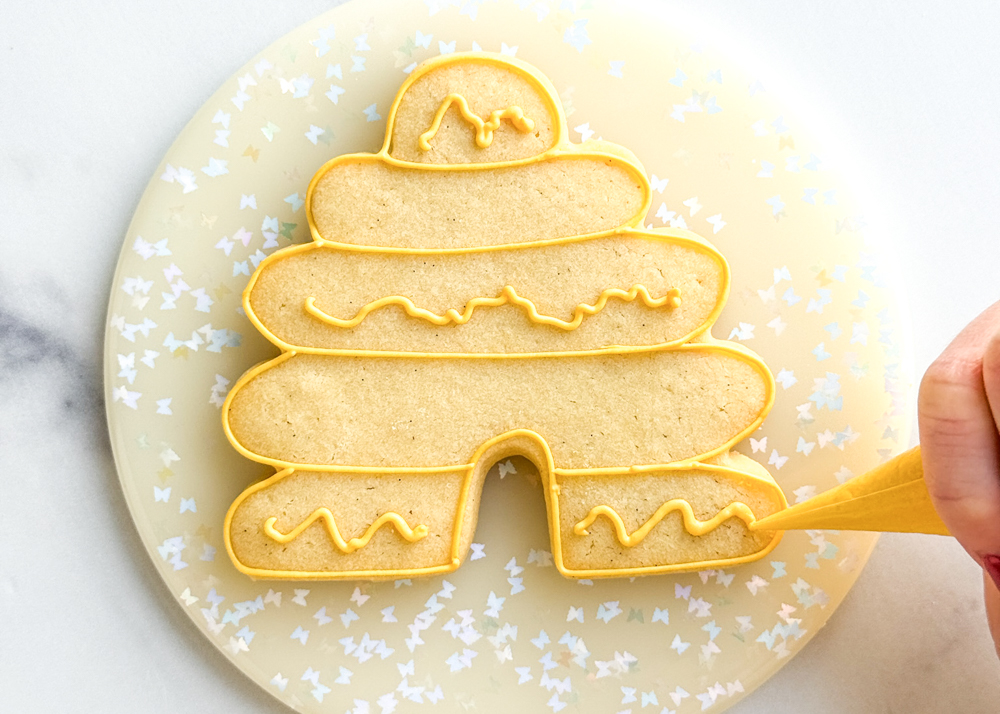
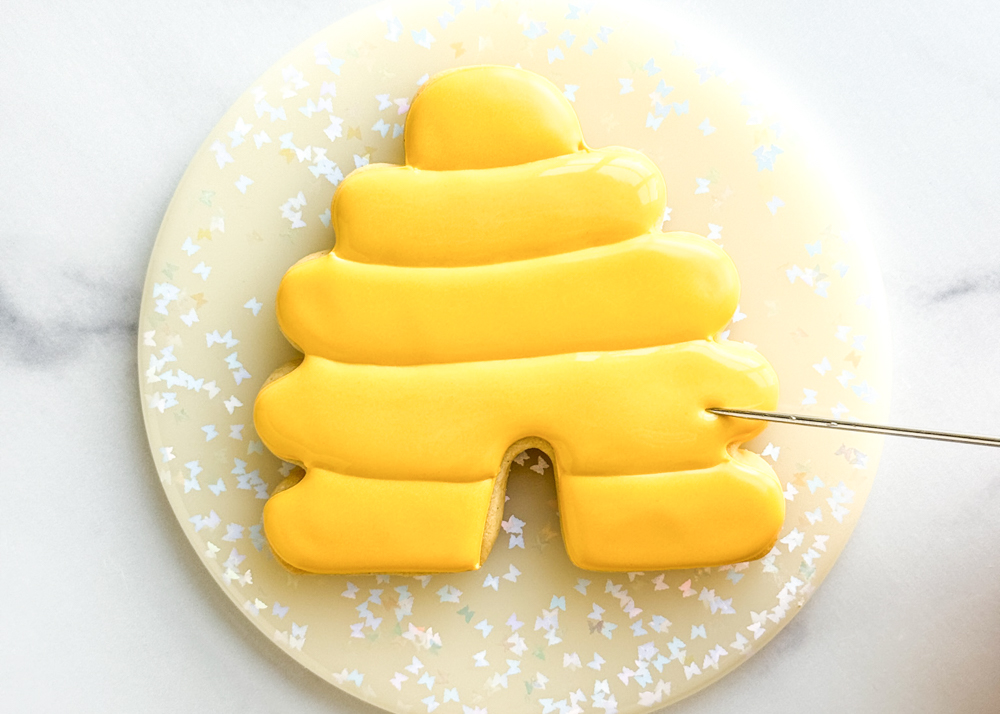
Pipe a squiggle of yellow outline consistency icing in alternating sections of the beehive. Waiting for the alternate sections to dry ensures that you get good separation between the sections. If you pipe two adjacent sections, the wet icing may bleed into each other and you’ll lose definition.
Using the yellow flood icing consistency, fill in the sections of the beehive where you just piped the squiggle of outline consistency icing. Use your scribe tool to settle the icing and pop any air bubbles and to coax the icing to the edges of the cookie. While the flood icing dries, pipe the bee royal icing transfers.
Pro Tip: Flooding small sections of a cookie with royal icing leaves the icing vulnerable for craters, which are holes or sinking that can often occur in the icing as it dries. In this design, the elongated oval sections of the beehive are at risk for craters, so adding this squiggle of outline consistency icing helps minimize the risk of craters by providing a cushion for the flood icing so that when it tries to sink as it dries, it has the thicker outline icing underneath to help hold it up.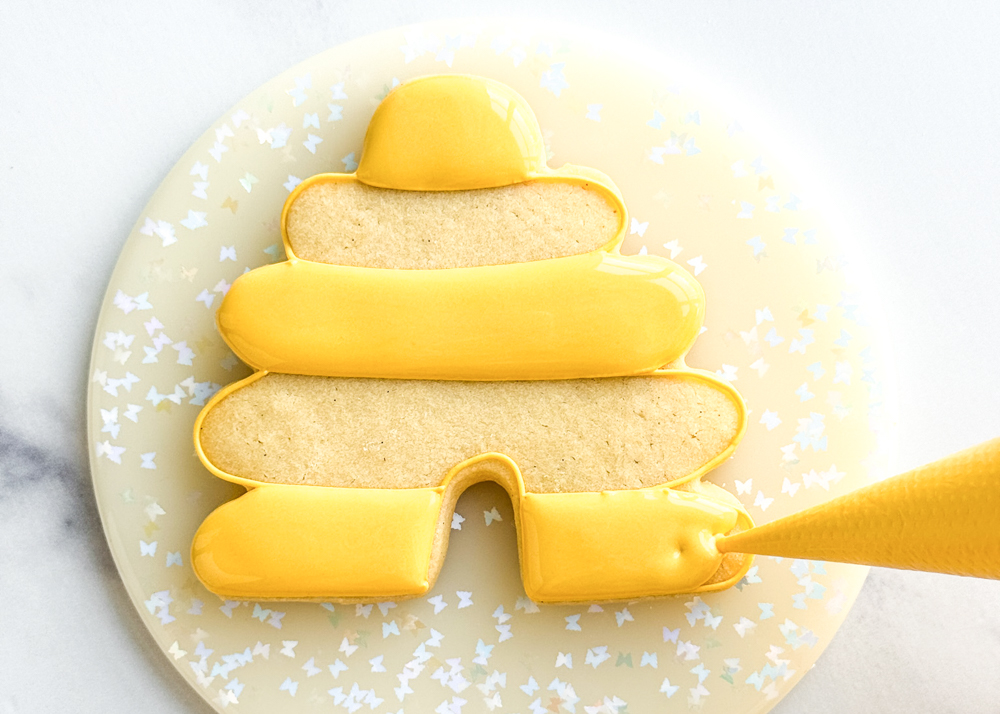
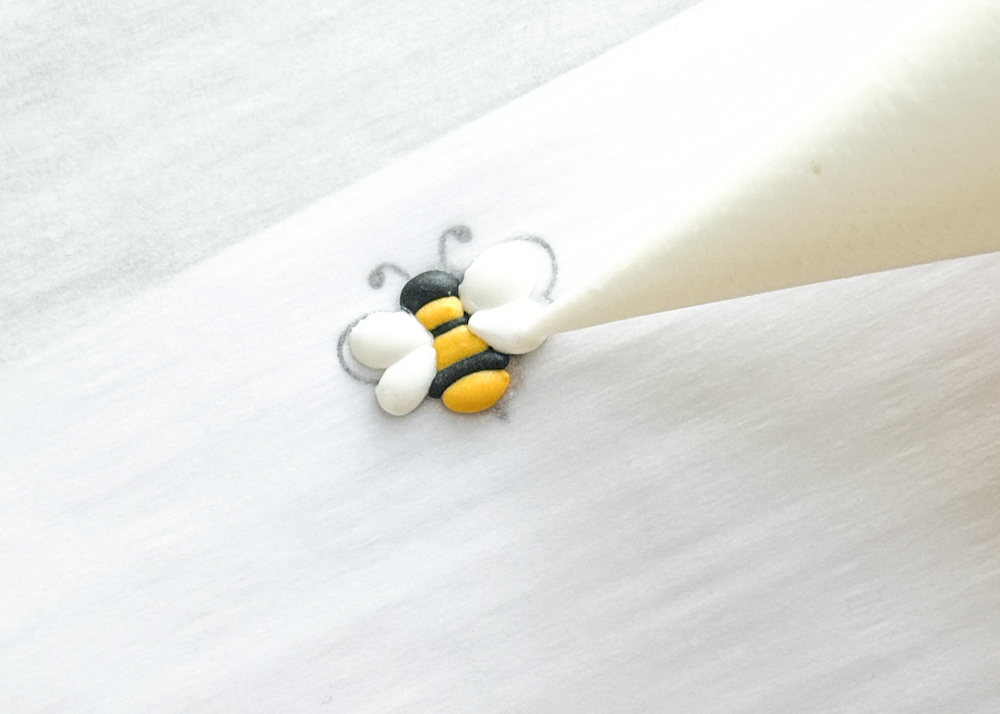
Print out a clipart image of a small bee. Place a flat piece of parchment paper on top of the image. Choose a simple image that will be easy to pipe, and also one that will look good in proportion to the beehive.
With the black outline consistency icing, pipe over the sections of the bee that are black. Let this icing dry for at least 10-15 minutes before moving onto the next step. Be careful not to move the parchment paper or the paper the bee image is printed on while the transfers dry.
Pro Tip: Using outline consistency when piping transfers is beneficial for many reasons. It gives you more control over the placement of the icing, which is important when creating these small designs. It also allows the transfers to dry faster due to less moisture content in the icing, which also results in a more stable transfer that won’t be too fragile to handle. You’ll want to have your scribe tool or toothpick handy when piping transfers, to help the icing settle and make your designs more precise due to the small surface area.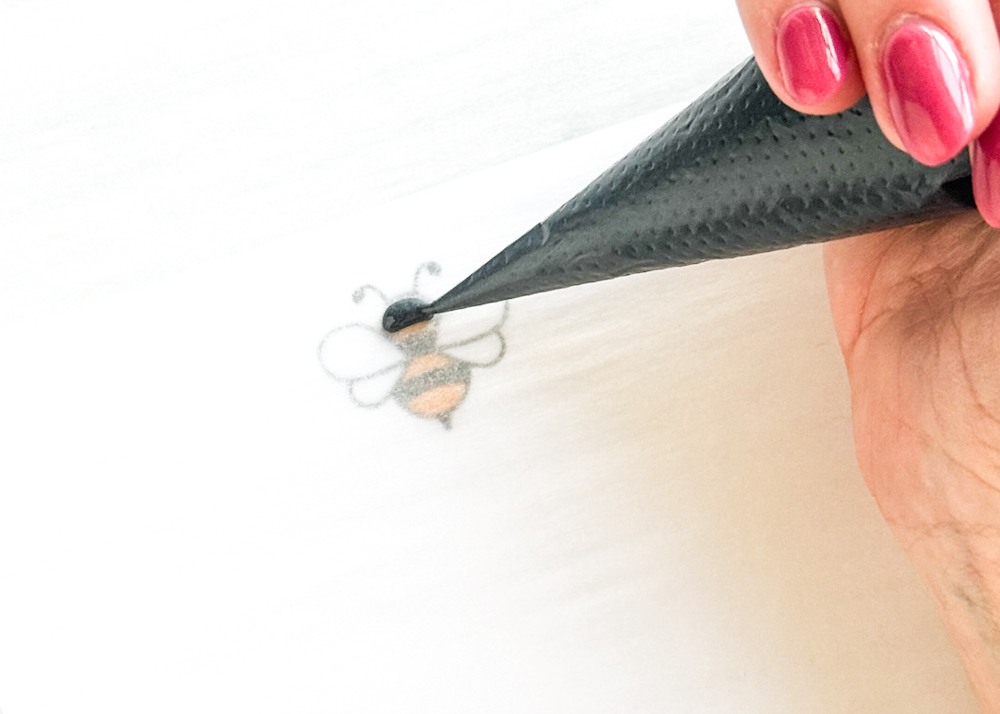
Using the yellow outline consistency icing, pipe over the sections of the bee image that are yellow. Let this icing dry for at least 10-15 minutes before moving onto the next step.
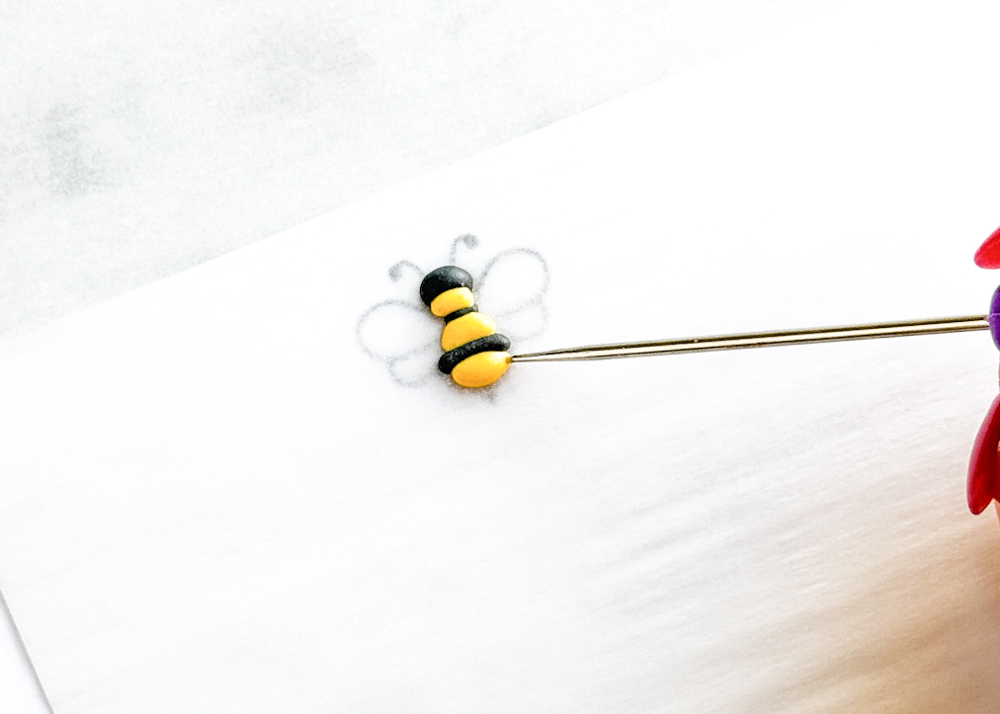
Using the white outline consistency icing, pipe the top of the bee’s wings. Let this icing dry for at least 10-15 minutes before moving onto the next step.
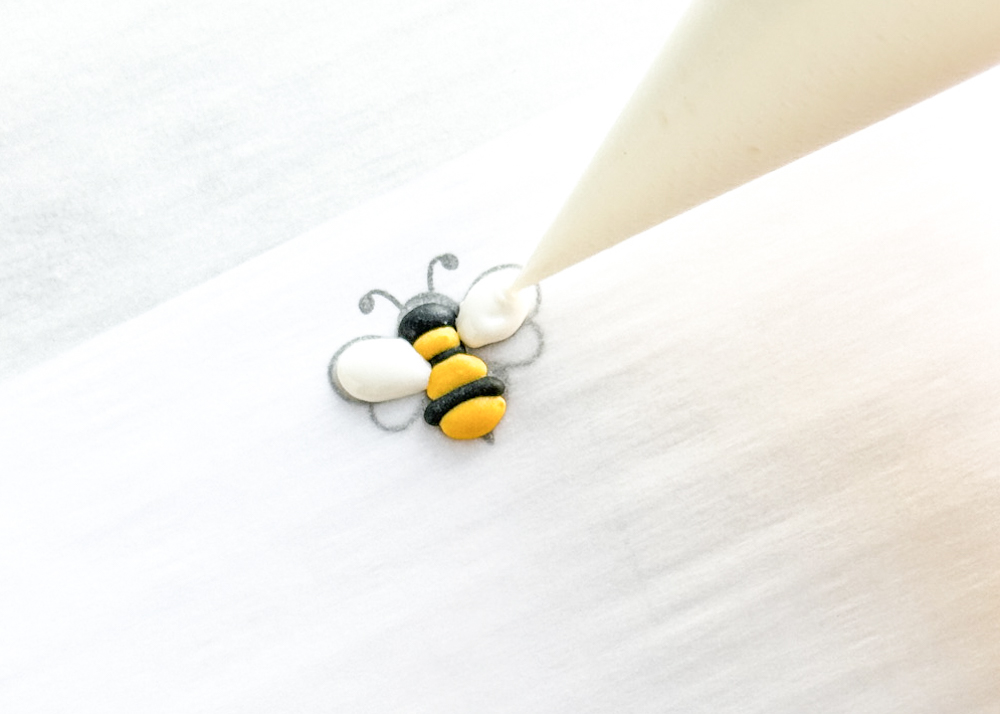
Pipe the other wing with the outline consistency icing. Let them transfers dry fully for 8-12 hours, or until they easily slide off the parchment. If you try to remove the transfers before they are dry, they may crack and break.
Once the flooded sections of the beehive cookie have crusted over or dried, repeat step 3, piping a squiggle of yellow outline consistency icing in the middle of the empty sections.

Using the yellow flood icing consistency, fill in the sections of the beehive where you just piped the squiggle of outline consistency icing. Allow the icing to dry completely for 8-12 hours before adding the transfers on top to finish the design.
Once the transfers have completely dried and easily slide off the parchment paper when moved, carefully pipe a small squiggle of yellow outline consistency icing onto the back of the bee transfer and attach it onto the cookie.
Pro Tip: When attaching transfers to a cookie design, it’s best practice to use an outline consistency icing of the same color of the base of the cookie so that if any icing leaks out from under the transfer, or if the transfer is translucent in any way, that the color of the icing used to adhere the transfer to the cookie matches the flooded base of the cookie.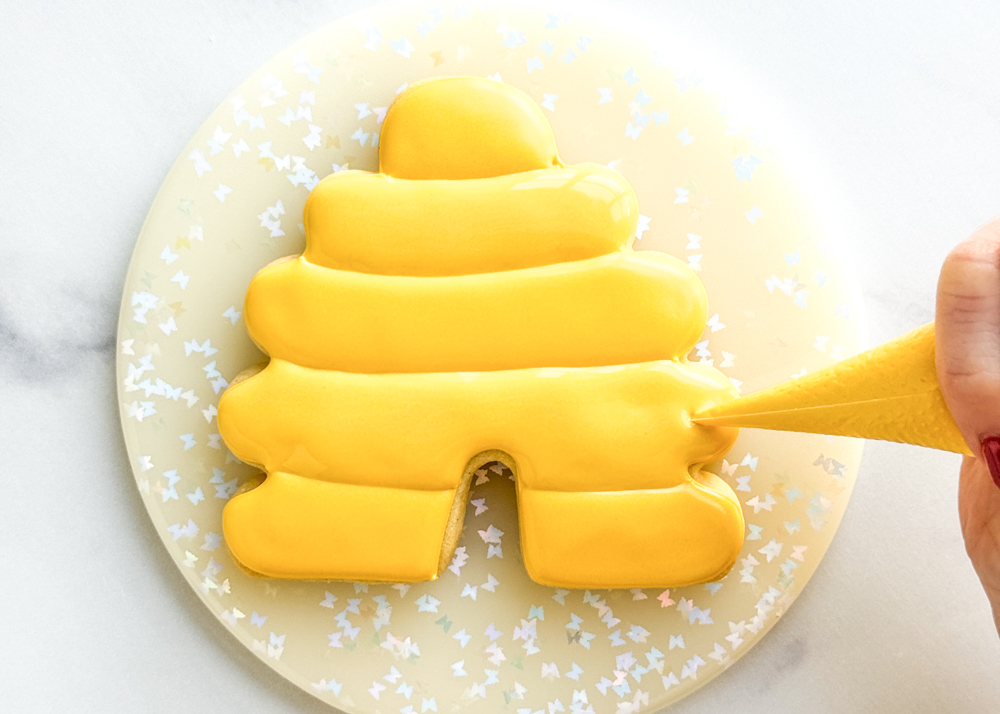
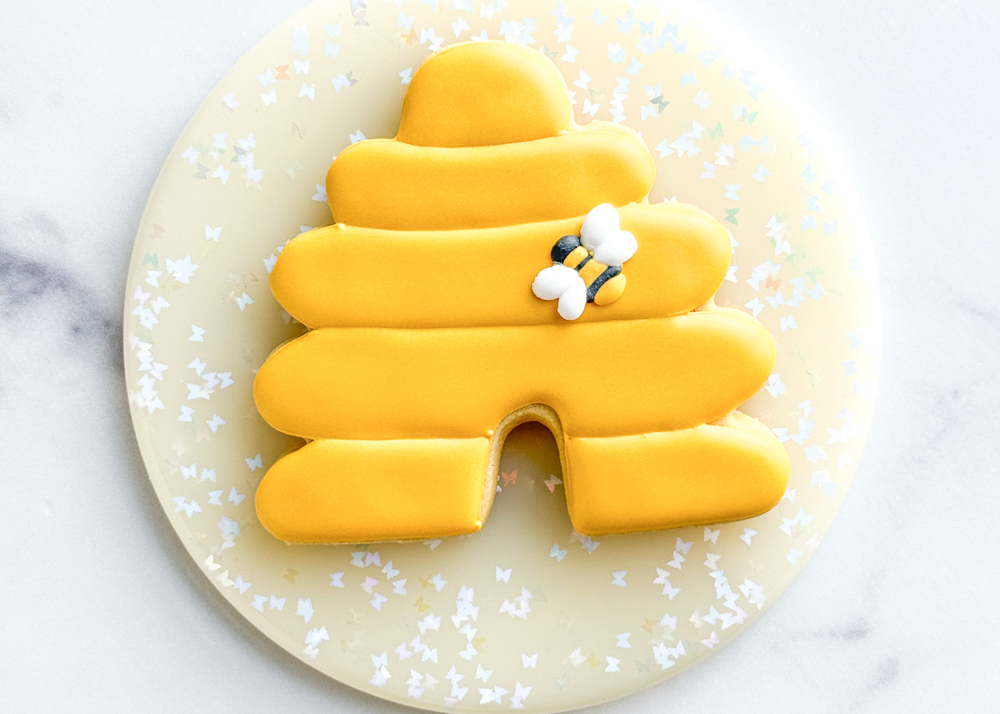
Using the yellow outline consistency, pipe a dotted line following the bee to mimic a “flight path” design.
Recipe Video
Recipe Note
Cookies decorated by Laura Luk of Butterfly Bakes Atlanta.


