How to Decorate a Blackboard Cookie-Beginner Friendly Tutorial
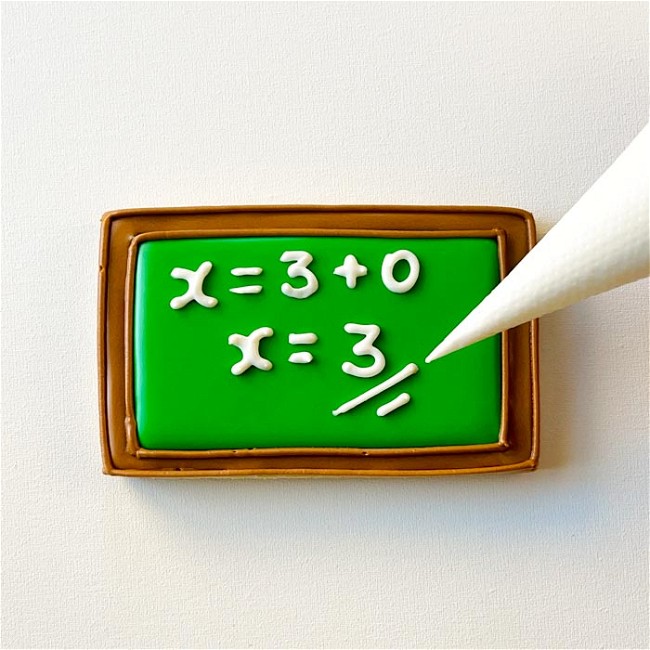
These blackboard cookies are perfect back-to-school treats!
- Print recipe
- Share on Twitter
- Share on Facebook
- Share on Pinterest
-
5 Tipless Piping Bags
- Leaf Green Food Coloring
- Mocha Brown Food Coloring
- Bright White Food Coloring
- Spatulas & pint glasses to fill your piping bags
- Scissors
-
1
Bake and cool cookies before decorating. Make sure cookies are fully cooled. If they are warm, the icing will run off of them. Make royal icing. Learn how to mix different consistencies of royal icing here>>
Prepare the following icing colors:
Piping Consistency:
Green
Brown
White
Flood Consistency:
Green
Brown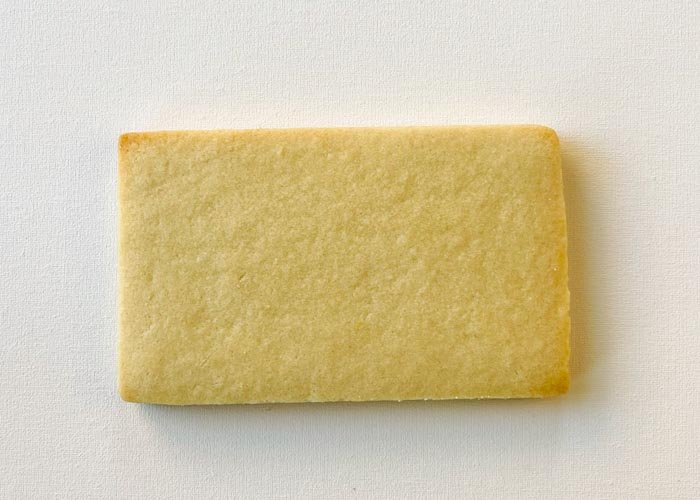
-
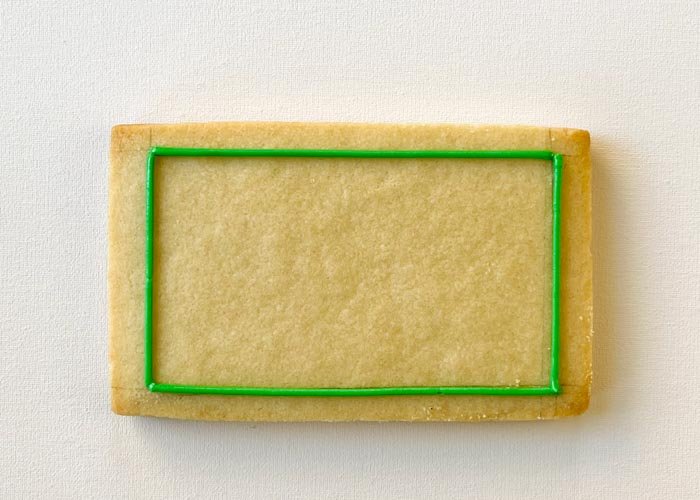
2Using piping consistency green icing, outline the blackboard, leaving a border around the edge.
-
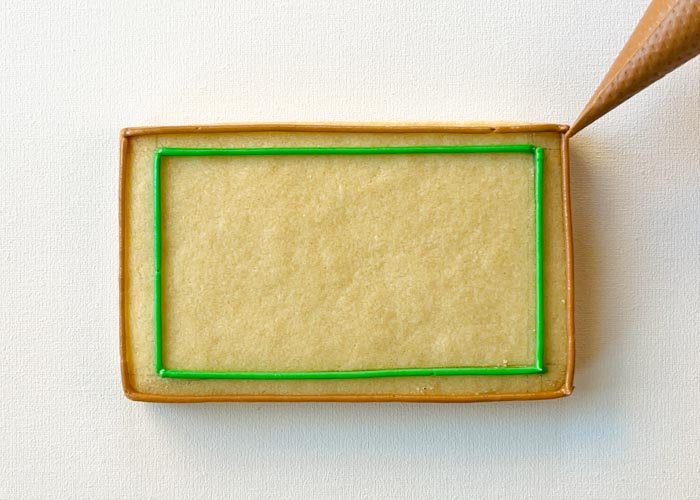
3Next, using brown piping consistency icing, pipe a border around the edge of the rectangle.
-
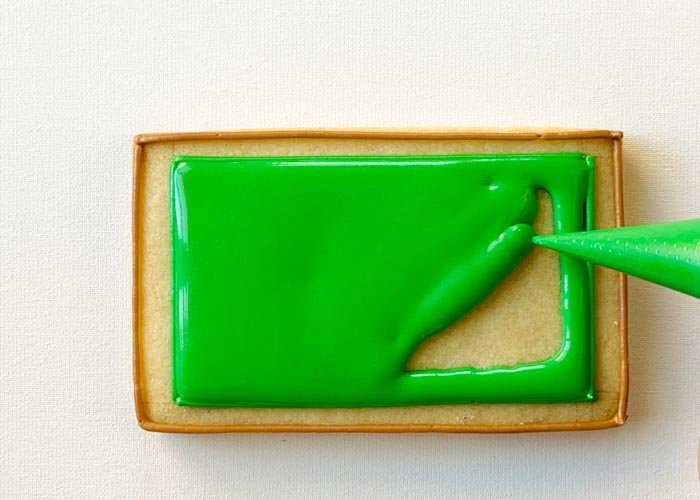
4Using piping consistency green icing, pipe some squiggles in the main part of the blackboard. This will help to give your flood some structure, so that the icing doesn't collapse as it cools. Once you have your squiggles piped, flood the inside of the blackboard with green flood consistency icing.
-
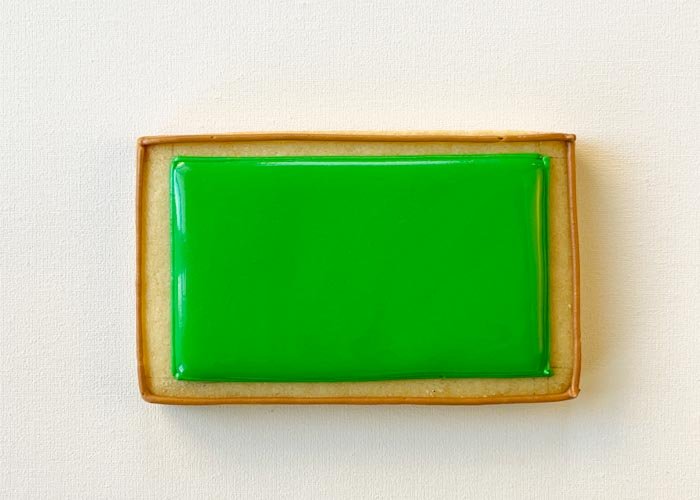
5Once you have your squiggles piped, flood the inside of the blackboard with green flood consistency icing.Use a scribe tool or toothpick to move the icing around to ensure full coverage. Wait for icing to dry for 30-60 minutes.
-
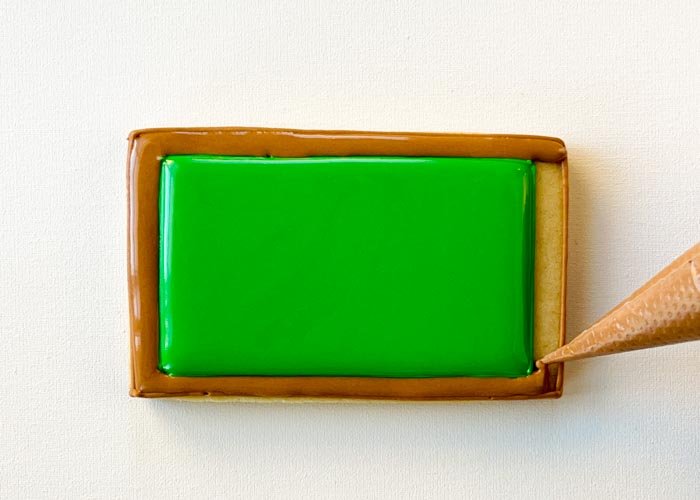
6Using brown flood consistency icing, fill in the border of the blackboard. Wait for the icing to dry about 15-20 minutes.
-
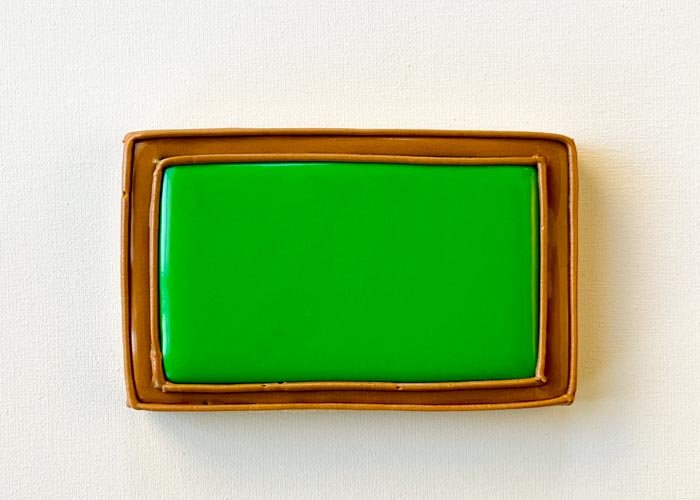
7Once flood icing has dried, use brown piping consistency icing to pipe a border around the edge of the cookie and around the green blackboard part of the cookie. This will give the frame of the blackboard some dimension.
-
8
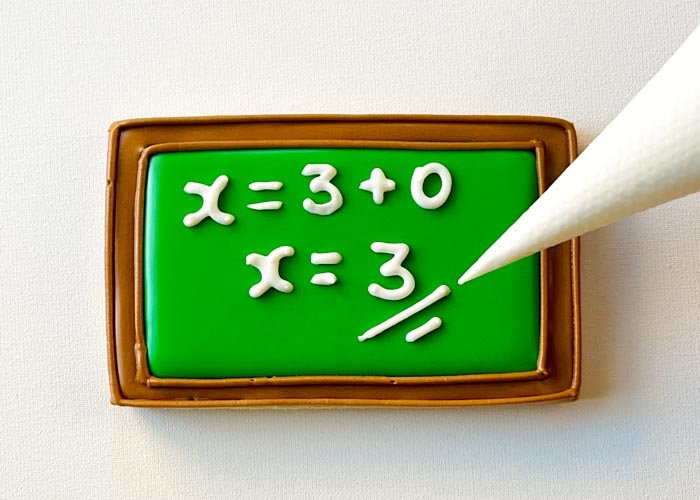
Using white piping consistency icing, pipe your message on the blackboard.
-
9
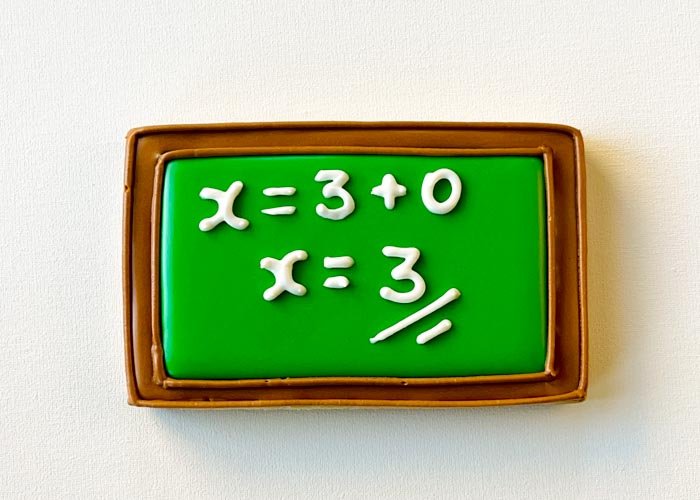
And you're done!
Recipe Video
Cookies decorated by Julia Perugini of @juliascookiesaz


