How to Decorate a Cocoa Mug Cookie for Fall
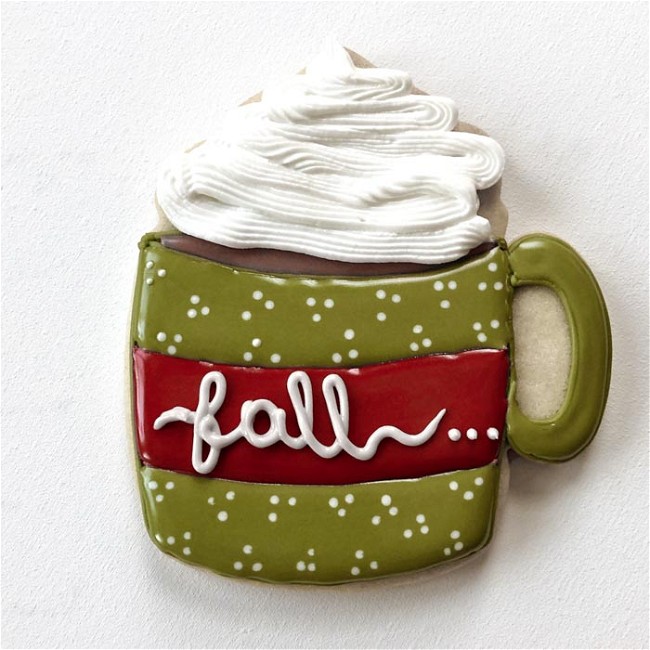
Warm up with this sweet design for an autumnal cocoa mug, piled high with a helping of decadent whipped cream. This design can be replicated in a number of colors to create a whole set or to fit the colors of the season.
- Print recipe
- Share on Twitter
- Share on Facebook
- Share on Pinterest
-
1
Bake and cool cookies before decorating. Get Ann Clark's no-fail sugar cookie recipe here. For a citrusy twist, try our Chocolate cookie recipe here. Make sure cookies are fully cooled. If they are warm, the icing will run off of them. Make royal icing. Learn how to mix different consistencies of royal icing here>>
Prepare the following icing colors:
Piping Consistency:
Earthy Green (Create this color by mixing in a drop of Mocha Brown food coloring with your Leaf Green icing.)
Red
White
Stiff Consistency:
White
Flood Consistency:
Earthy Green (Create this color by mixing in a drop of Mocha Brown food coloring with your Leaf Green icing.)
Red
Brown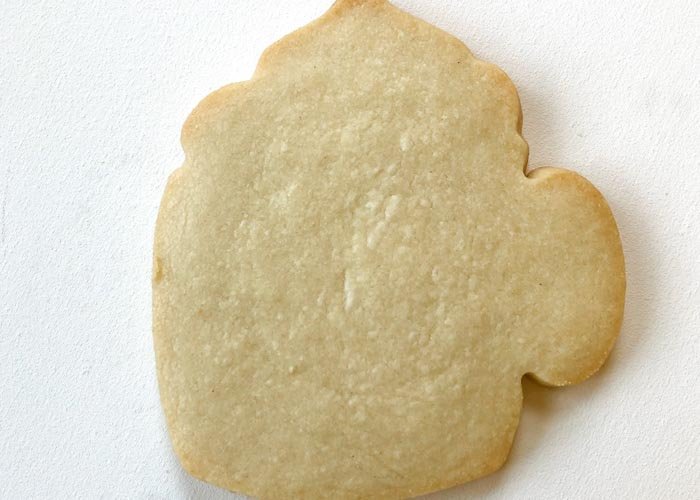
-
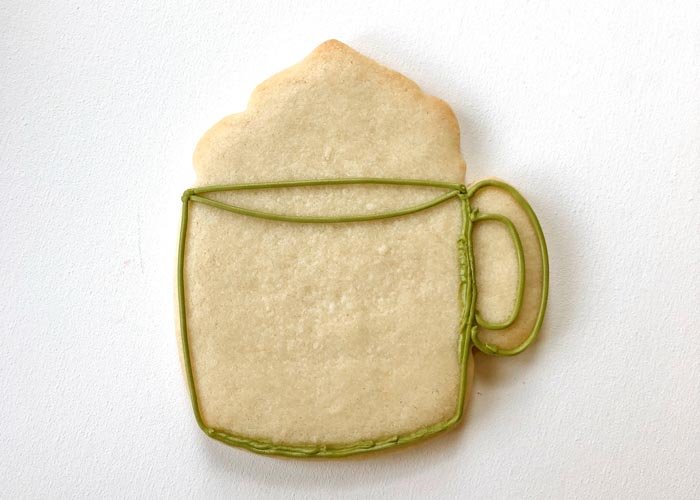
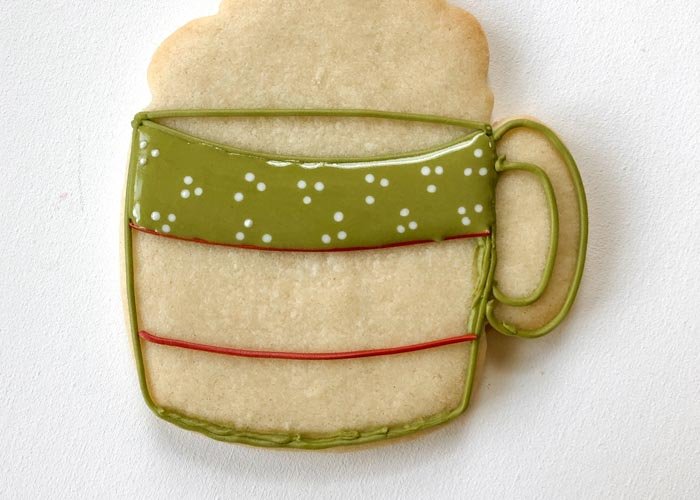
2Outline the shape of the mug with green piping consistency icing. Be sure to outline the rim of the glass and the handle of the mug as shown.
-
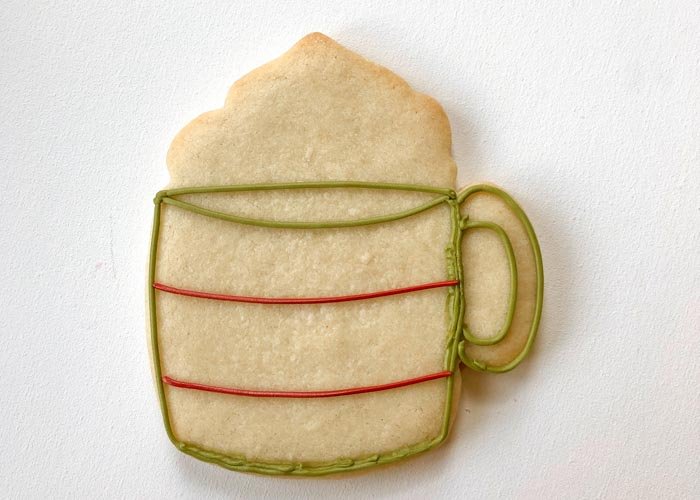
3Using red piping consistency icing, make two horizontal lines in the middle of the cup.
-
4Pipe a few squiggles of green piping consistency icing in the upper third and lower third of the cup, and then flood with green flood consistency icing. The squiggles will help give your flood consistency icing structure, preventing it from collapsing. After flooding the shape, move the flood icing around with a toothpick or scribe tool to remove any air bubbles trapped in the icing.
-
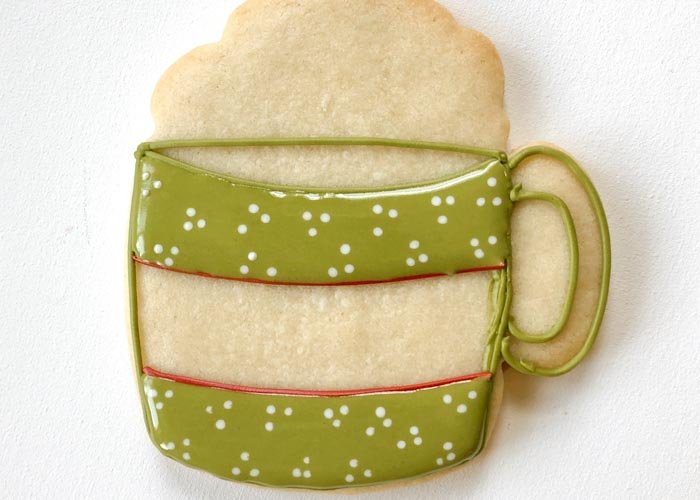
5For a little extra interest, use white piping consistency icing to make small dots on the mug. Doing this while the green icing is still wet will help the dots to blend into the mug. If you wait for the green flood icing to dry, the white dots will stand out above the flood icing. Wait for your green flood icing to dry, 30-60 minutes.
-
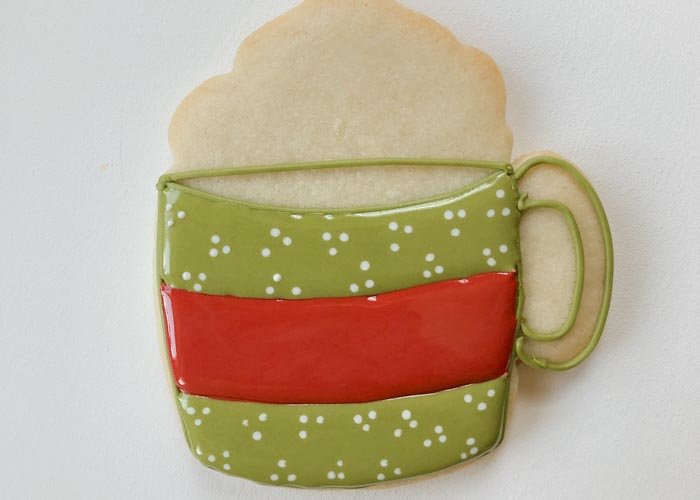
6Once the green icing is dry, flood the center strip of the mug with red flood consistency icing. Move the flood icing around with a toothpick or scribe tool to ensure full coverage and to remove any air bubbles.
-
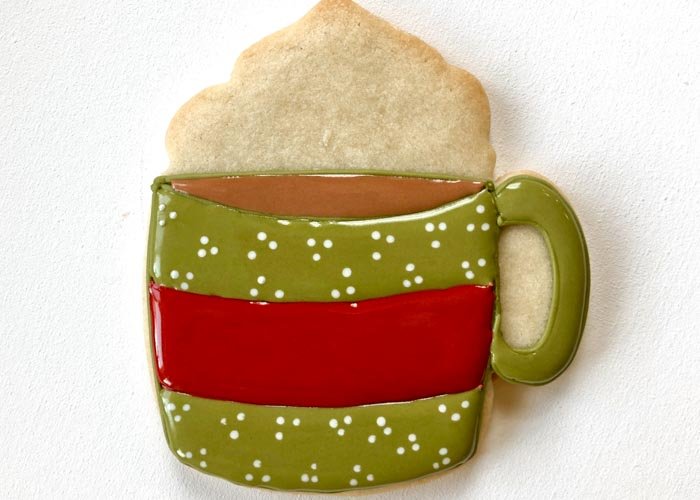
7Using brown flood consistency icing, flood the top part of the cup as shown. Use a scribe tool or toothpick to move the icing around and to remove any air bubbles. Once the red flood icing on the center strip is beginning to crust over, you can flood the handle of the mug. Coax the icing to the edge of your outline using a scribe tool or toothpick, which will also remove any air bubbles.
-
8
Use your white piping consistency icing to add details. You can pipe more dots or some lettering in the red strip. Add some confectioner's sugar to your white piping consistency icing until it is stiff consistency-meaning it holds its shape. Using a piping bag with a star tip, pipe swirls of whipped cream on top of your mug.
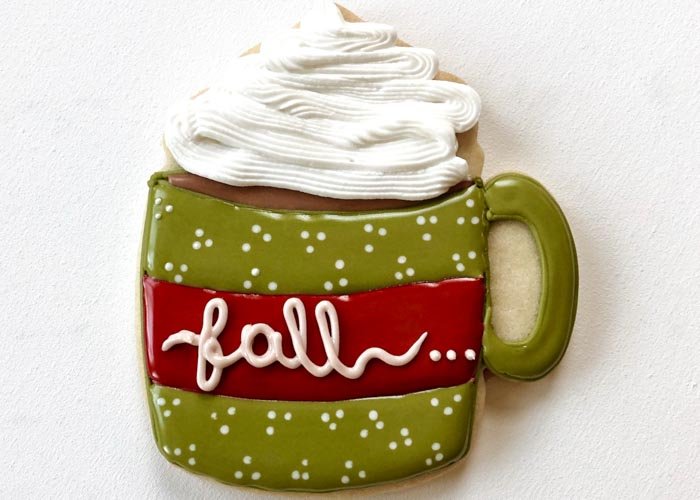
Cookies decorated by Julia Perugini of @juliascookiesaz


