How to Decorate a Day of the Dead Sugar Skull with Flower Crown Cookie
Sugar skulls are an important symbol for the Day of the Dead holiday, celebrated in early November. These colorfully decorated sugar skulls represent deceased loved ones, and are embellished with colorful designs to symbolize happy memories. Learn how to make a colorful Dia delos Muertos sugar skull sugar cookie, a lovely addition to your ofrenda.
- Print recipe
- Share on Twitter
- Share on Facebook
- Share on Pinterest

-
1
Bake and cool cookies fully before decorating. Prepare royal icing in the following colors and consistencies:
Thick Flood Consistency:
WhiteOutline Consistency:
Green
Red
Pink
Blue
Yellow
Orange -
2
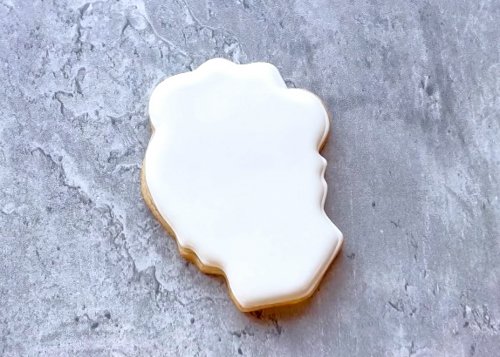
Outline and flood the cookie with white royal icing. Wait at least 60 minutes, or until the base flood is fully dry and hardened before moving on to the next step. You can also flood your cookies the day before decorating to ensure that the icing has time to harden.
-
3
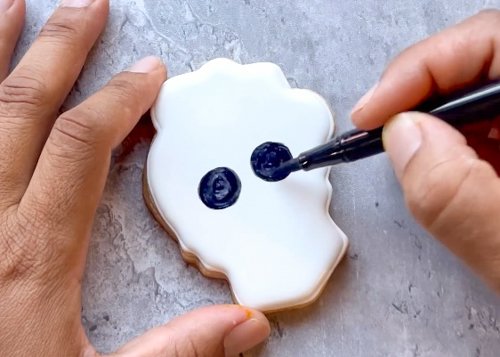
Use your black edible marker to draw circles for the skull eye holes. This can be done with royal icing, but we found that using an edible marker allows more precision.
-
4
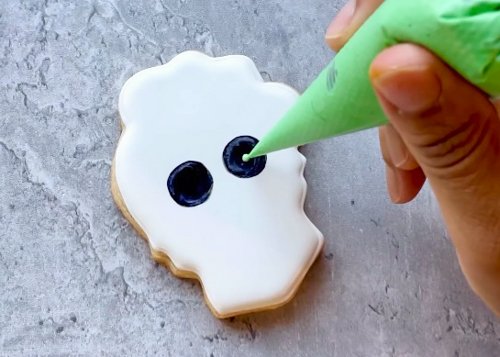
Using your green royal icing, pipe a small dot in the center of each eye hole.
-
5
Use your pink royal icing to pipe four lines extending outward from the green dot in the center of each eye hole.
Pro tip: To get precision lines, start by cutting off a very small amount of your tipless piping bag. Do a test pipe on a paper towel or piece of parchment paper. If the line is squiggly as you pipe, the hole is too small and will need to be cut larger until you can pipe a consistent straight line.
When piping lines, hold the piping bag over the cookie and let the icing “fall” onto the cookie. This creates evenly thick lines. You can use a scribe tool to gently coax any wayward icing into place.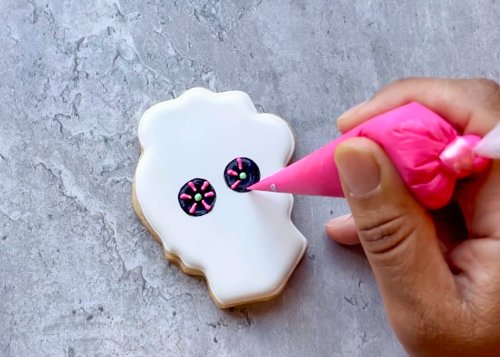
-
6
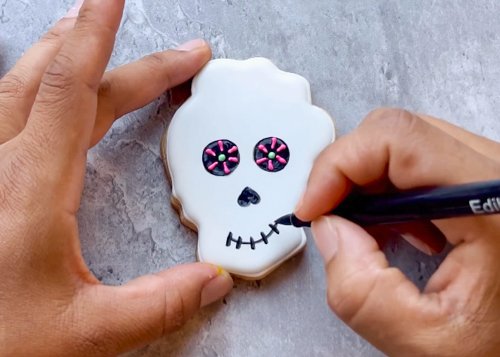
Use your edible marker to draw a nose and mouth onto your sugar skull as shown.
-
7
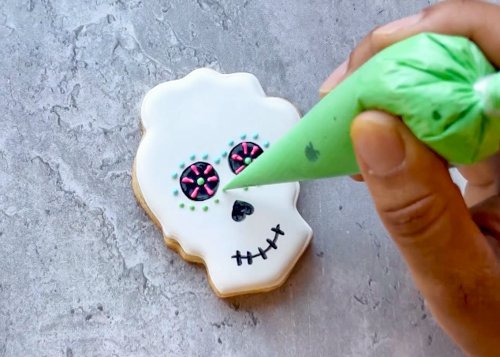
Now it's time to add color & embellishments. Use your light blue royal icing to pipe dots around the upper eyes, then add some color by piping green dots under the eyes.
-
8
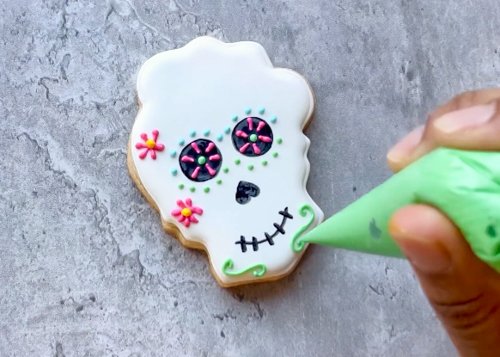
Add flowers to the cheeks of the skull using your pink and yellow royal icing. Pipe lines around the mouth using your green royal icing. Use the same technique mentioned in step 5—let the icing fall into place, and coax any drips or mistakes into place using a scribe tool before the icing dries.
-
9
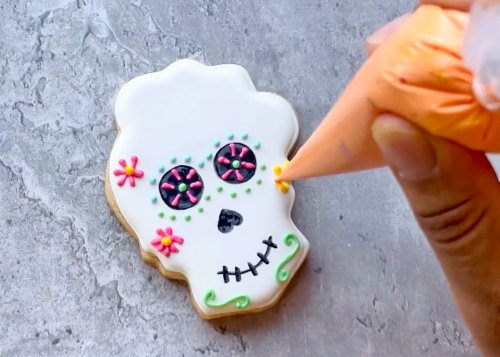
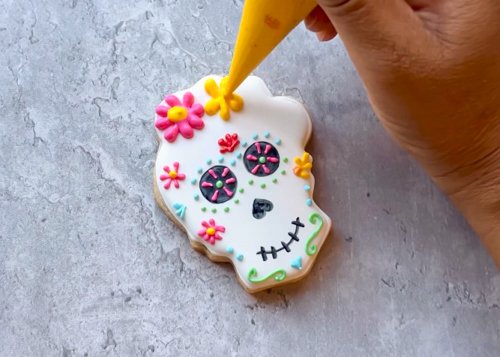
Begin decorating the flower crown by piping a small yellow flower on the right side of the sugar skull.
-
10
Continue creating a colorful flower crown by piping a large pink flower on the wavy right side of the skull. Follow the lines of the skull as a guide for piping flowers.

-
11
Pipe a yellow flower next to the pink flower, again using the cookie cutter shape as a guide. Pipe a few more flowers along the top of the skull until you’re satisfied with the color and design. Be sure to leave some space to pipe green leaves between the flowers.
-
12
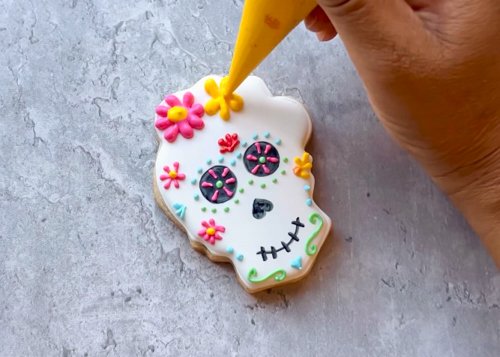
Cut your green piping bag so that the tip makes a small “V.” This will allow you to create a textured leaf shape. Test your piping consistency and cut by doing a test on a paper towel or piece of parchment paper, adjusting your “V” cut as needed until satisfied.
-
13
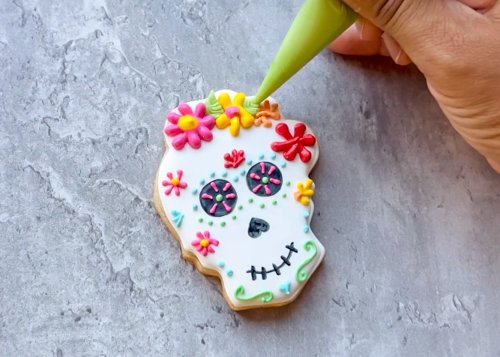
Pipe the leaves of the flowers, starting at the base of the flower and pulling your piping bag outward so that the ends of the leaves form a sharp tip.
-
14

Enjoy!
Cookies decorated by Julia Perugini of Julia’s Cookies


