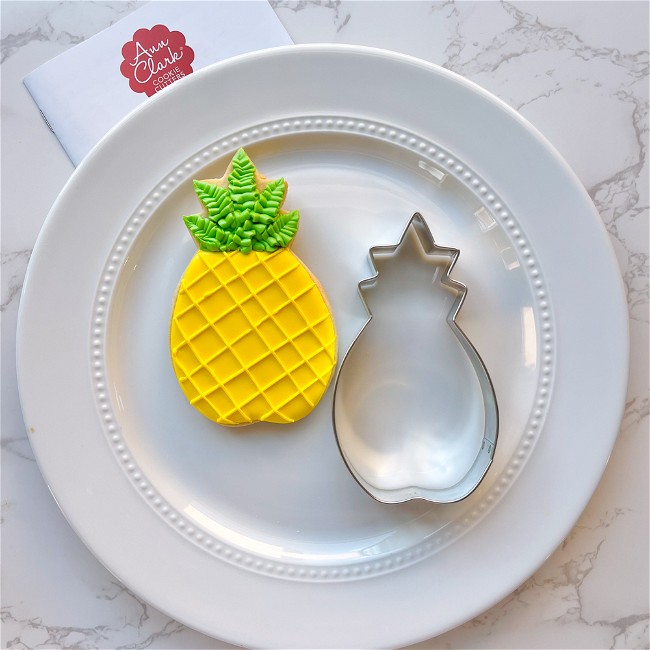
How to Decorate a Pineapple Cookie
If you like piña coladas this shape might be for you!
- Print recipe
- Share on Twitter
- Share on Facebook
- Share on Pinterest
-
1
Bake and cool cookies fully before decorating. Prepare royal icing in the following colors and consistencies:
Outline Consistency:
Yellow
GreenFlood Consistency:
Yellow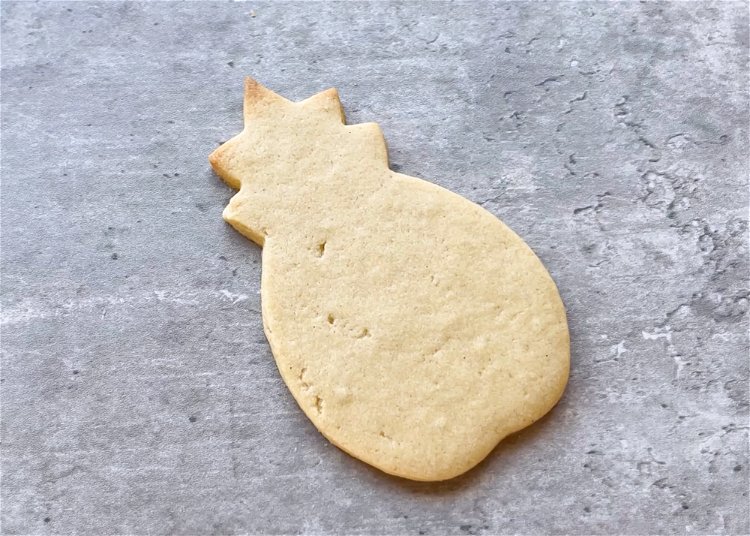
-
2
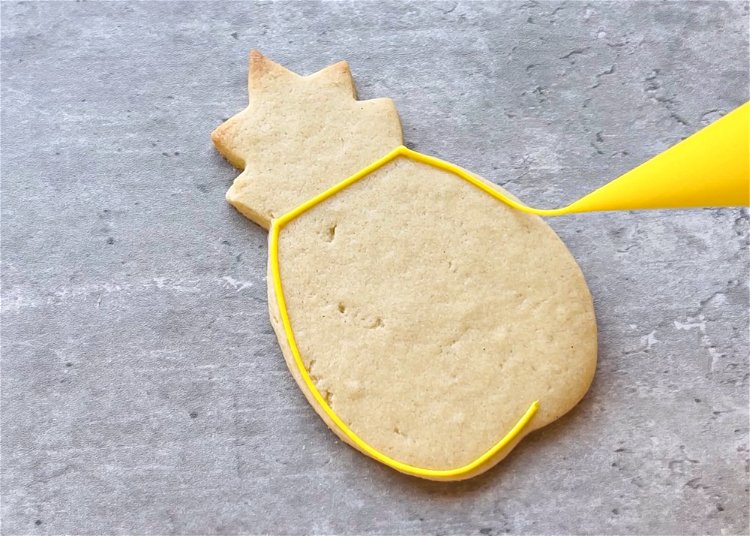
Use your yellow outline consistency icing to outline the entire pineapple shape. Do not outline the section at the top, which will be the leaves of the pineapple.
-
3
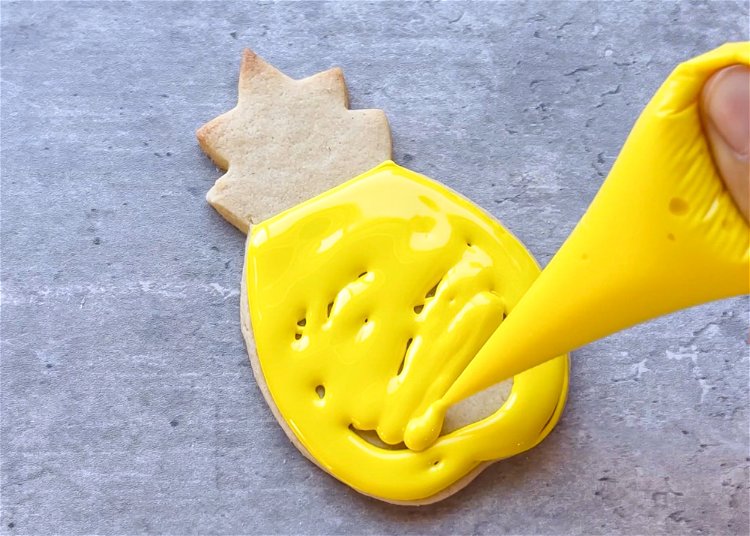
Flood the section you just outlined with yellow flood consistency icing.
-
4
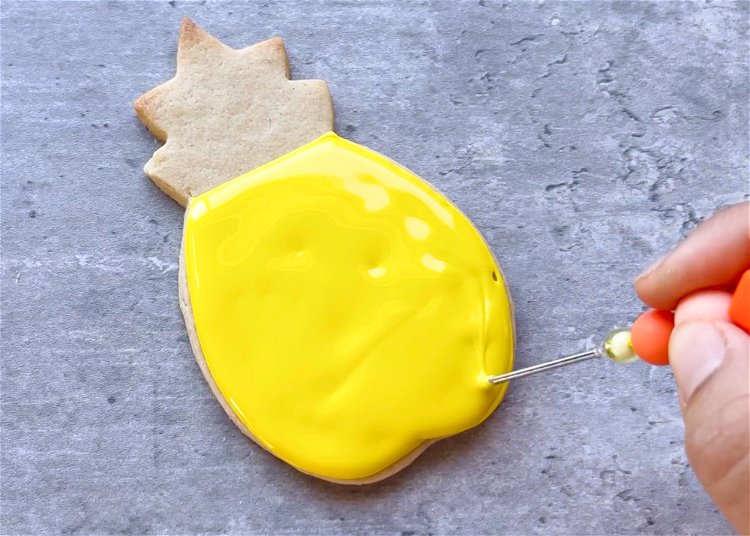
Use a scribe tool or toothpick to gently move the icing around, popping any air bubbles and ensuring full coverage. Wait for this section to dry before moving on to the next step. By allowing it to dry, the details you add in the next step will really pop.
-
5
Use your yellow outline consistency icing to create diagonal lines along the pineapple shape.
Pro tip: To create straight, even lines hold your piping bag above the shape and let the icing fall into place, rather than holding the piping bag close to the cookie.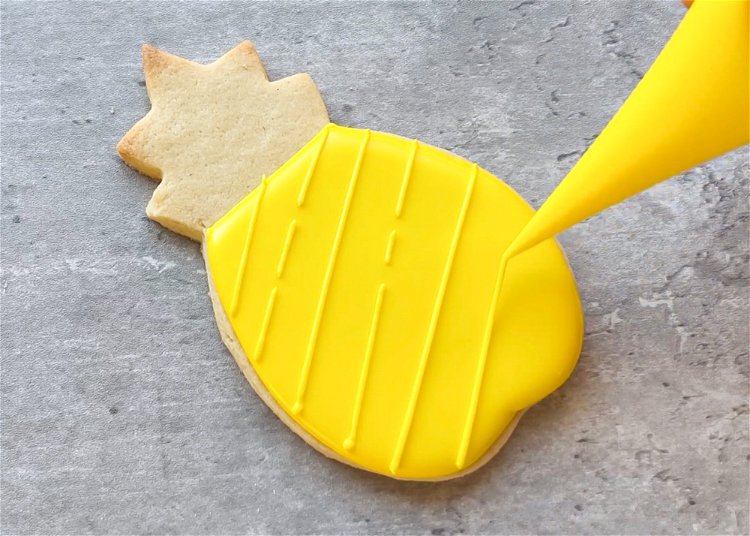
-
6
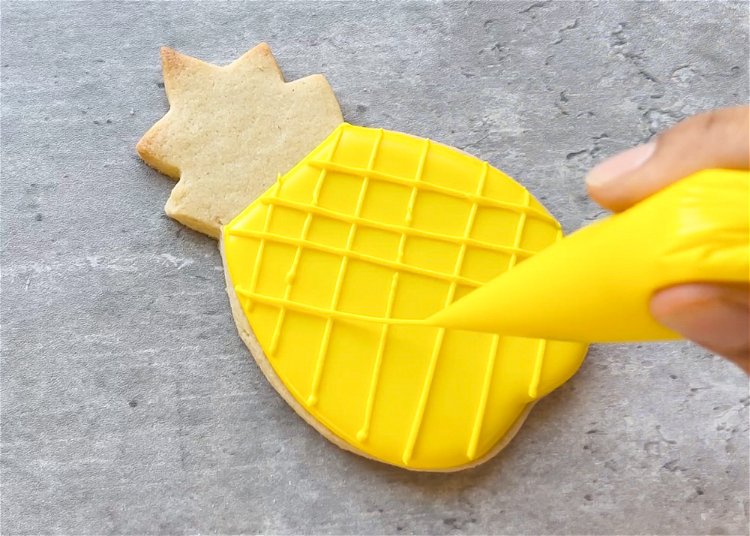
Still using your yellow outline consistency icing, pipe diagonal lines the other way, so that the lines intersect.
-
7
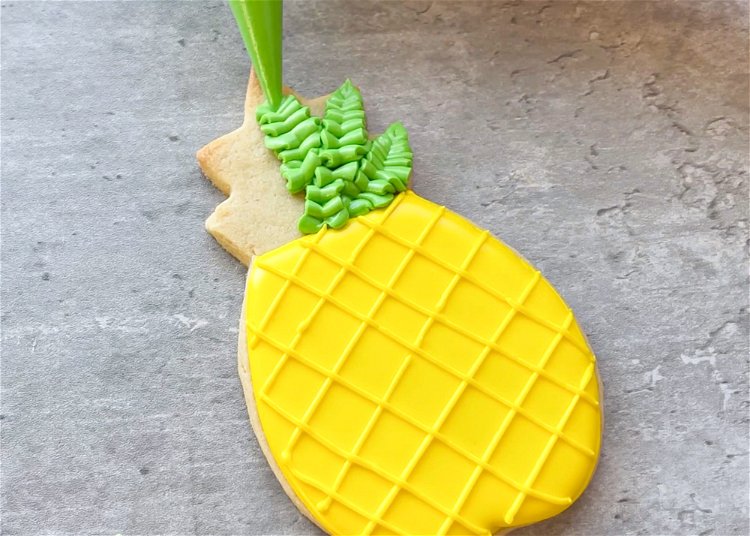
Snip a “V” shaped tip off of the end of your green royal icing tipless piping bag. This shape creates a ruffled look that is great for leaves.
Pro tip: Snip a little at a time, as you can always remove more of the tip, but you can’t add more back on. It may help to do some test runs on a paper towel or piece of parchment paper to ensure you’re getting the correct texture and width for your leaves.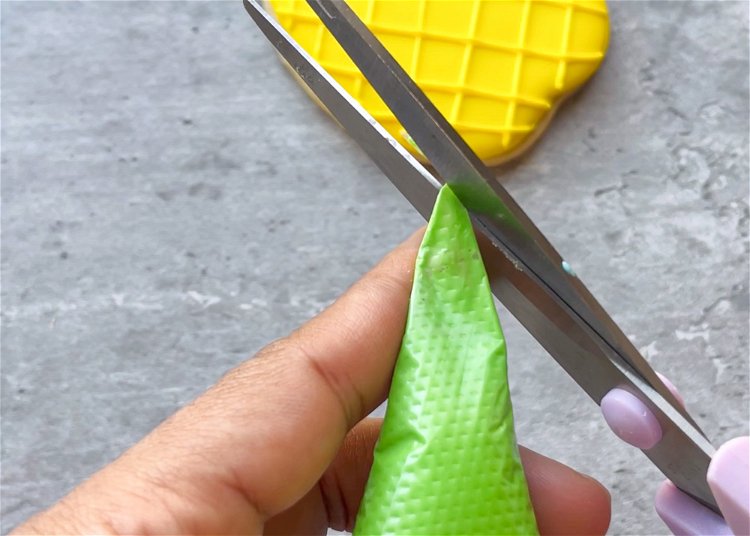
-
8
Pipe leaves on the pineapple.
-
9
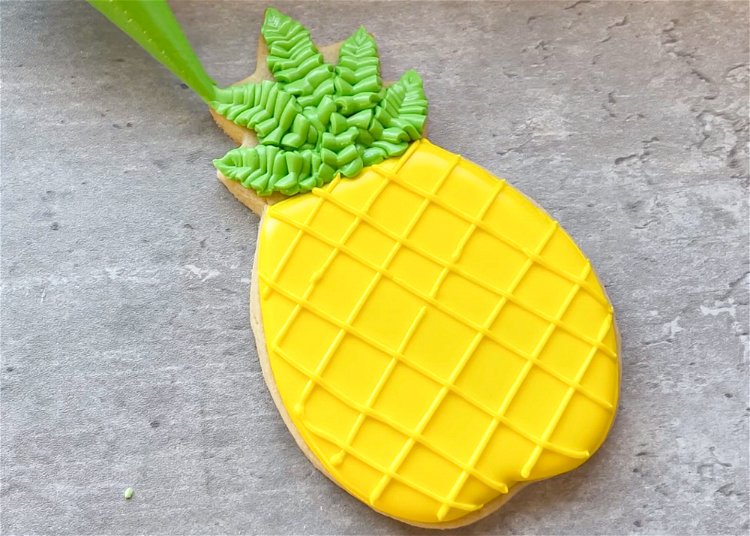
When piping leaves, it will help to start at the base of the leaf—where it rises from the pineapple fruit, and then pipe out to the tips of the leaves, ending in a point.
-
10

Recipe Video
Enjoy!
Cookies decorated by Julia Perugini of Julia’s Cookies


