How to Decorate a Plaid Shamrock Cookie
Sham-rock your next bake with this iconic plaid shamrock design! Julia used a wet-on-wet technique to create a yellow, white, and green plaid pattern on these shamrock cookies.
- Print recipe
- Share on Twitter
- Share on Facebook
- Share on Pinterest

-
Shamrock Cookie Cutter
-
4 Tipless Piping Bags
-
Leaf Green Food Coloring
-
Lemon Yellow Food Coloring
-
Bright White Food Coloring
-
Spatulas & pint glasses to fill your piping bags
-
Scissors
-
1
Bake and cool cookies before decorating. Make sure cookies are fully cooled. If they are warm, the icing will run off of them. Ann Clark's No-Fail Sugar Cookie Recipe works well for St. Patty's Day cookies, or you can see green with our signature Pistachio Cut-Out Cookie Recipe.
Make royal icing. Learn how to mix different consistencies of royal icing here»
Prepare the following icing colors:
Piping Consistency:
GreenThick Flood Consistency:
Green
Yellow
White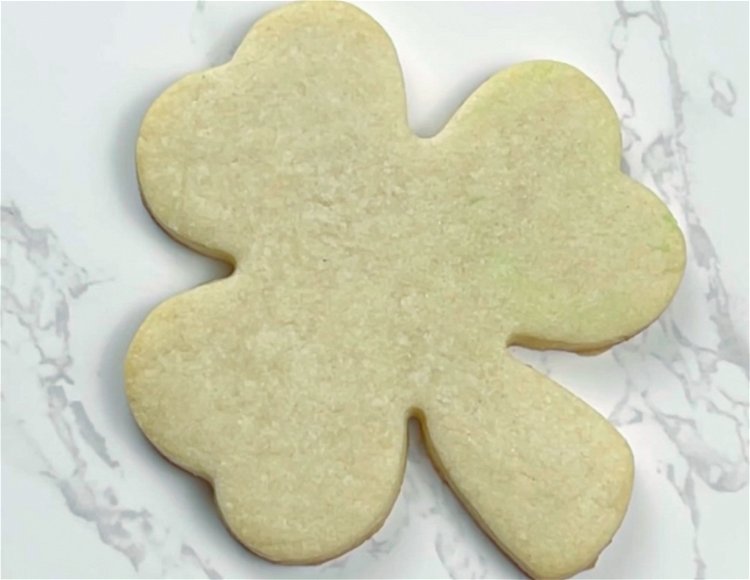
-
2
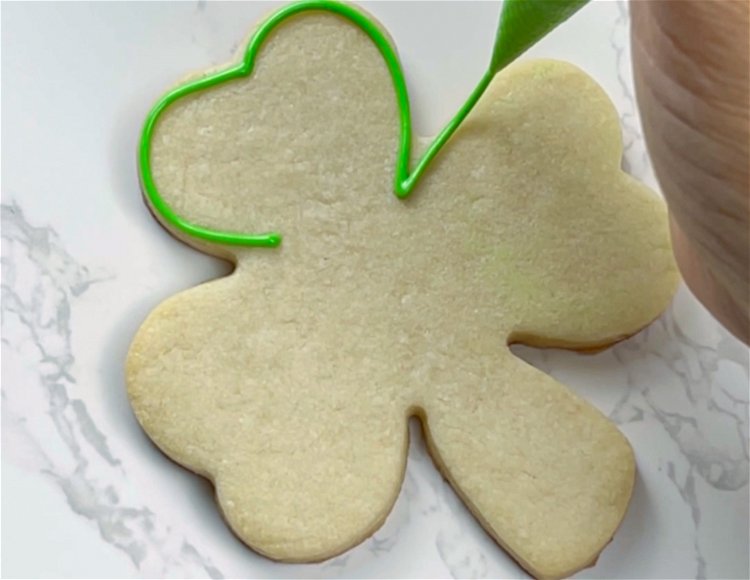
Cut the tip off of your disposable piping bag filled with green piping consistency icing. Make sure you leave a small tip for precision when piping. However, if you leave too small of a hole, your piping will be squiggly--make sure you're able to pipe even, consistent lines. Outline the shamrock leaves with your green piping consistency icing.
-
3
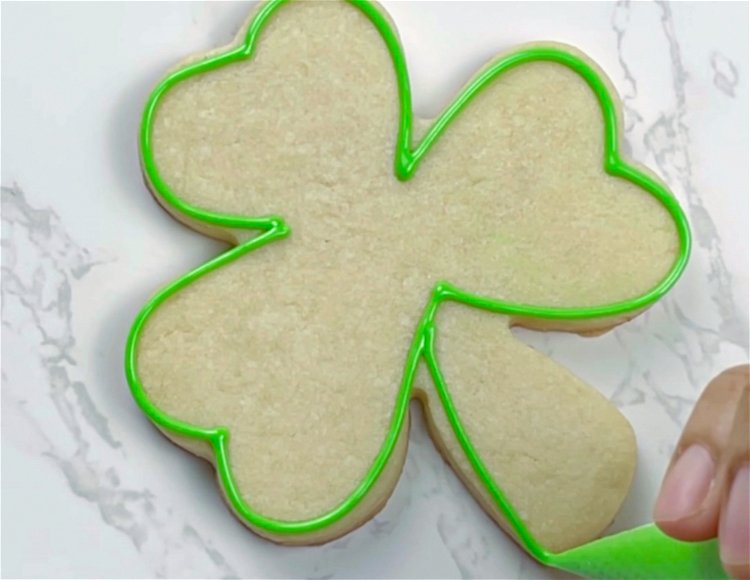
Using the green piping/outline consistency icing, outline the stem of the shamrock. Outlining the stem separate from the leaves will create a nice differentiation between the two parts of the cookie.
-
4
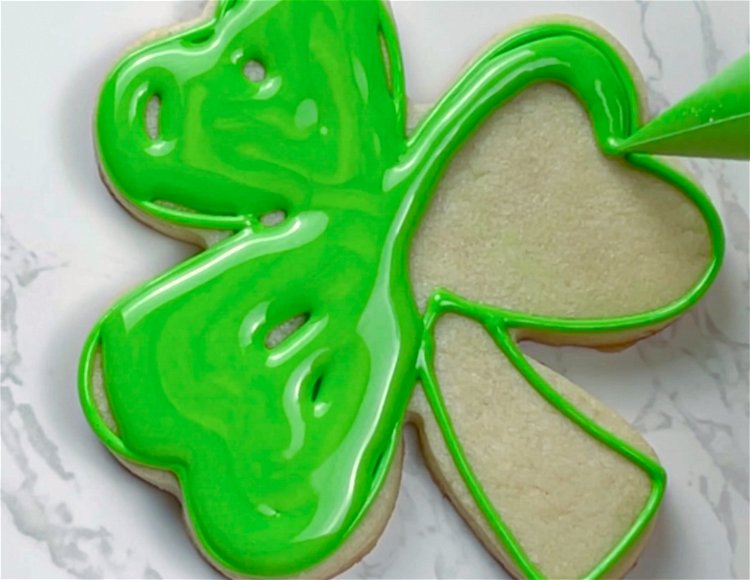
Flood the leaves of the shamrock with green flood consistency icing. Move quickly to the next steps, as they need to be done while your base flood is still wet.
-
5
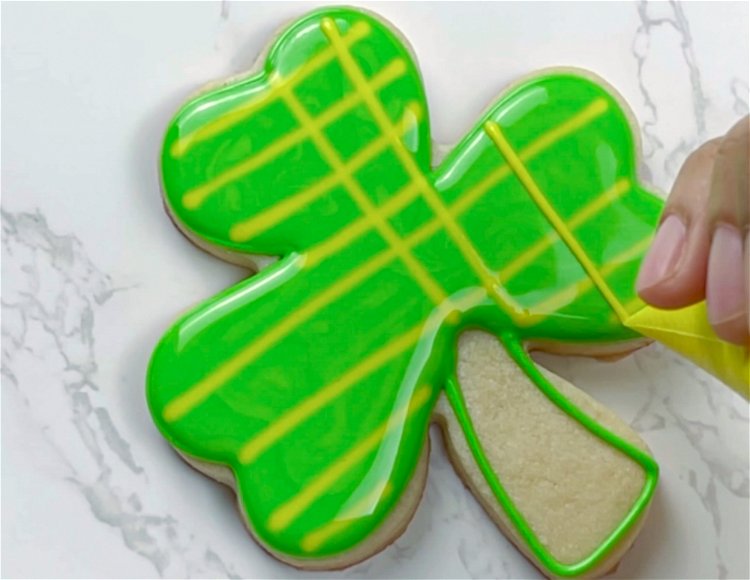
Using your yellow thick flood consistency icing, pipe horizontal lines across the shamrock. Be sure that your lines are thin and neat, as you'll be piping white lines between them.

-
6
Pipe vertical yellow lines using your yellow thick flood consistency icing to create a checked pattern.
-
7
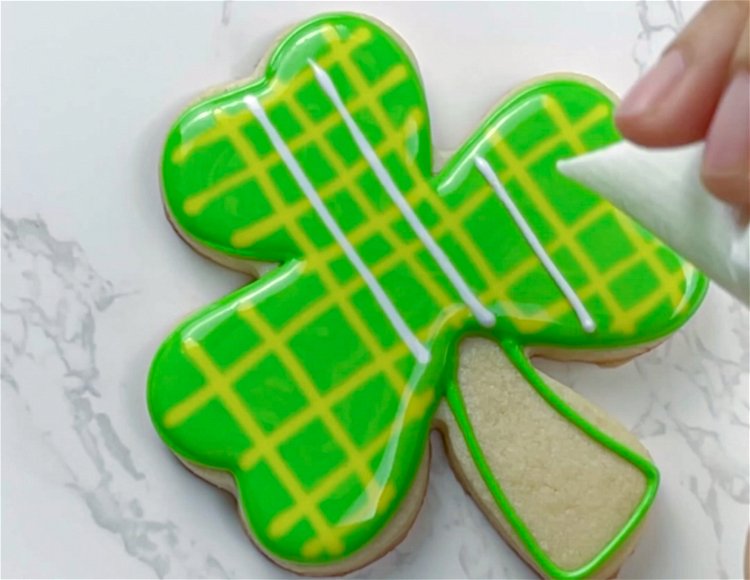
Now, pipe white vertical lines between your yellow checkerboard lines. Be sure to use a tipless piping bag, cutting off just enough to get thin, neat lines.
-
8
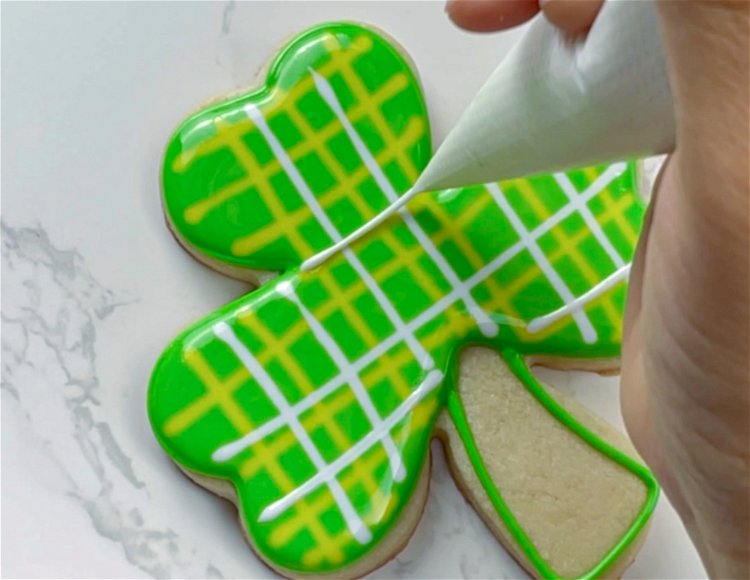
Pipe white horizontal lines between your yellow horizontal lines to create a plaid pattern. Wait for this design to dry for about 45 minutes, or until it is just crusted over before moving to step 9. It may help to place your cookies under a fan to speed the drying process.
-
9
Fill in the stem of your shamrock with green flood icing. Move quickly to the next step, as your base flood needs to be wet for the design.

-
10
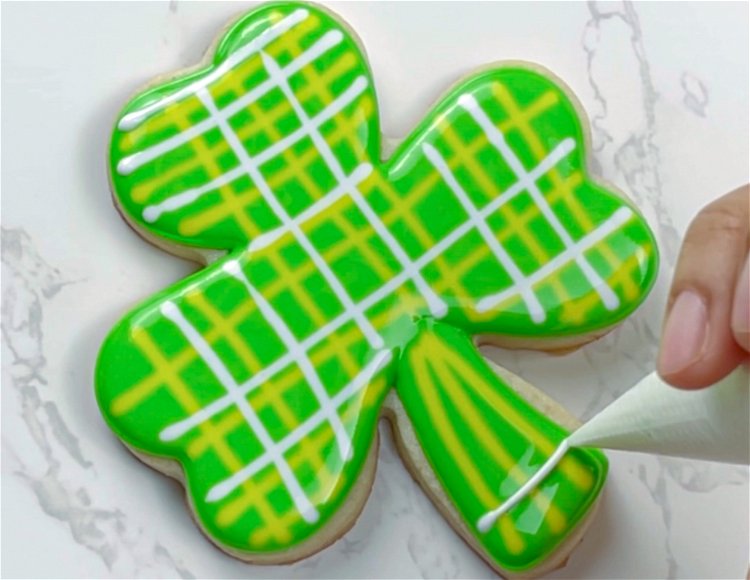
Pipe three vertical lines and two horizontal lines of yellow icing on the stem of the shamrock.
-
11
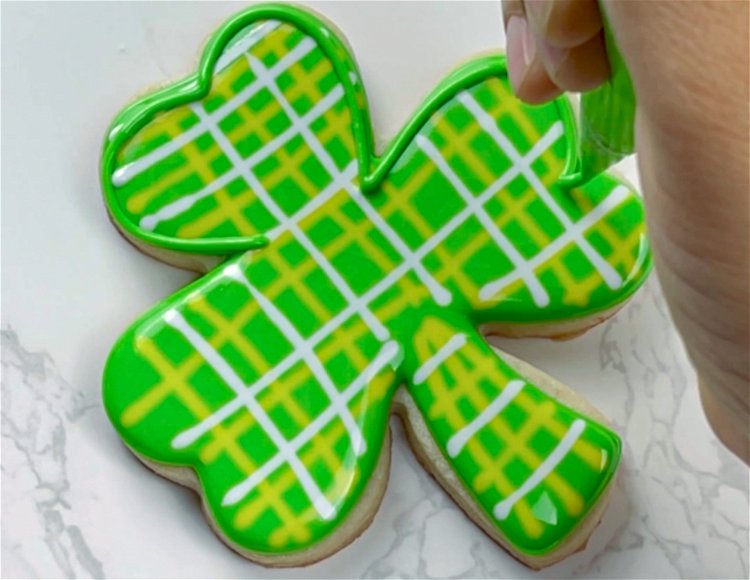
Pipe three horizontal lines of white icing on the stem of the shamrock to create a plaid pattern. Wait for this area to dry until just crusted over, about 45 minutes. You can speed the drying process by placing the cookies under a fan.
-
12
Once your royal icing has just crusted over, outline first the leaves and then the stem of the shamrock with green piping consistency icing. This adds a bit more detail and definition to the cookie.

-
13
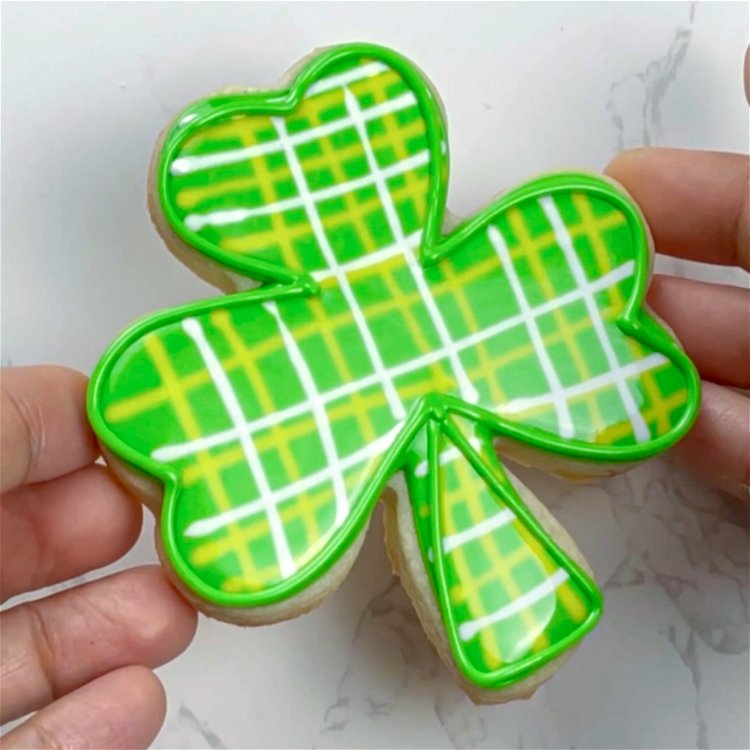
There you have it! This plaid shamrock design is sure to be popular at your St. Patty's Day party!
-
14
This classic design is perfect for St. Patty’s Day.

Recipe Video
Cookies decorated by Julia Perugini of @juliascookiesaz


