How to Make Bee Royal Icing Transfers
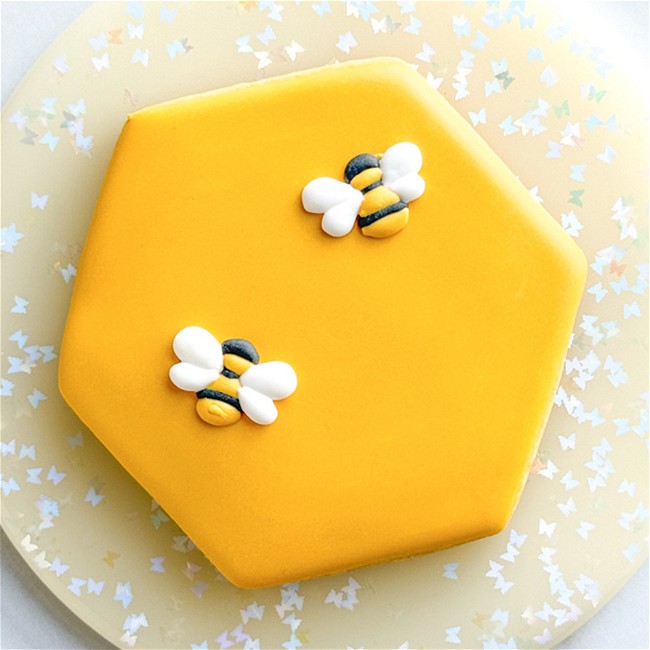
Royal icing transfers are a great way to quickly add details to your custom cookies. They need to dry for up to 24 hours, but once dry, they will keep in an airtight container at room temperature for weeks. Once you're ready to use them, simply adhere to your cookie with a dab of outline-consistency royal icing.
- Print recipe
- Share on Twitter
- Share on Facebook
- Share on Pinterest
-
Outline consistency golden yellow royal icing
-
Outline consistency black royal icing
-
Outline consistency white royal icing
-
1
Before you start, make sure that your icing is the correct consistency. It should be roughly the consistency of toothpaste. To achieve a warm yellow color, mix in a tiny amount of Mocha Brown gel food coloring in with your lemon yellow royal icing base.
-
2
Print out a clip art image of a bee. Simpler images are easier to do—consider that you will be hand-piping the details when choosing an image.
-
3
Place a flat piece of parchment paper on top of the image. With the black outline consistency icing, pipe over the sections of the bee that are black. Let this icing dry for at least 10-15 minutes before moving onto the next step.
Pro Tip: Using outline consistency when piping transfers is beneficial for many reasons. It gives you more control over the placement of the icing, which is important when creating these small designs. It also allows the transfers to dry faster due to less moisture content in the icing, which also results in a more stable transfer that won’t be too fragile to handle. You’ll want to have your scribe tool or toothpick handy when piping transfers, to help the icing settle and make your designs more precise due to the small surface area.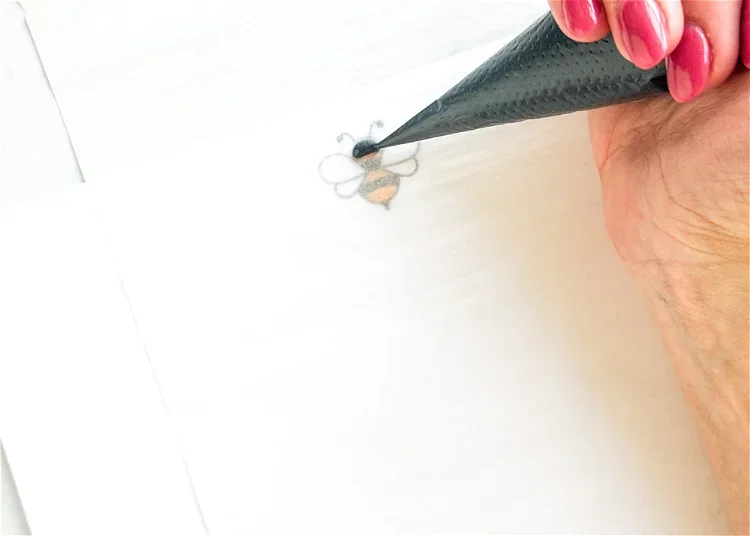
-
4
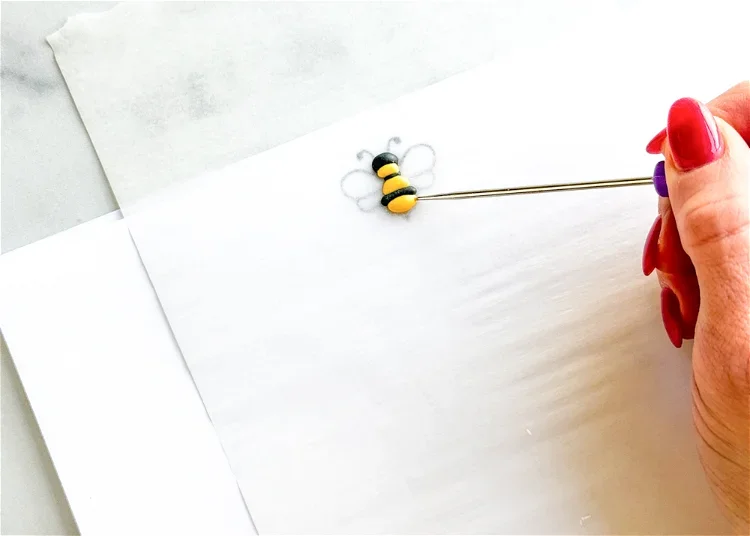
Using the yellow outline consistency icing, pipe the yellow sections of the bee. Let this icing dry for at least 10-15 minutes before moving onto the next step.
-
5
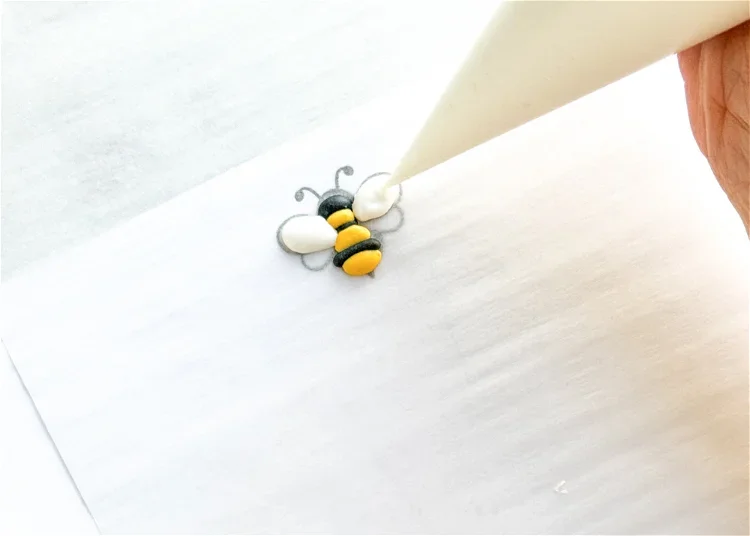
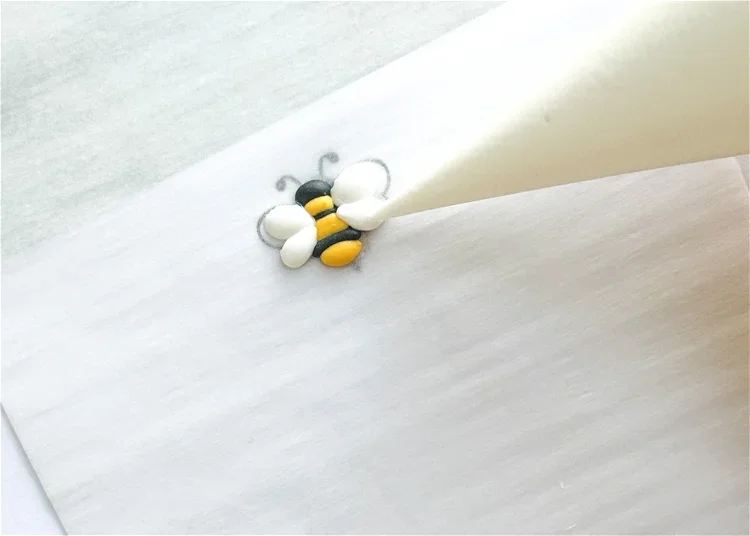
Using the white outline consistency icing, pipe the top of the bee’s wings. Let this icing dry for at least 10-15 minutes before moving onto the next step. This will ensure that you will have a nice separation between the two parts of the wings.
-
6
Pipe the other wing with the outline consistency icing. Let them transfers dry fully for 8-12 hours, or until they easily slide off the parchment. If you try to remove them too soon, they may break.
-
7
Once the transfers have completely dried and easily slide off the parchment paper when moved, carefully pipe a small squiggle of outline consistency icing onto the back of the bee transfer and attach it to your cookie.
Pro Tip: When attaching transfers to a cookie design, it’s best practice to use an outline consistency icing of the same color of the base of the cookie so that if any icing leaks out from under the transfer, or if the transfer is translucent in any way, that the color of the icing used to adhere the transfer to the cookie matches the flooded base of the cookie.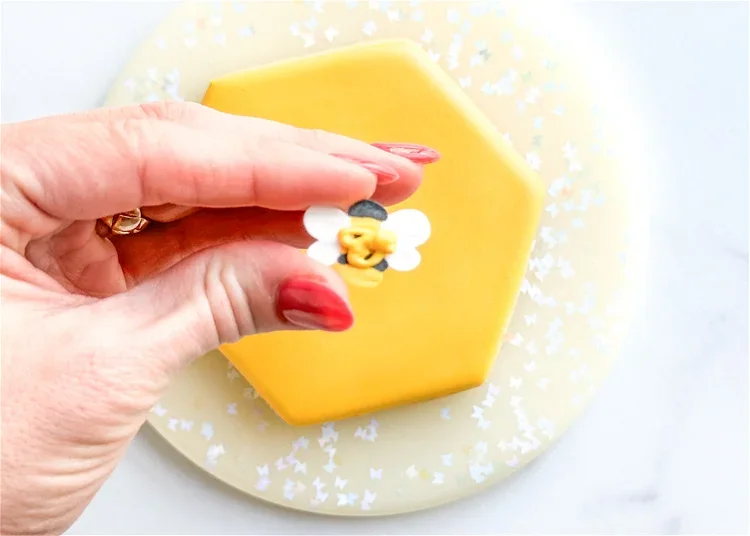
Recipe Video
Tutorial by Laura Luk of Butterfly Bakes Atlanta.


