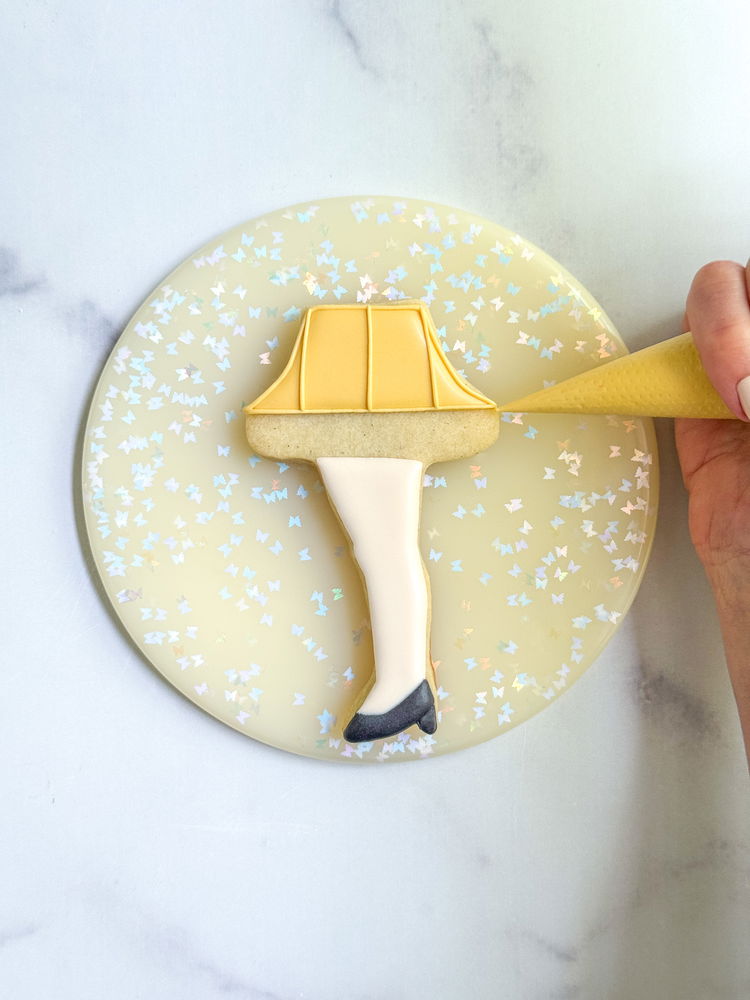
Leg Lamp Decorating Tutorial
Who needs a BB gun when you can have a leg lamp cookie? Learn how to decorate this iconic shape for your holiday party!
- Print recipe
- Share on Twitter
- Share on Facebook
- Share on Pinterest
-
Leg Lamp Cookie Cutter
-
Royal Icing
-
8 tipless piping bags
-
Bright White Food Coloring
-
Lemon Yellow Food Coloring
-
Mocha Brown Food Coloring
-
Super Black Food Coloring
-
Scribe tool or toothpick
-
1
Bake and cool cookies fully before decorating. Prepare royal icing in the following colors and consistencies:
Outline/Piping Consistency:
Ivory
White
Black
Gold (Add small amounts of yellow and brown gel food coloring to fresh royal icing until a golden color is achieved)Flood Consistency:
Ivory
Black
Gold (Add small amounts of yellow and brown gel food coloring to fresh royal icing until a golden color is achieved)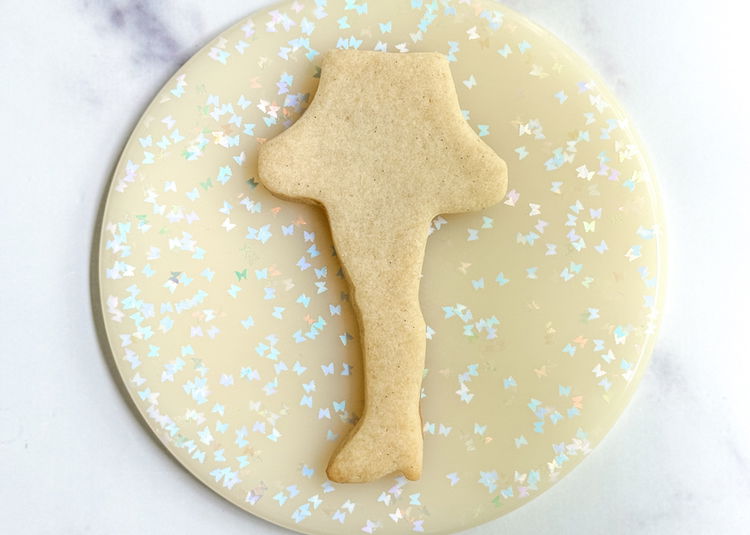
-
2
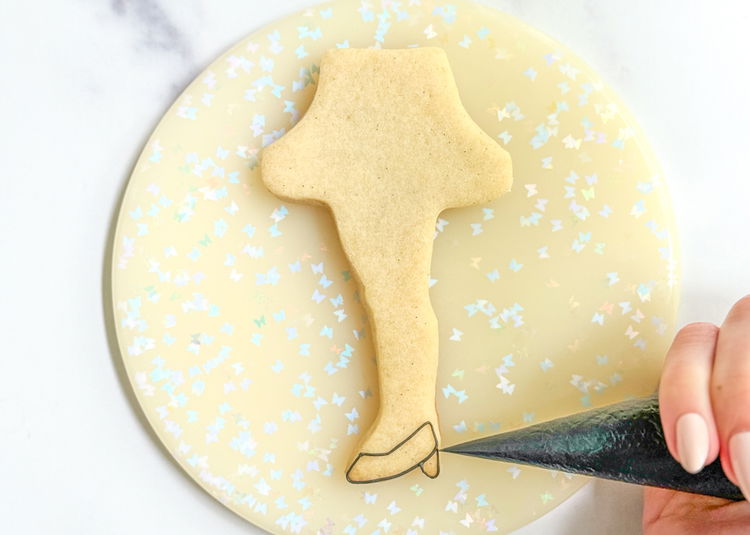
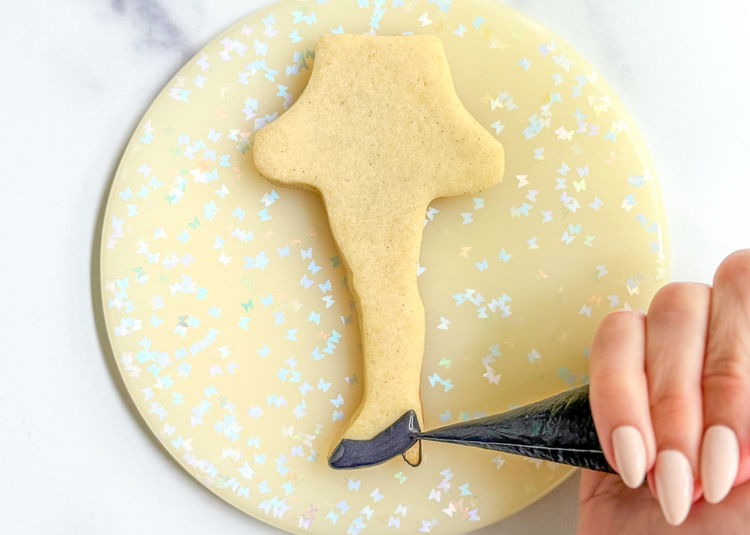
Using the black outline consistency, outline the heel in two sections as shown in the photo.
-
3
Fill in the larger section of the shoe with the black flood consistency icing.
-
4
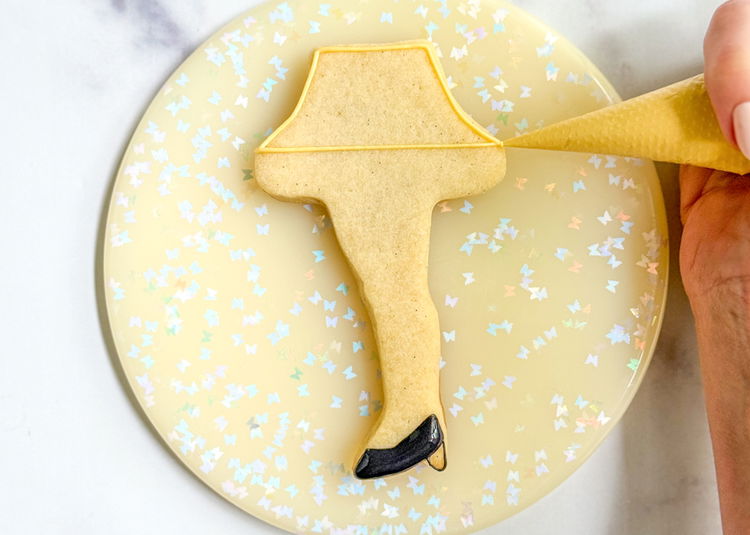
Using the gold outline consistency icing, outline the lamp shade as shown in the photo. Be sure to leave space at the base of the lampshade for the fringe.
-
5
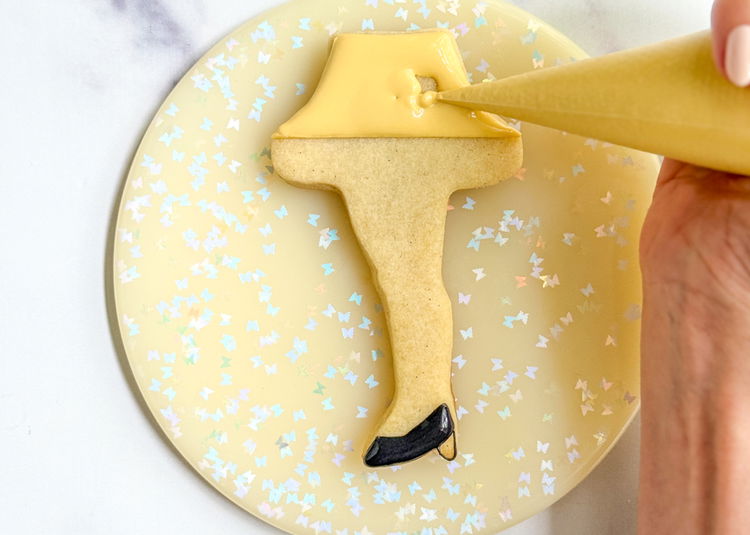
Fill in the lamp shade with the gold flood consistency icing.
-
6
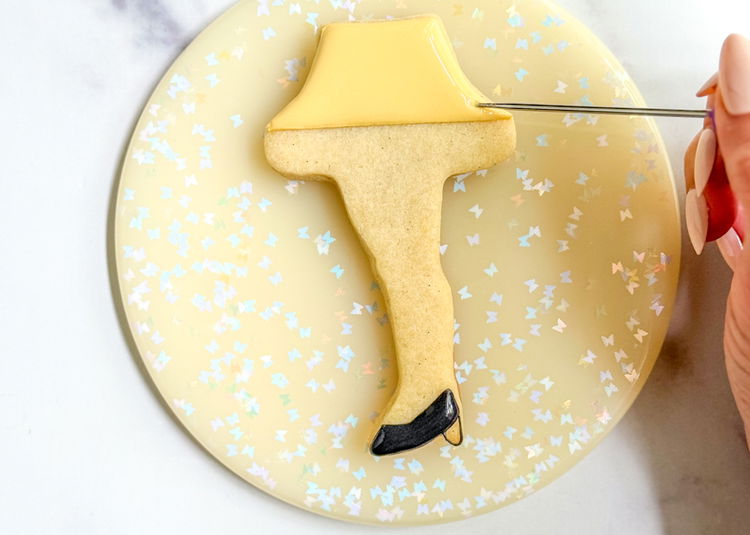
Use a scribe tool or toothpick to smooth out the icing and pop any air bubbles that may come to the surface. You can also use your scribe tool or toothpick to gently coax the icing into place.
-
7
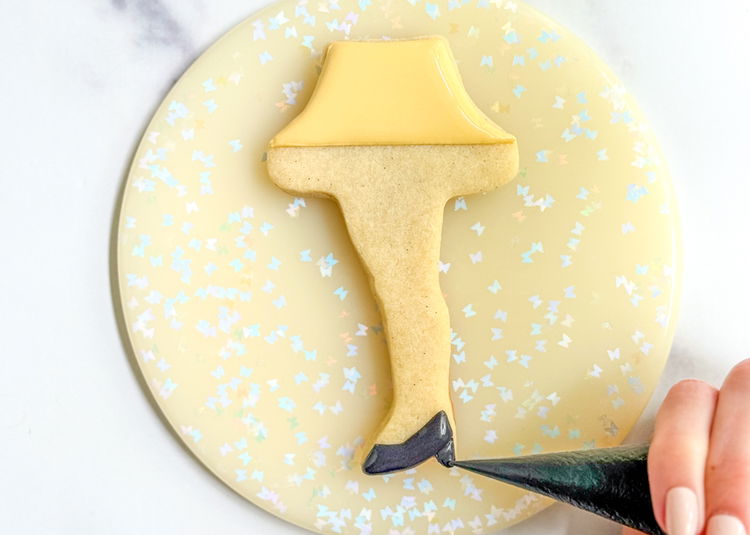
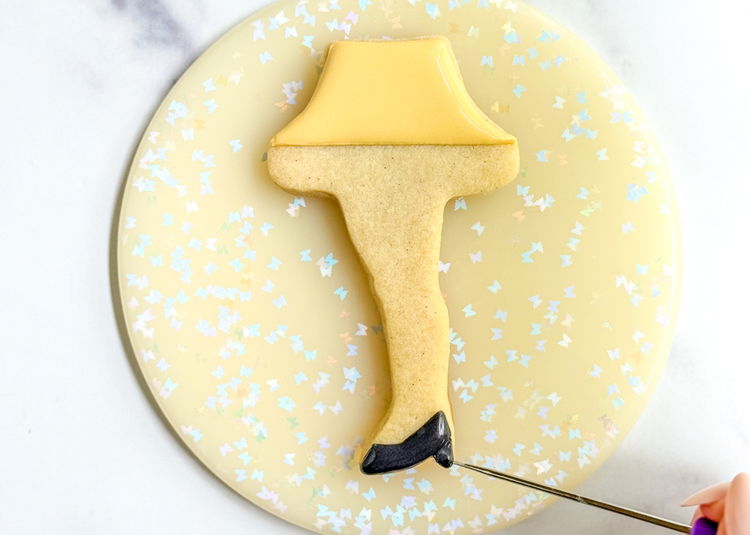
Using the black outline consistency icing, fill in the heel portion of the shoe. Use a scribe tool to smooth out the icing.
-
8
Pro Tip: Using the thicker outline consistency is effective here because tiny sections like these are prone to icing “cratering.” Cratering causes holes or sinking in the icing as it dries. It’s why you’ll oftentimes see cookie artists add a squiggle of outline consistency icing onto the base, or even poking holes in the cookie with a scribe tool, before flooding. With very small sections like these, we suggest using outline consistency to fill in so we can skip those steps, and fairly easily manipulate the icing with a scribe tool or toothpick to settle it.
-
9
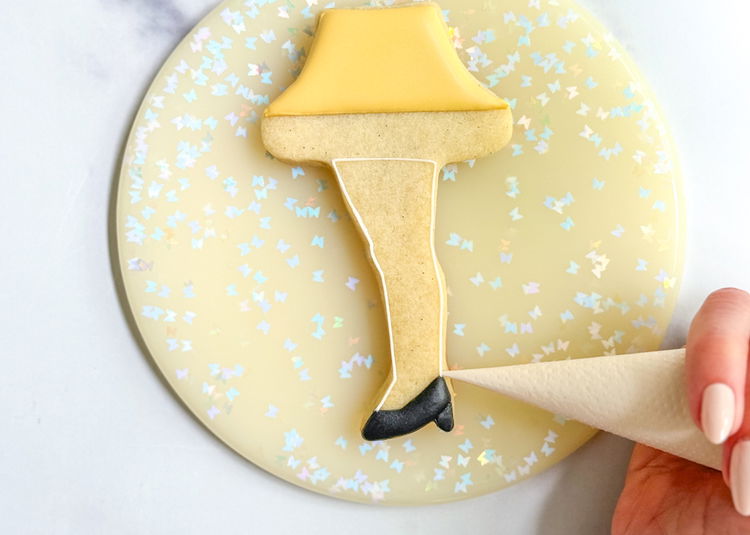
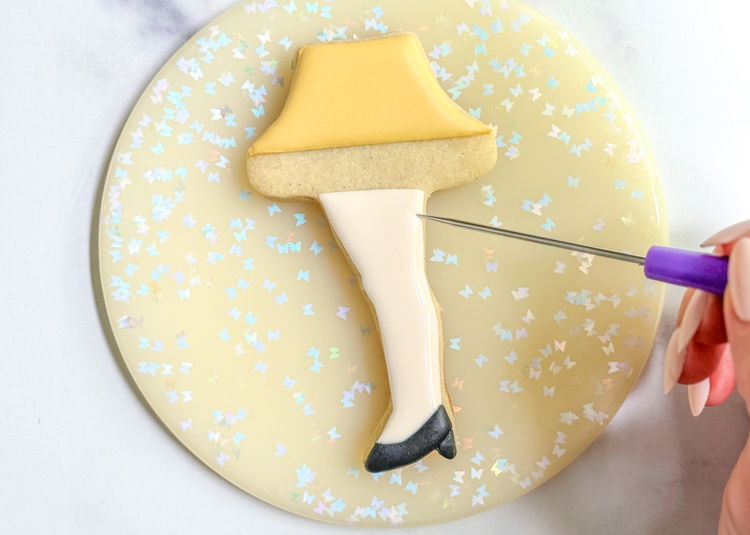
Outline the shape of the leg with the ivory outline consistency icing, as shown in the photo.
-
10
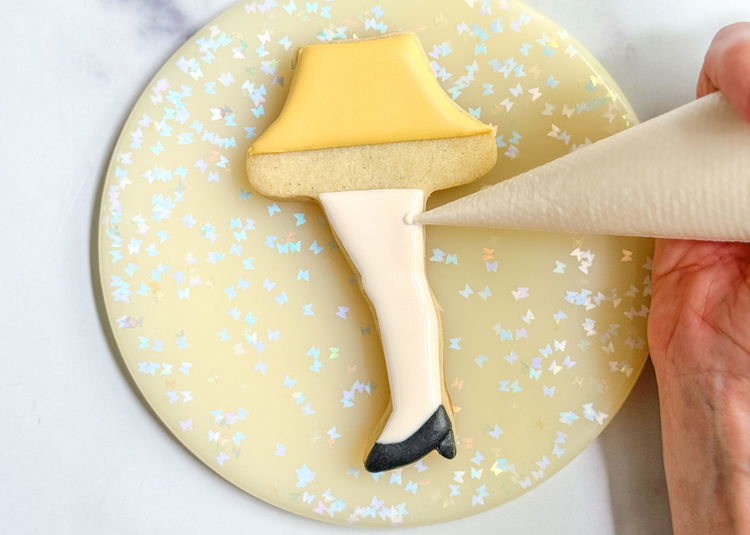
Fill in the shape of the leg with the ivory flood consistency icing.
-
11
Smooth out the icing and pop any air bubbles with a scribe tool or toothpick.
-
12
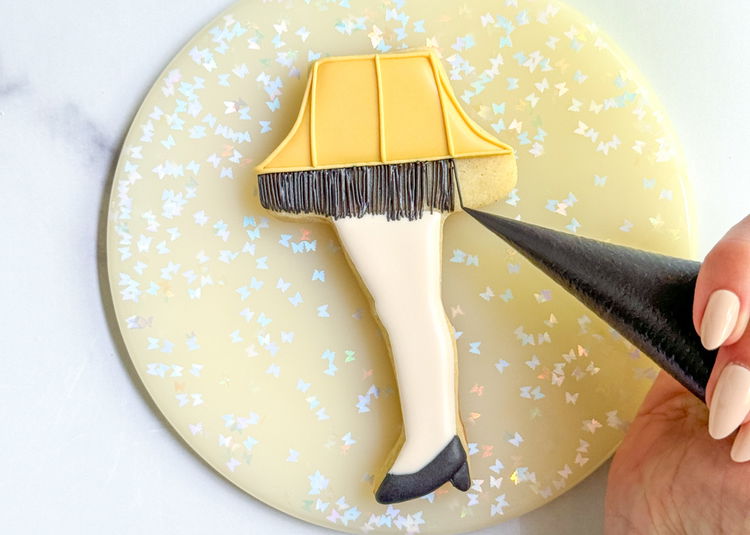
Using the gold outline consistency icing, outline the shape and sections of the lamp shade as shown in the photo.
-
13
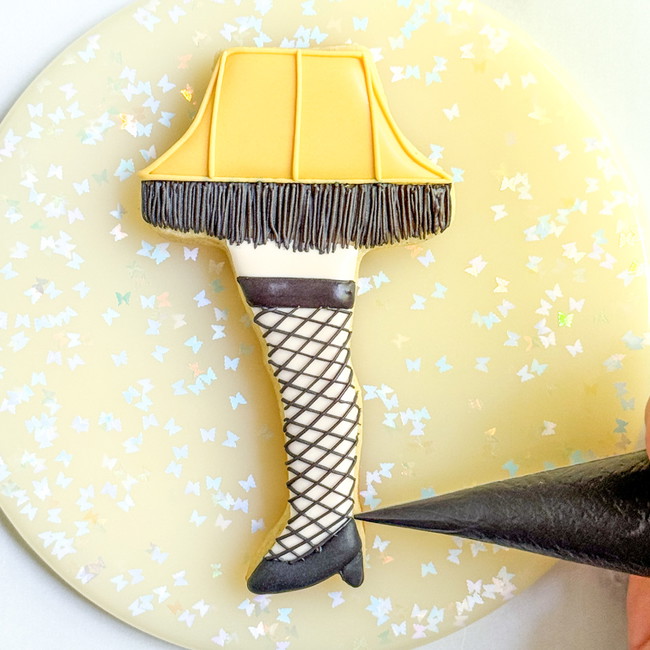
Time for the fringe! Using the black outline consistency icing, pipe the fringe detail, covering the entire area between the bottom of the lamp shade and the top of the leg. You may choose to do two layers of fringe to fully cover.
Pro Tip: Cut a small hole in your icing bag to get a more defined, realistic fringe look. If you cut a hole that is too big, simply stop and pipe your icing into a new bag to cut a smaller hole. It may help to do some test lines on a paper towel or parchment paper to ensure that you have the correct consistency and hole size for piping the fringe.
-
14
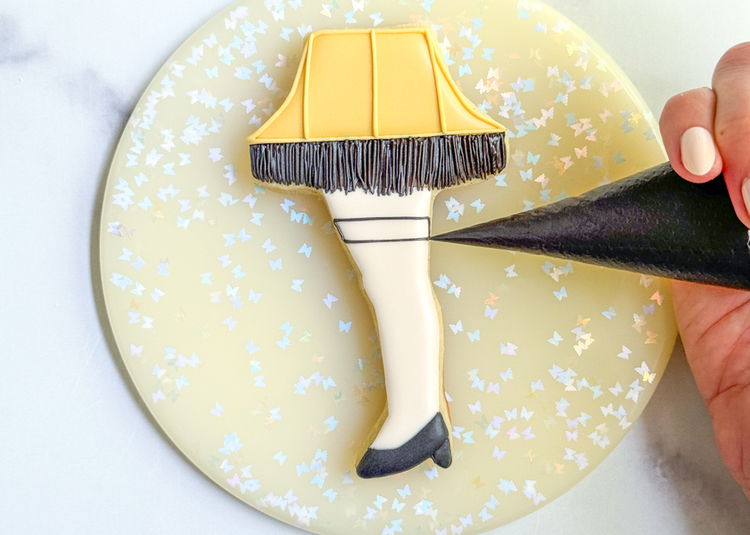
Using the black outline consistency icing, pipe a small rectangle about half an inch below the top of the leg. This will be the top of the stocking.
-
15
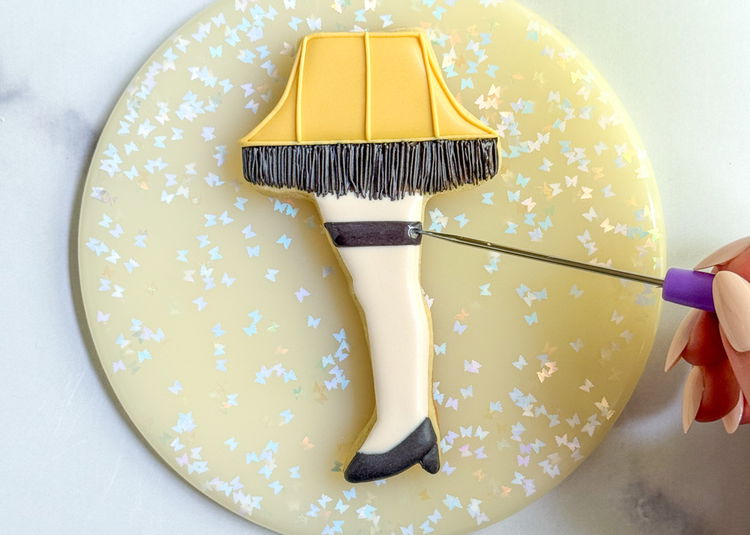
Fill in this section with the black flood consistency icing and smooth out the icing with a scribe tool or toothpick.
-
16
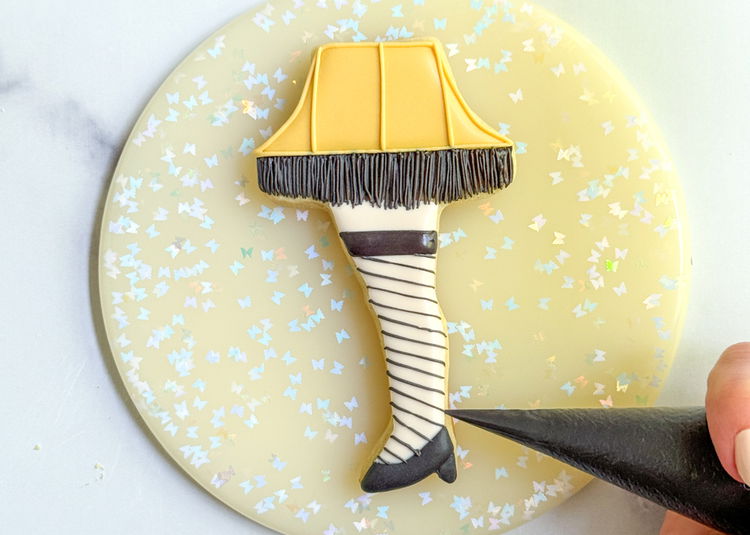
Using the black outline consistency icing, pipe diagonal lines in one direction starting at the top of the stocking and down to the shoe.
Pro Tip: Hold your piping bag slightly above the cookie, and let the icing fall into place. This ensures clean, straight, and consistent lines. You can gently move the icing into place with a toothpick or scribe tool.
-
17
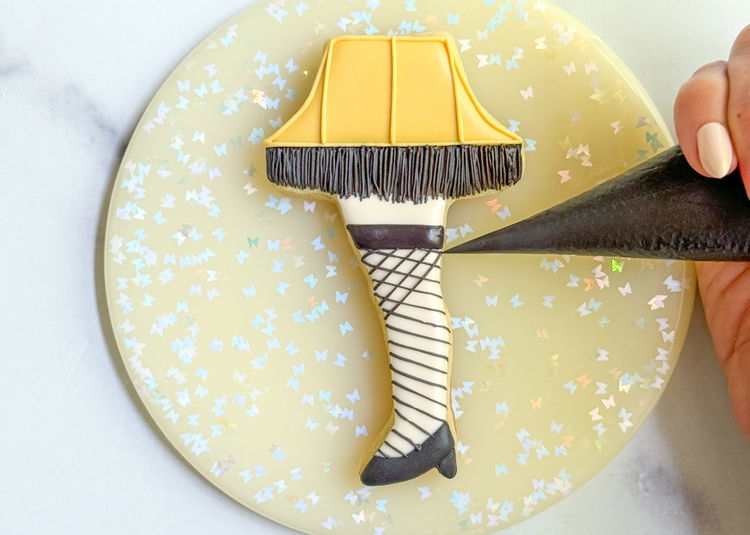
Repeat the previous step, making diagonal lines in the opposite direction - creating a criss-cross pattern mimicking fishnet stockings.
-
18
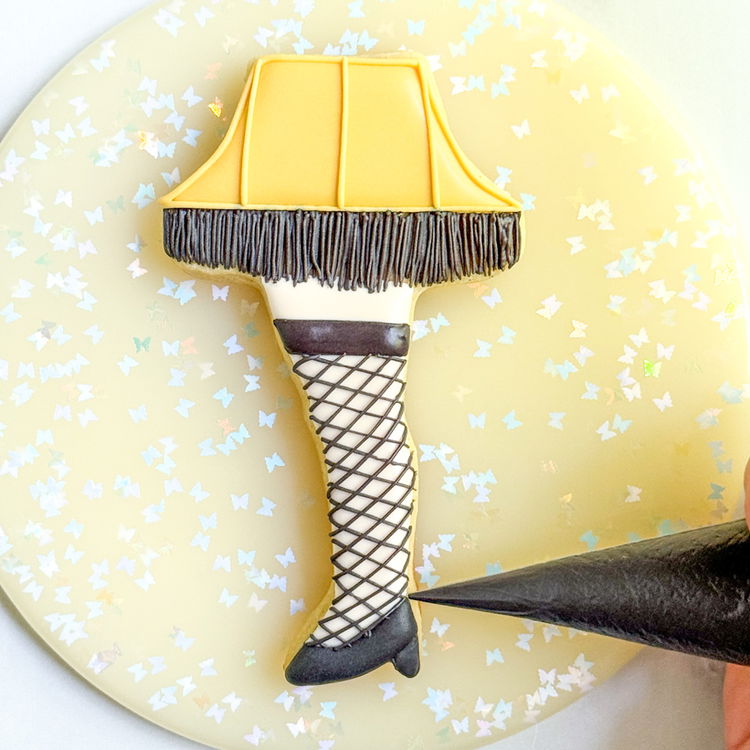
Continue creating the criss-cross shape to create the fishnet stockings.
-
19
Enjoy!
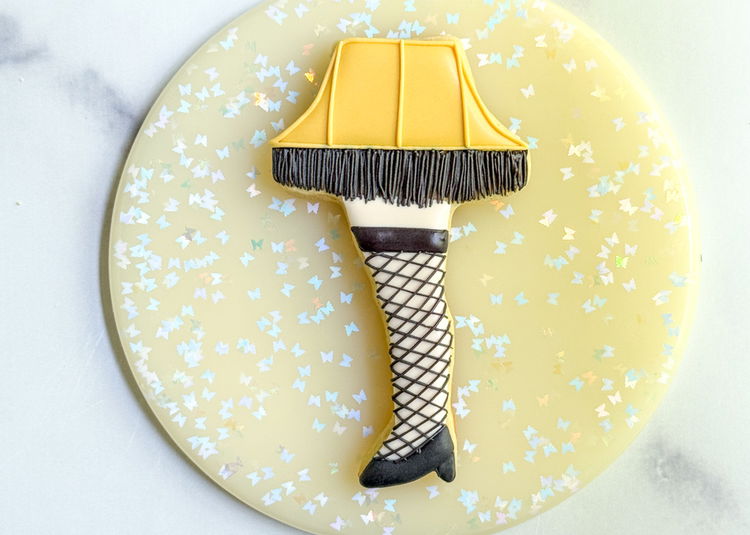
Cookie decorated by Laura Luk of Butterfly Bakes


