Light Bulb Decorating Tutorial
Light up the Christmas spread this holiday season with this shape inspired by vintage Christmas lights.
- Print recipe
- Share on Twitter
- Share on Facebook
- Share on Pinterest
-
Light Bulb Cookie Cutter
-
Royal Icing
-
3 tipless piping bags
-
Super Red Food Coloring
-
Lemon Yellow Food Coloring
-
Mocha Brown Food Coloring
-
Scribe tool or toothpick
-
1
Bake and cool cookies fully before decorating. Prepare royal icing in the following colors and consistencies:
Outline/Piping Consistency:
Red
Gold (Add small amounts of yellow and brown gel food coloring to fresh royal icing until a golden color is achieved)Flood Consistency:
Red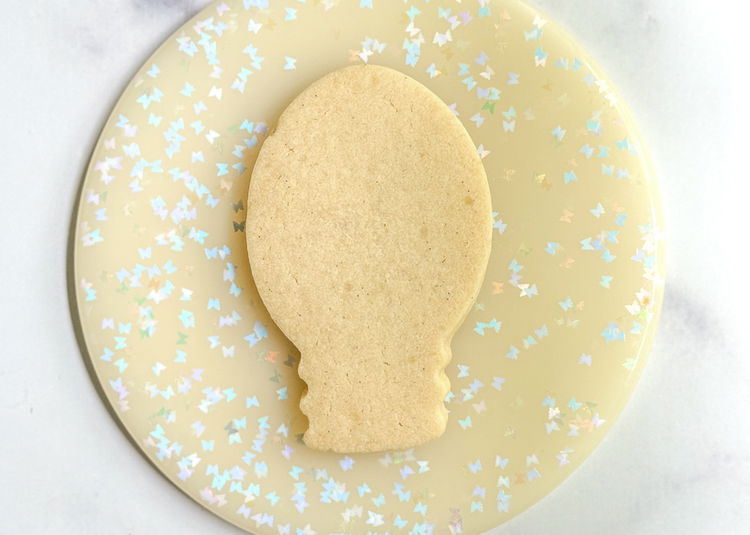
-
2
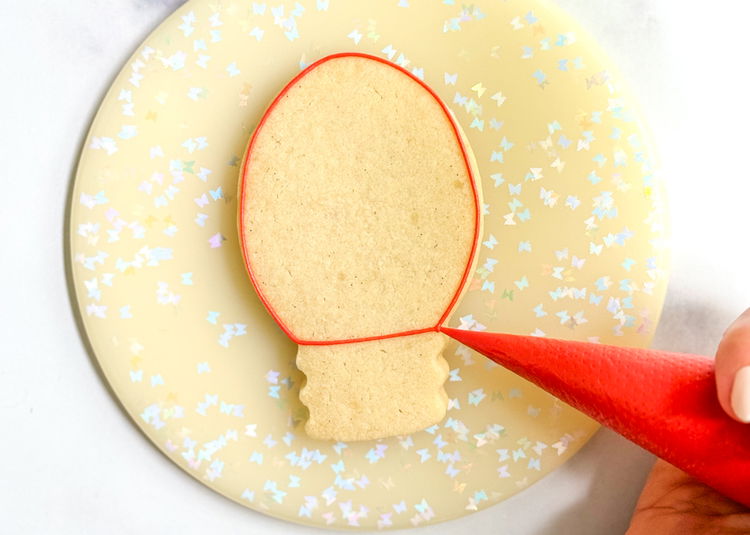
Using the red outline consistency icing, outline the top section of the light bulb shape.
-
3
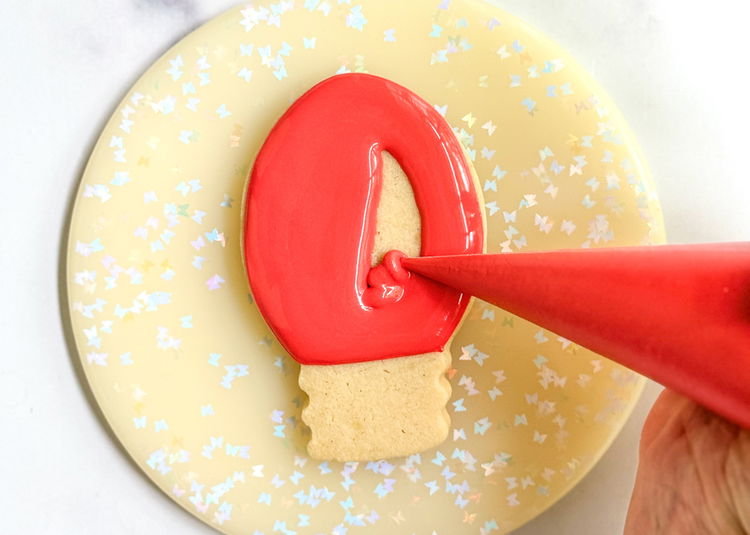
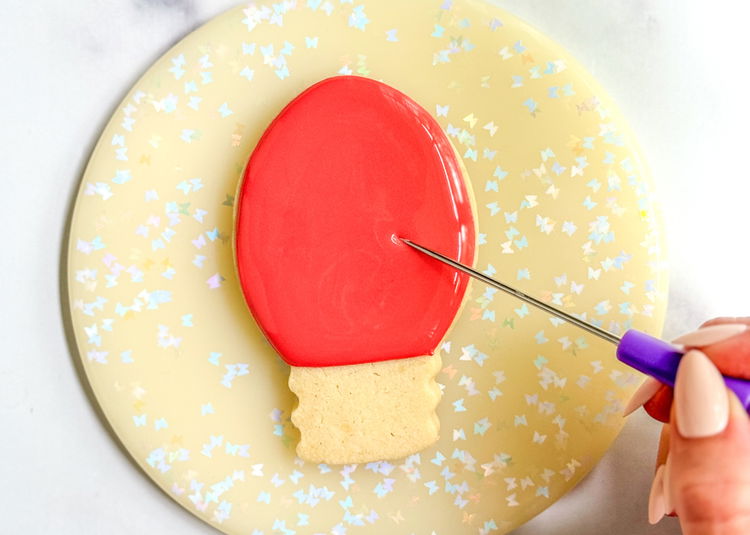
Flood the section you just outlined with the red flood consistency icing. Smooth out the icing and pop any air bubbles with your scribe tool or toothpick. Allow this section to dry for 20-30 minutes before moving onto the next step.
-
-
5
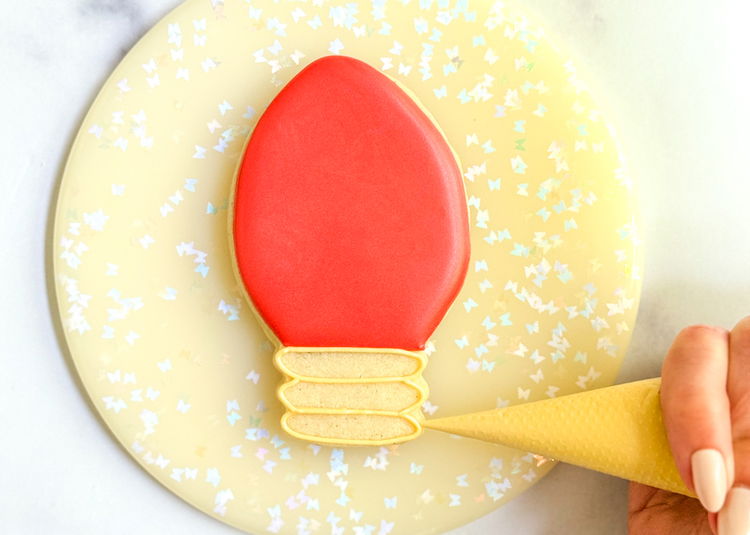
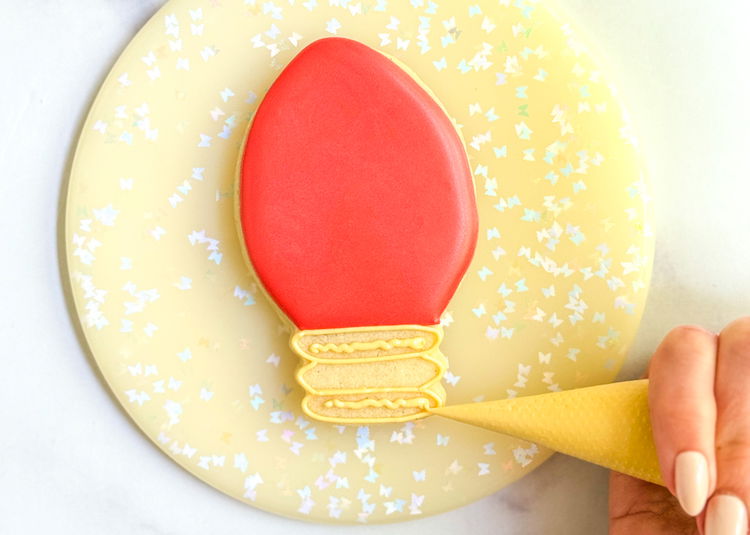
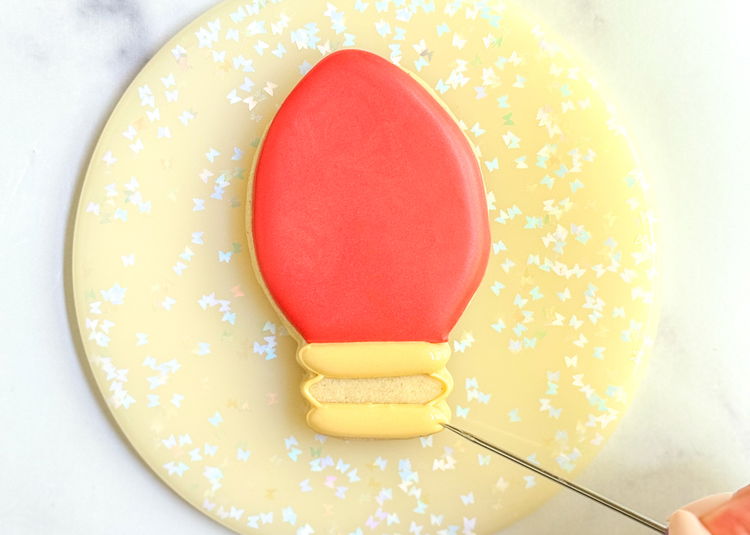
Using the gold outline consistency icing, outline the bottom portion of the light bulb shape into three sections. Add a squiggle of outline consistency icing to the top and bottom sections. The squiggle will help the icing from collapsing, or cratering, as it dries. Do not put a squiggle in the middle section, you’ll fill this section last.
-
-
7
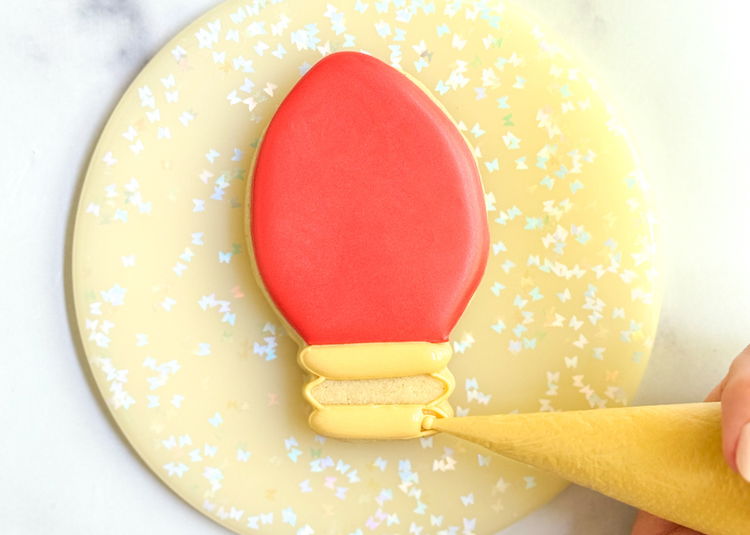
Fill in the sections you just added a squiggle of icing to with the gold flood consistency icing. Smooth out the icing with your scribe tool or toothpick and pop any air bubbles. Allow these sections to dry for 10-15 minutes before moving onto the next step. Waiting until the top and bottom sections have started to crust over will ensure good definition between the three sections.
-
-
9
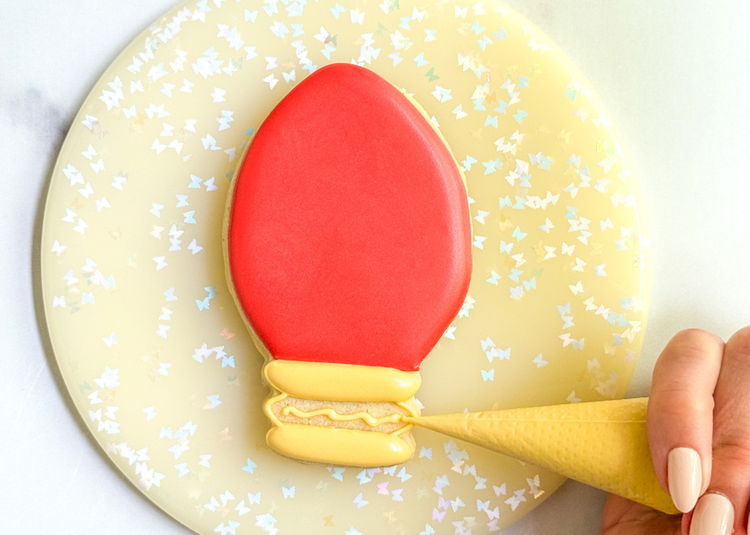
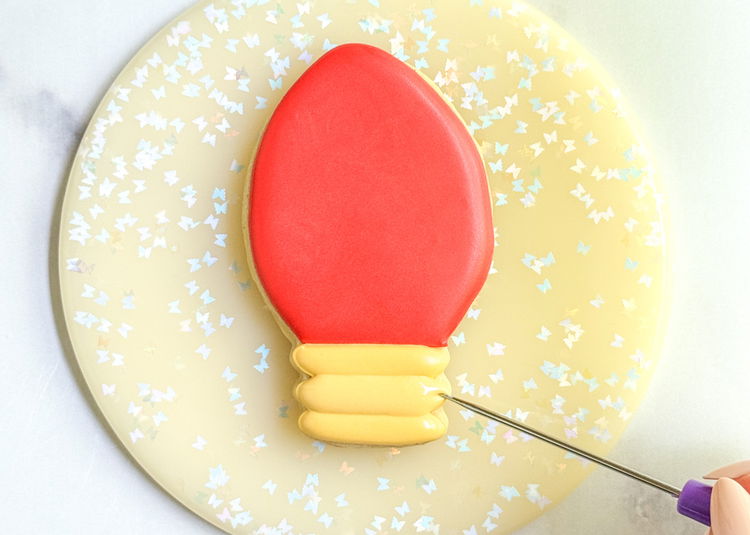
Repeat steps 4-5 for the middle section.
-
-
11
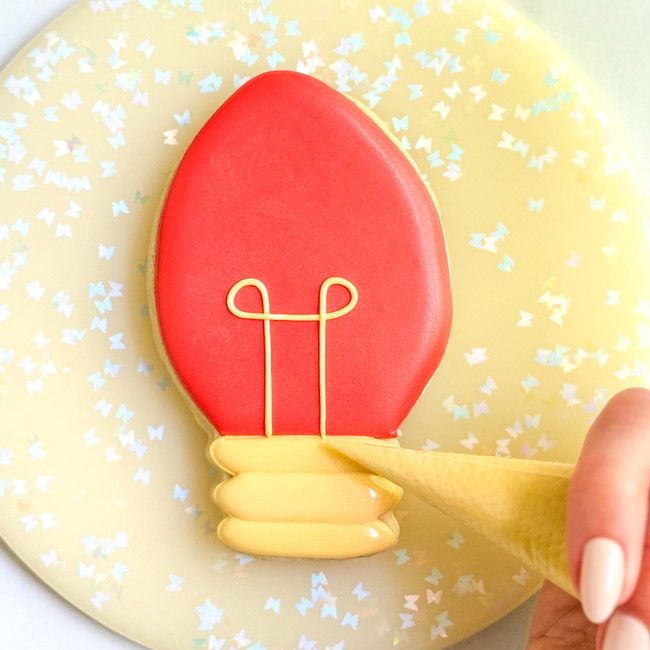
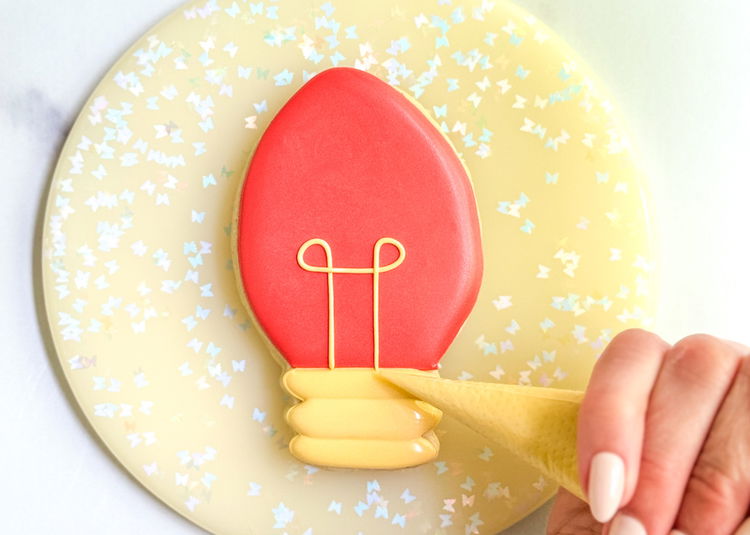
Using the gold outline consistency icing, pipe the final bulb detail to complete your design!
-
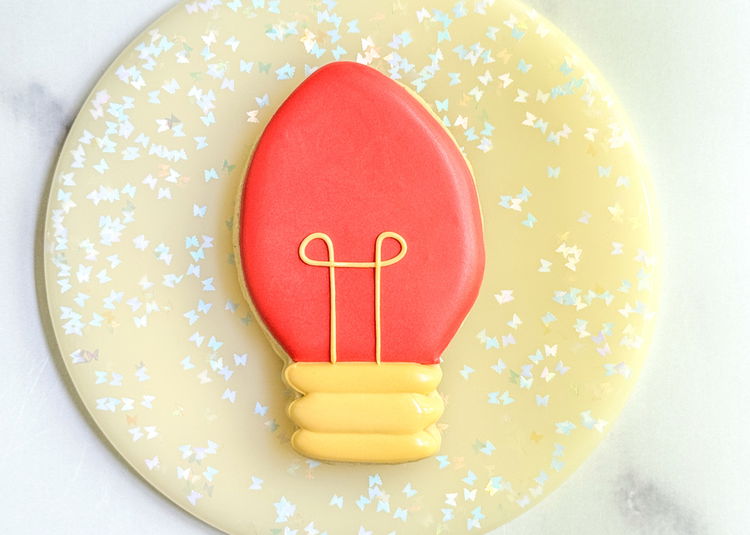
These lights can be made in all different colors to make the most festive holiday lights cookies.
Enjoy!
Cookie decorated by Laura Luk of Butterfly Bakes


