Snow Globe Decorating Tutorial
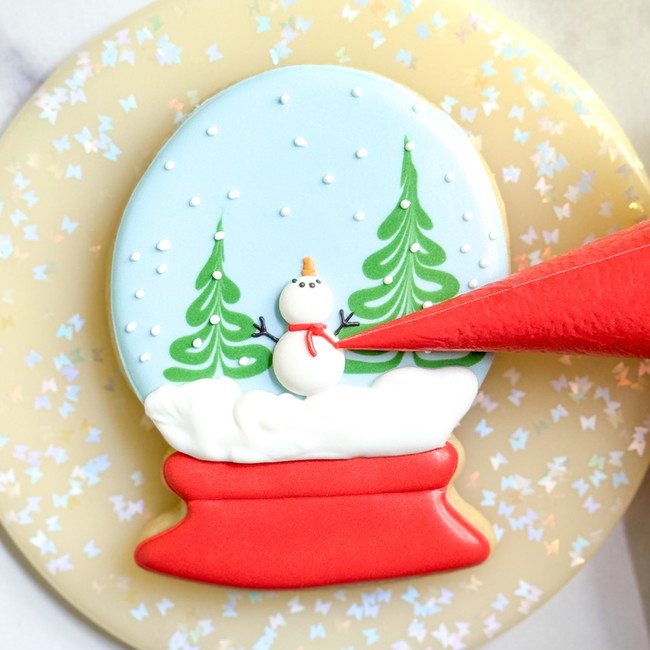
Create your own winter wonderland in cookie form with this fun snow globe design.
- Print recipe
- Share on Twitter
- Share on Facebook
- Share on Pinterest
-
1
Bake and cool cookies fully before decorating. Prepare royal icing in the following colors and consistencies:
Outline/Piping Consistency:
Red
Light Blue (mix Bright White food coloring with Sky Blue food coloring until desired royal icing color is achieved)
White
Orange
BlackFlood Consistency:
Red
Light Blue (mix Bright White food coloring with Sky Blue food coloring until desired royal icing color is achieved)
Green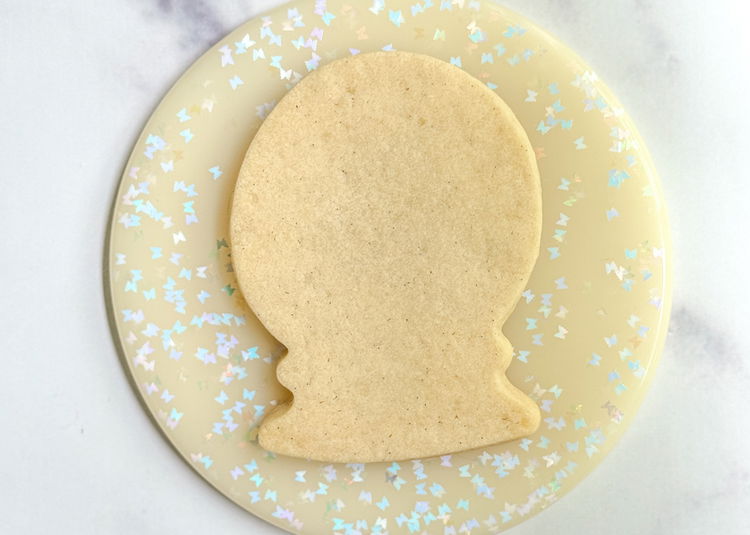
-
2
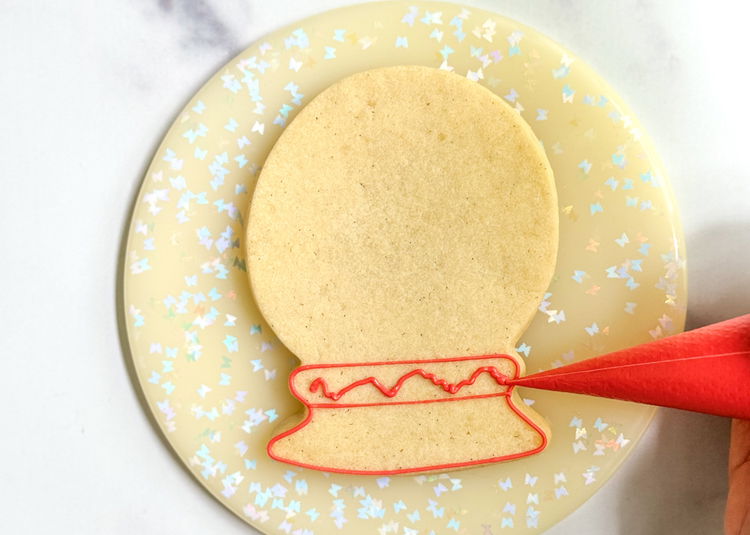
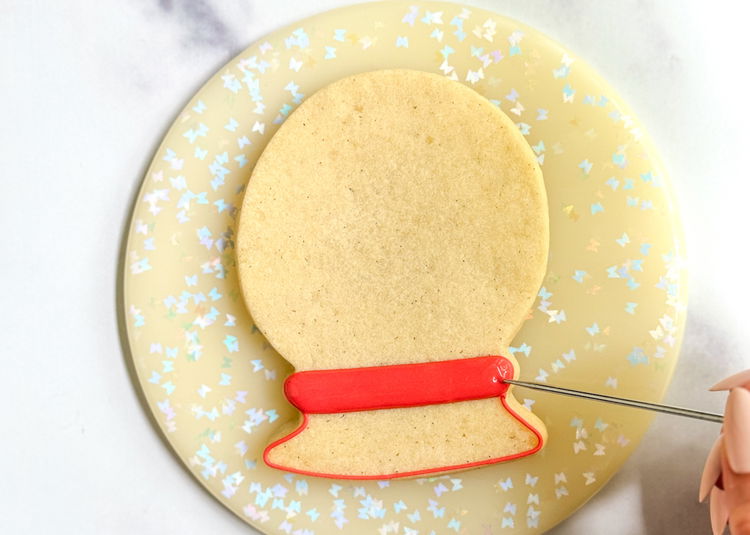
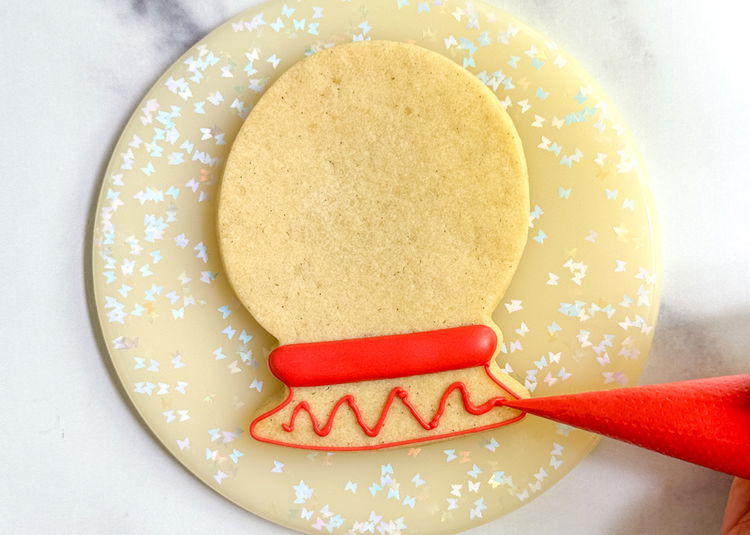
Using the red outline consistency icing, outline the bottom of the snow globe in two sections, as shown in the photo. Make a squiggle of red outline consistency icing in the top section.
-
3
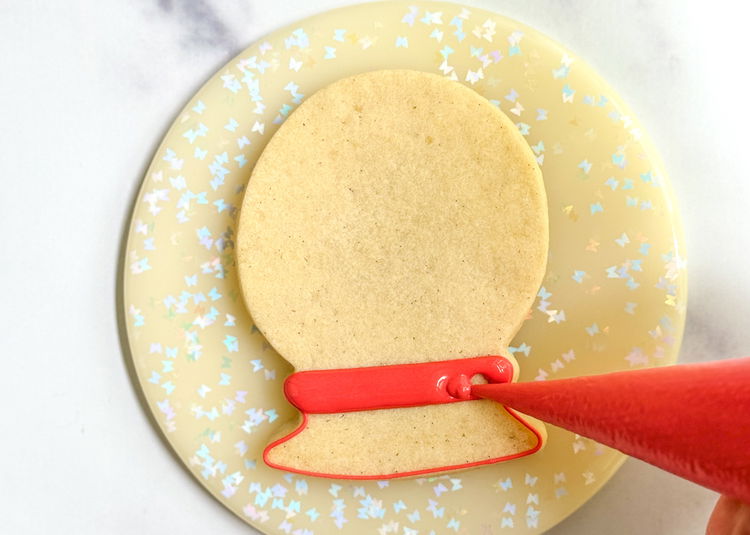
Fill in the top section with the red flood consistency icing. Smooth out the icing with a scribe tool or toothpick. Let this section dry for 10-15 minutes before moving onto the next step.
-
4
-
5
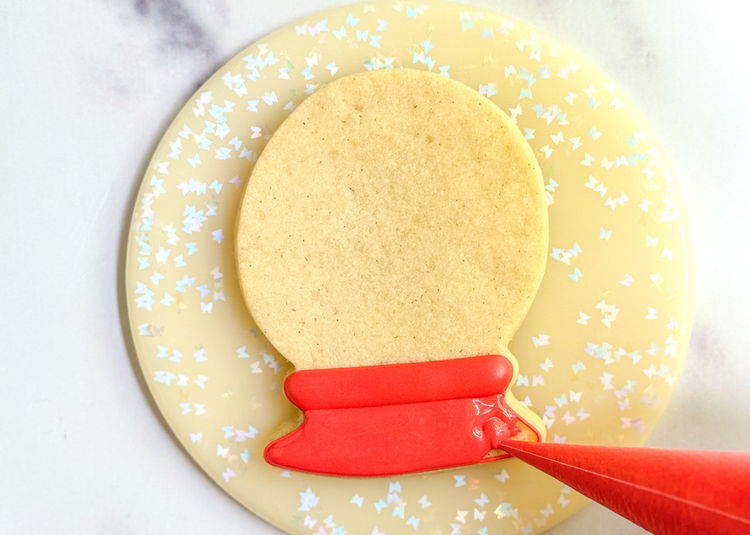
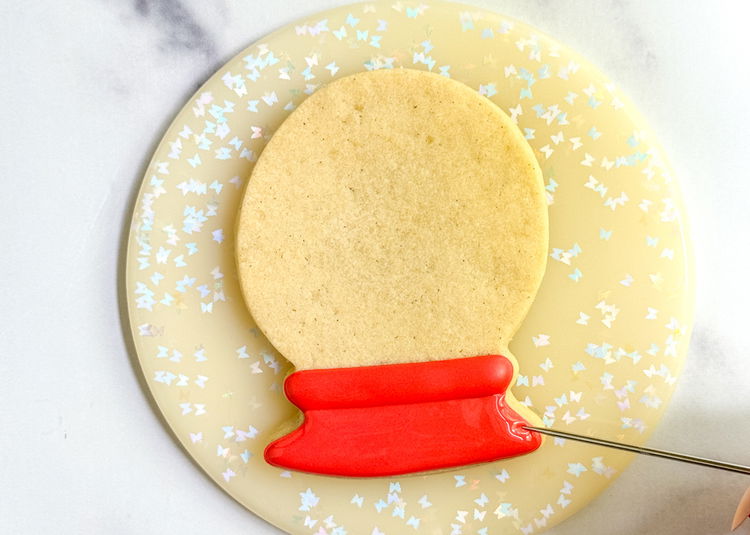
Repeat Step 3 for the bottom section of the snow globe base.
-
6
-
7
-
8
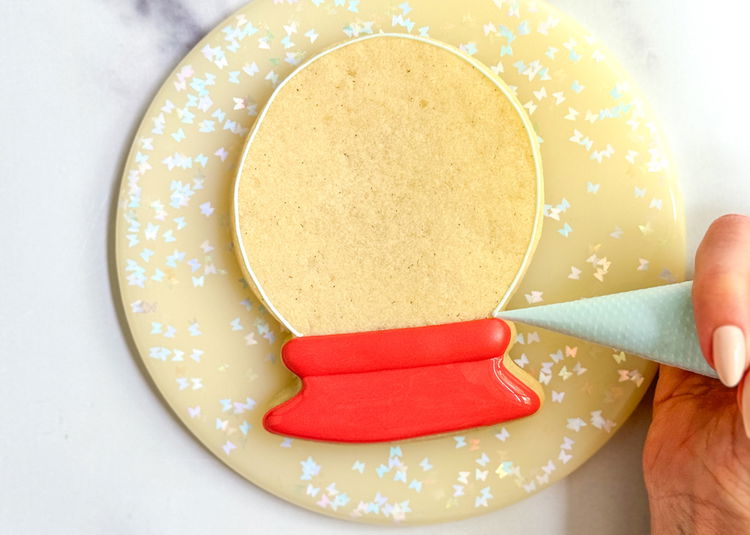
Outline the top section of the snow globe with the light blue outline consistency icing. The next step will be a wet-on-wet design that will require you to work fairly quickly. Read the directions for Step 6 entirely before starting, to ensure you are prepared and not rushing.
-
9
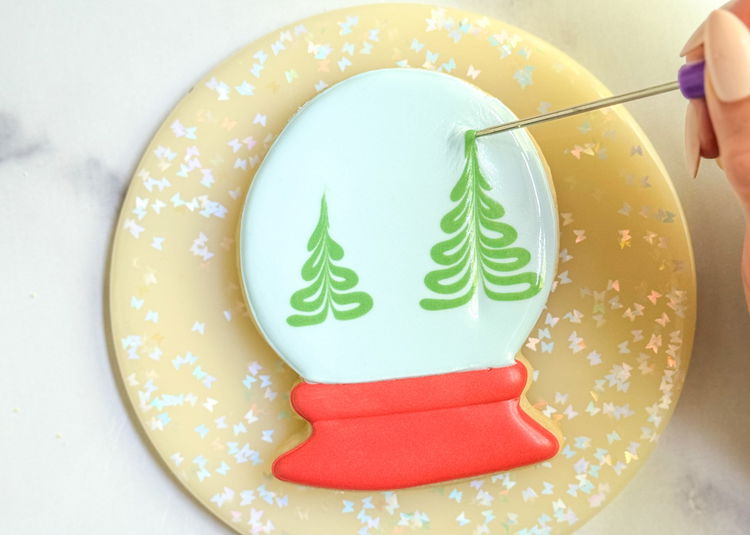
We will be creating a wet-on-wet design to make the trees, which will require us to flood the base of the snow globe and add a flood consistency detail on top, while the flood base is still dry. Please have the light blue flood consistency icing and the green flood consistency icing available and bags already cut. It’s important that you only cut a small hole in the bag of the green icing, to ensure you have the proper control over it.
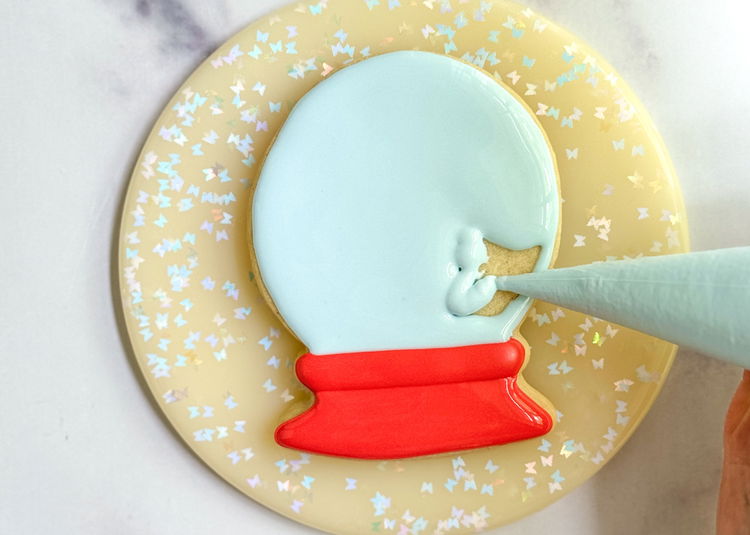
Flood the light blue outlined section of the snow globe with the light blue flood consistency icing. Quickly smooth out the icing with a scribe tool or toothpick, if needed.
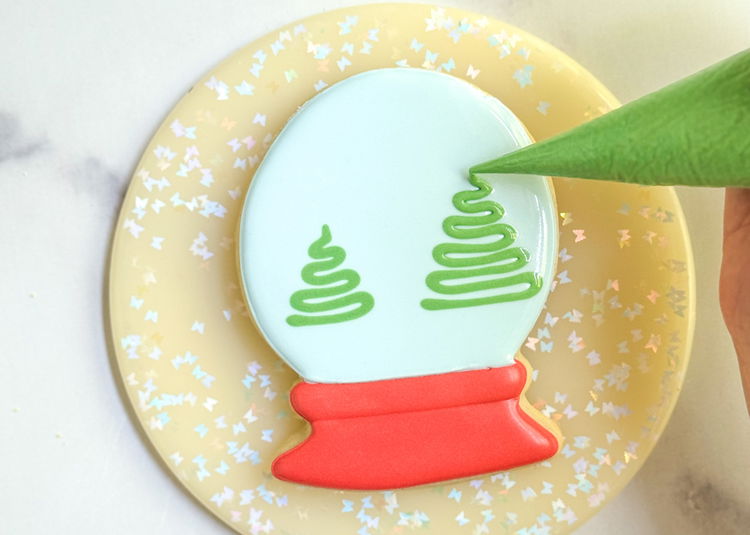
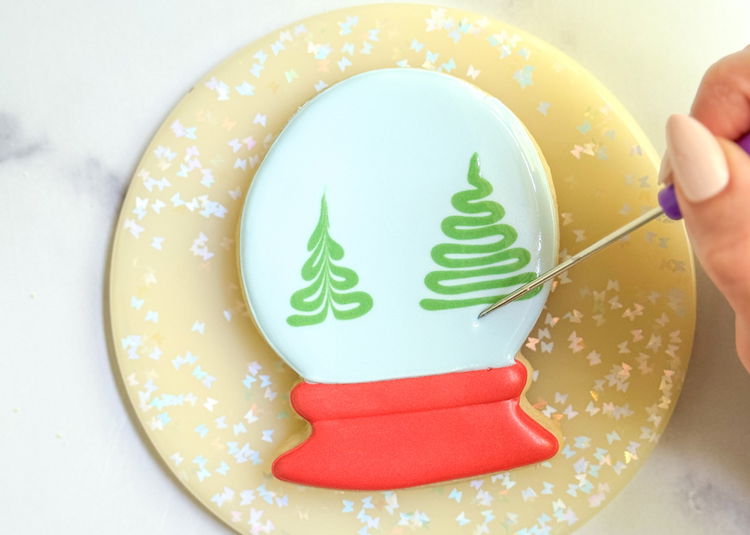
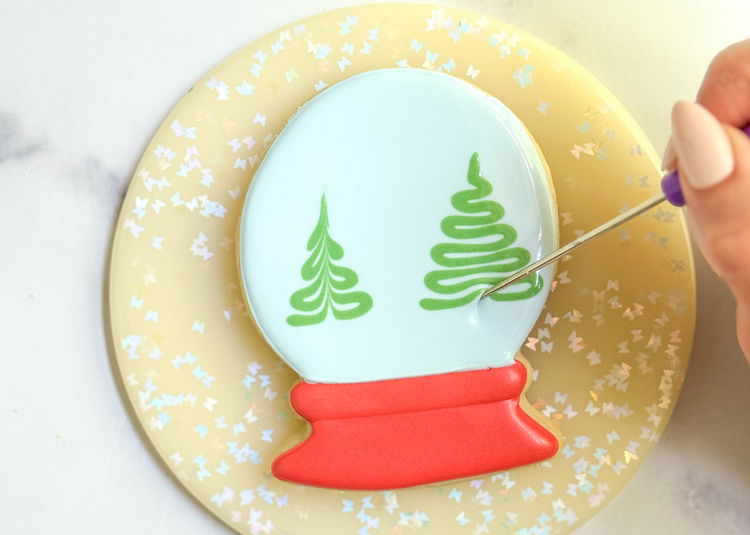
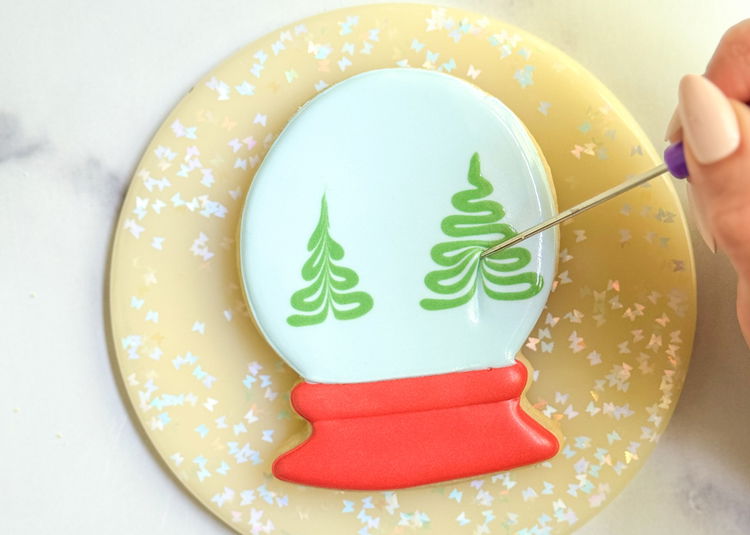
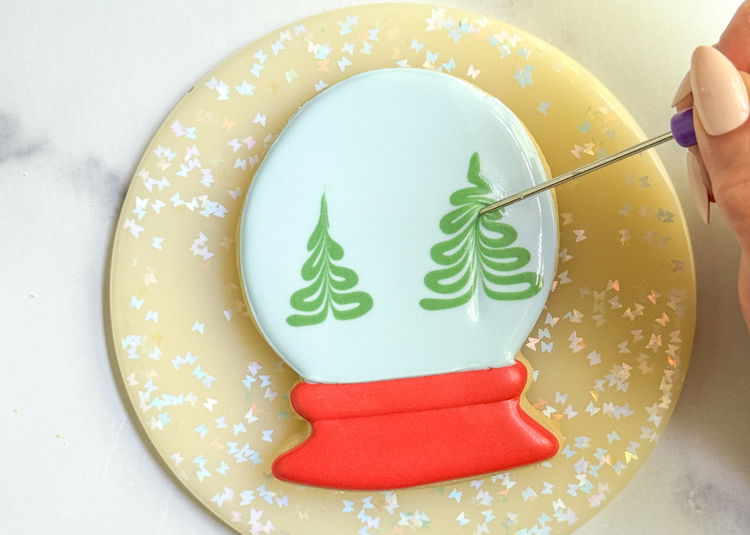
Immediately pipe the two tree details. Starting about an inch above the red base of the globe, pipe the green flood consistency icing in a line that loops from left to right, getting smaller as it reaches the final tip. Repeat with a larger shape on the other side of the globe.
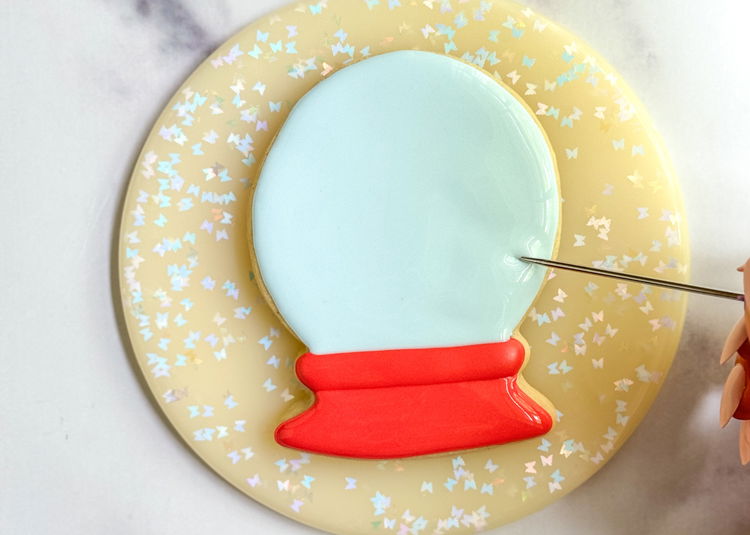
Starting at the bottom of the tree shape, drag a scribe tool or a toothpick through the center of each tree until you pass through the top. Make sure you wipe off any excess icing from your scribe tool or toothpick before moving onto the second tree.
Allow the icing to dry for 30-45 minutes or until just crusted over before moving onto the next step.
-
10
-
11
-
12
-
13
-
14
-
15
-
16
-
17
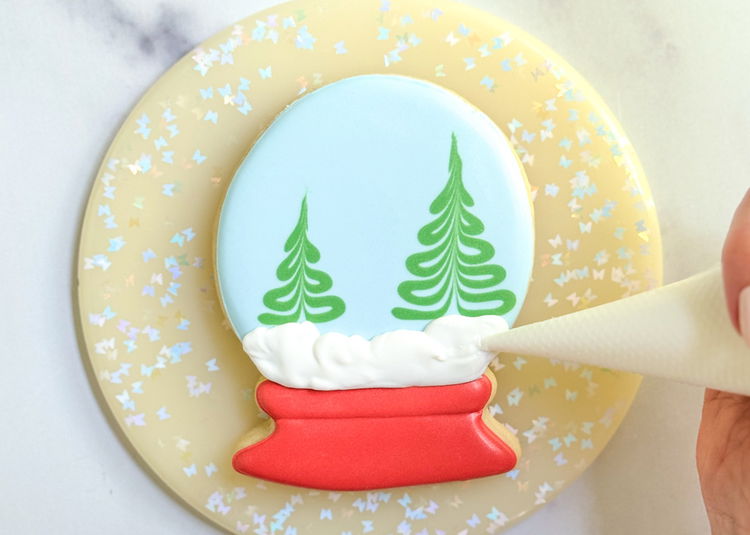
Using the white outline consistency icing, pipe the snow covered ground in the space above the red icing and below the green trees. This section does not need to be perfectly smooth, as it should resemble fallen snow. Allow this icing to crust over for 10-15 minutes before moving onto the next step.
-
18
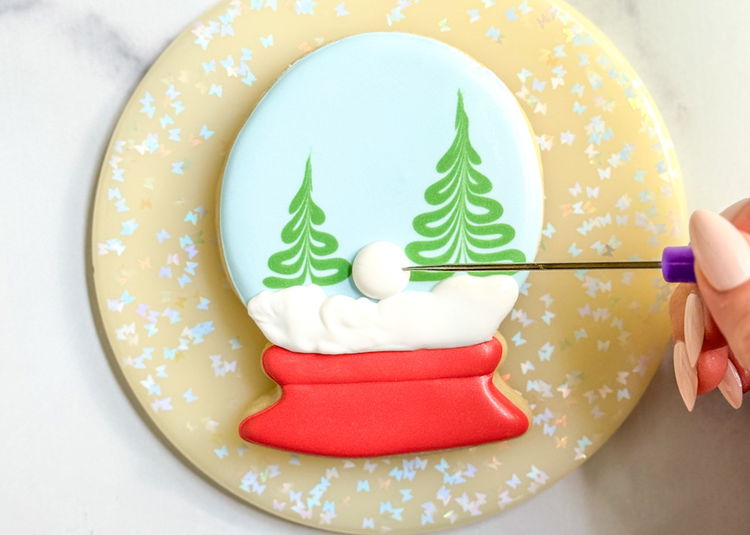
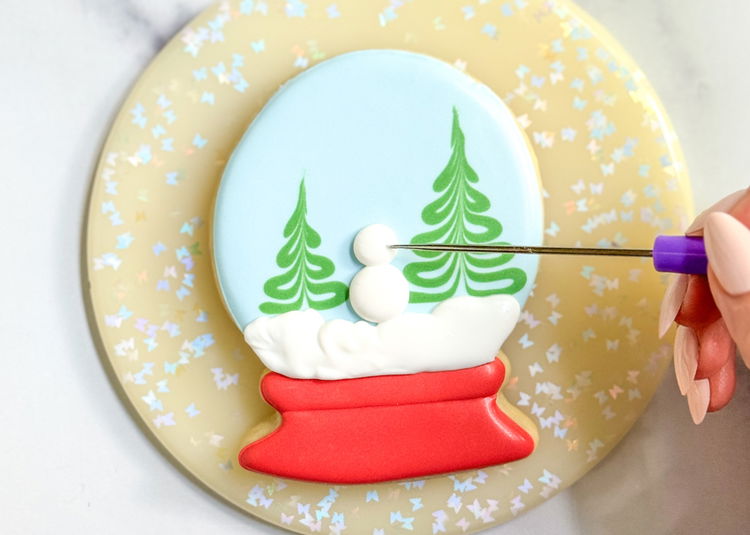
We will now be piping a snowman in between the trees. Using the white outline consistency icing, pipe a large dot, which be the body of the snowman. Smooth out the icing, if needed, with a scribe tool or toothpick. Let this icing crust over for 10-15 minutes before moving onto the next step.
-
19
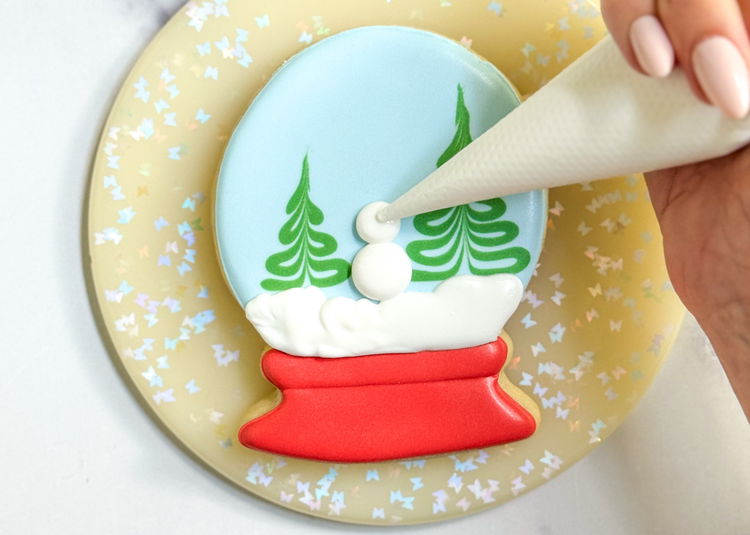
Pipe a second dot of white consistency icing directly on top of the first dot. This dot should be about half to two thirds the size of the first dot, as it will be the snowman’s head.
-
20
-
21
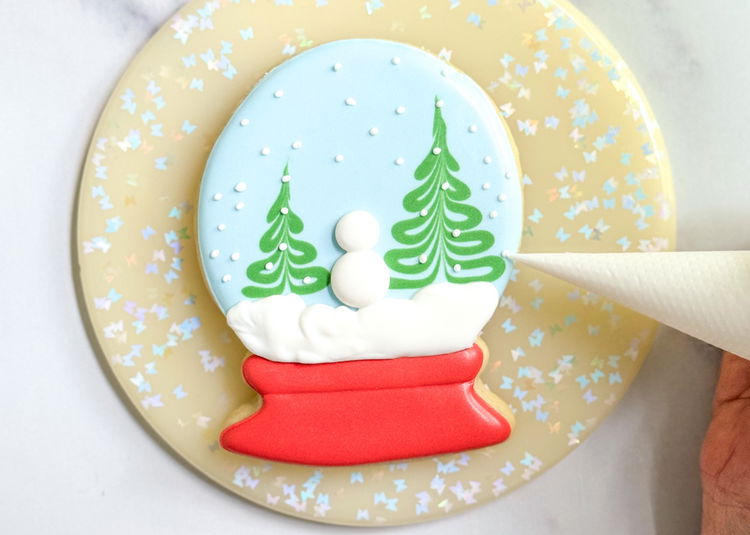
Using the white outline consistency icing, pipe small dots of icing all around the scenery of the globe, mimicking falling snow. Add as much or as little “snow” as you’d like!
-
22
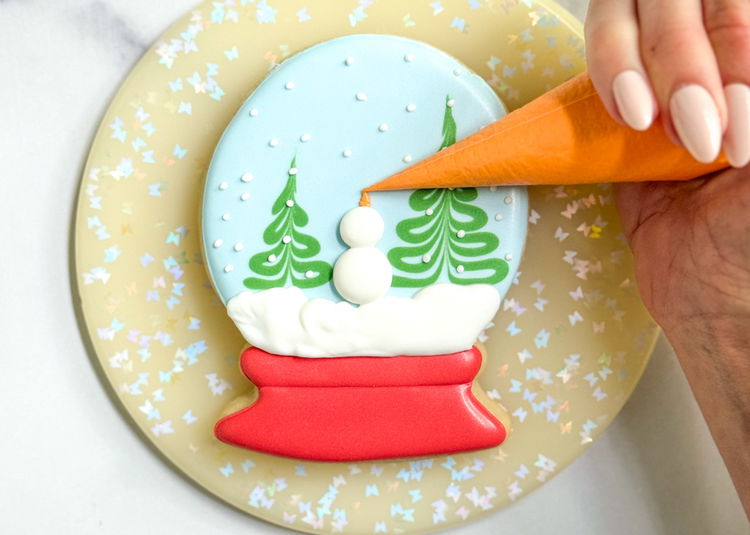
Using the orange outline consistency icing, pipe a small squiggle on top of the second white dot you piped. This is meant to be the snowman’s carrot nose. See, our snowman is looking up at the falling snow!
-
23
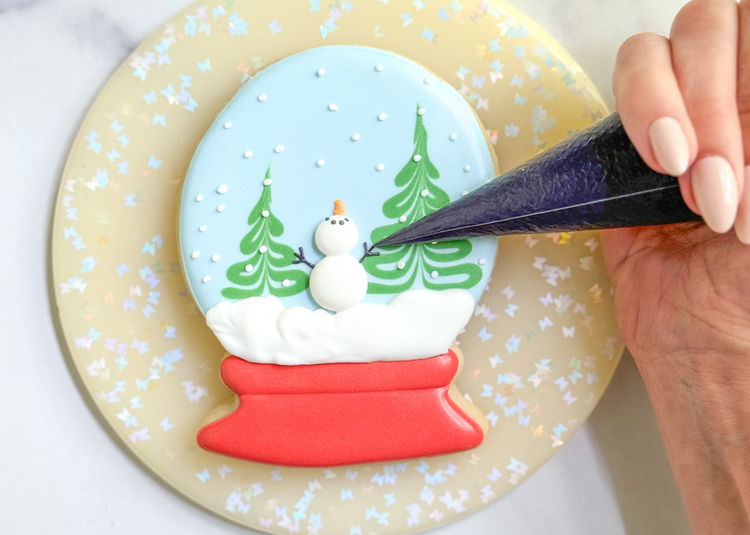
Pipe the snowman’s arms with the black outline consistency icing. Pipe dots for his smile (remember, he’s looking up!).
-
24
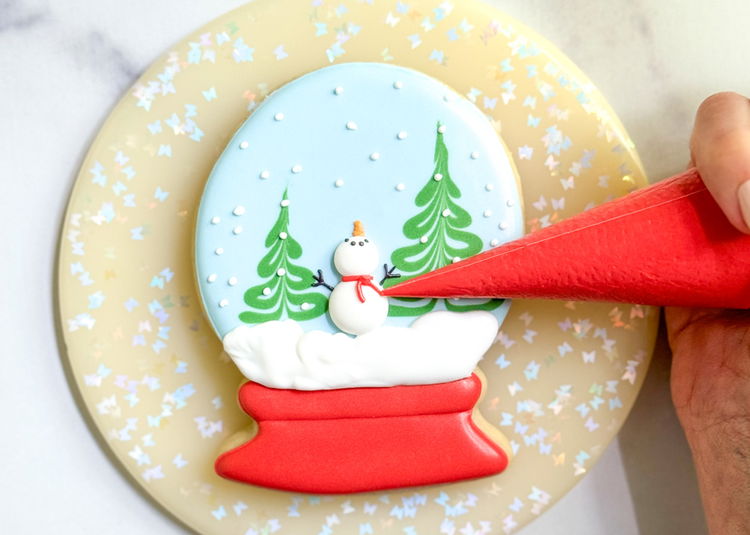
We’ll finish the design by piping the snowman a red scarf. Using the red outline consistency icing, pipe a line where the snowman’s head and body meet. Then pipe two shorter lines coming down and a dot in the middle.
-
25
Admire your beautiful snow globe cookie design!
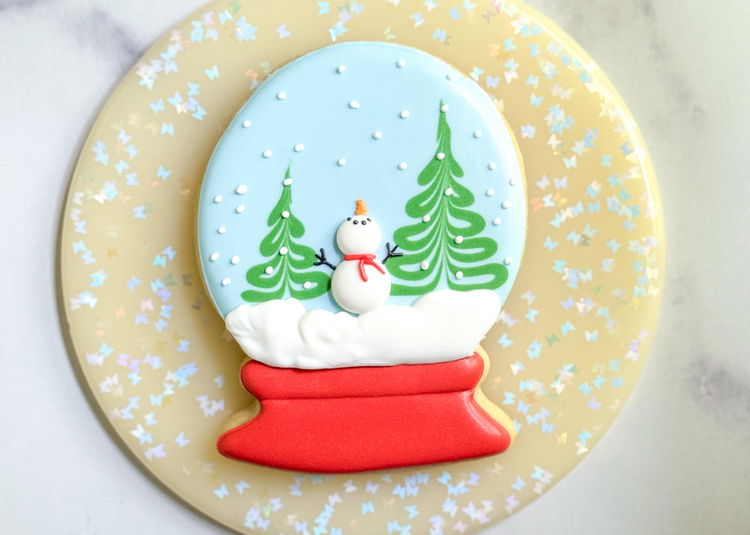
Enjoy!
Cookie decorated by Laura Luk of Butterfly Bakes


