Snowman Cookie Decorating Tutorial
Chill out and learn how to decorate this cool dude.
- Print recipe
- Share on Twitter
- Share on Facebook
- Share on Pinterest

-
1
Bake and cool cookies fully before decorating. Prepare royal icing in the following colors and consistencies:
Outline/Piping Consistency:
White
Royal Blue
Light Blue
Orange
BlackFlood Consistency:
White
Royal Blue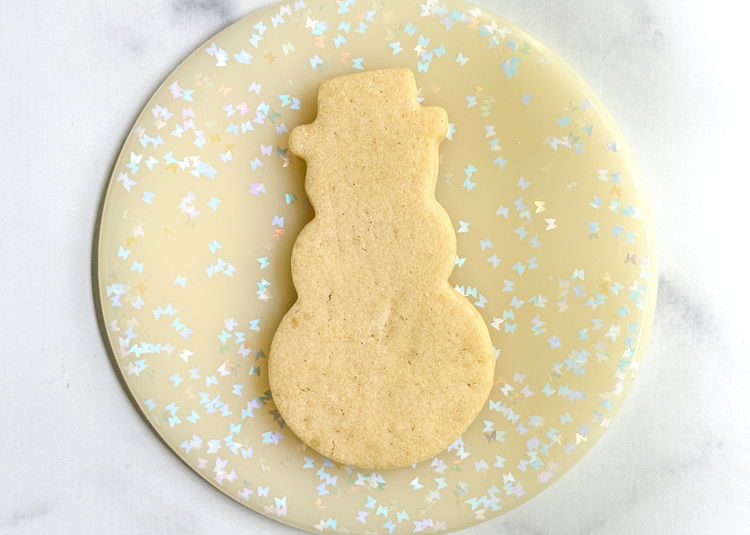
-
2
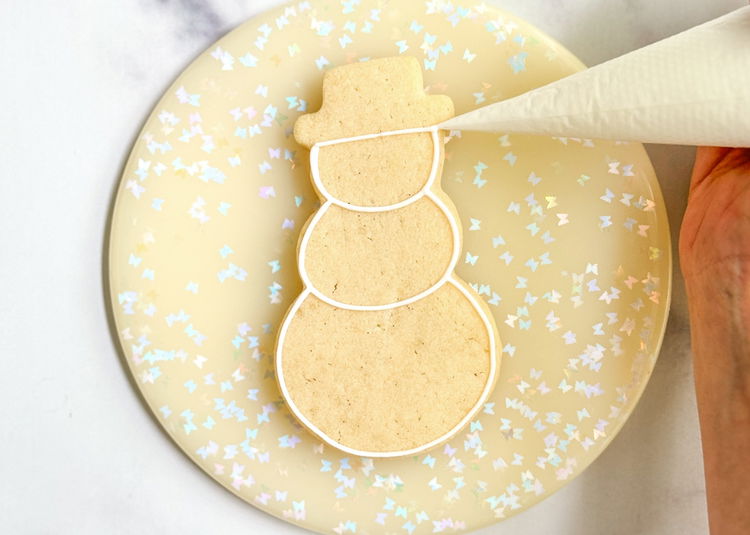
Using the white outline consistency icing, outline the 3 main shapes of the snowman, as shown in the photo.
-
3
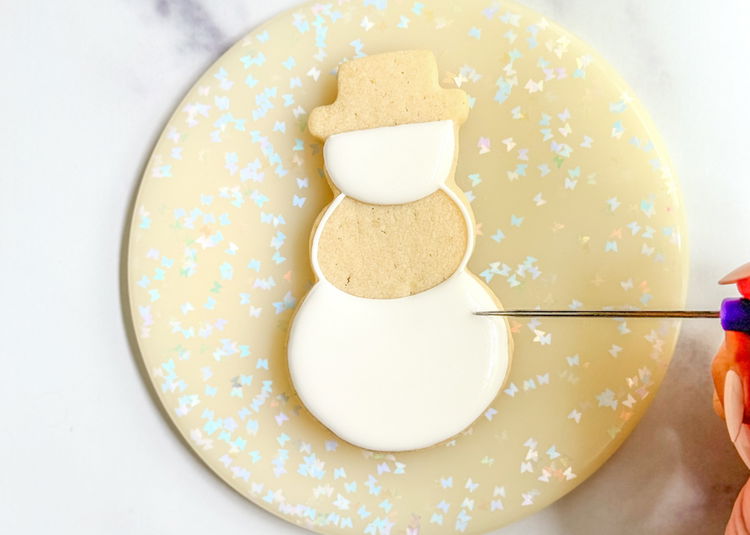
Flood the top and bottom sections with the white flood consistency icing. Allow those sections to dry for 20-30 minutes or until crusted over before moving onto the next step.
-
4
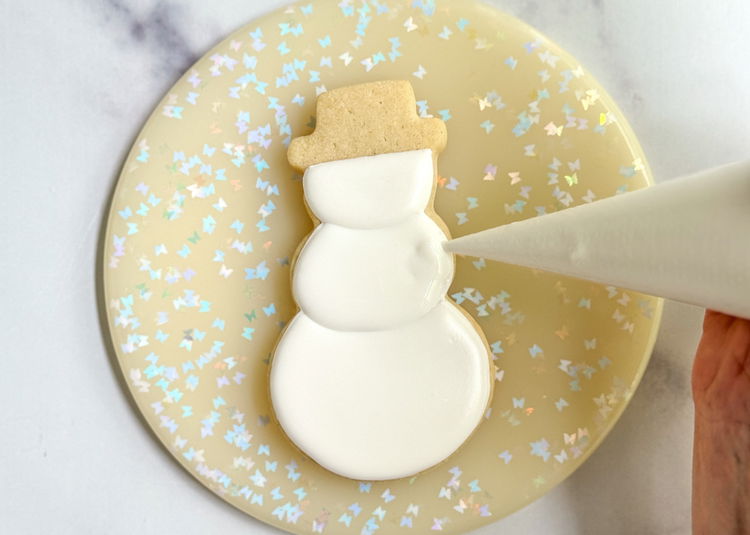
Once the other sections have dried or crusted over, fill in the middle section with the white flood consistency icing. Smooth out the icing and pop any air bubbles with your scribe tool or toothpick.
-
5
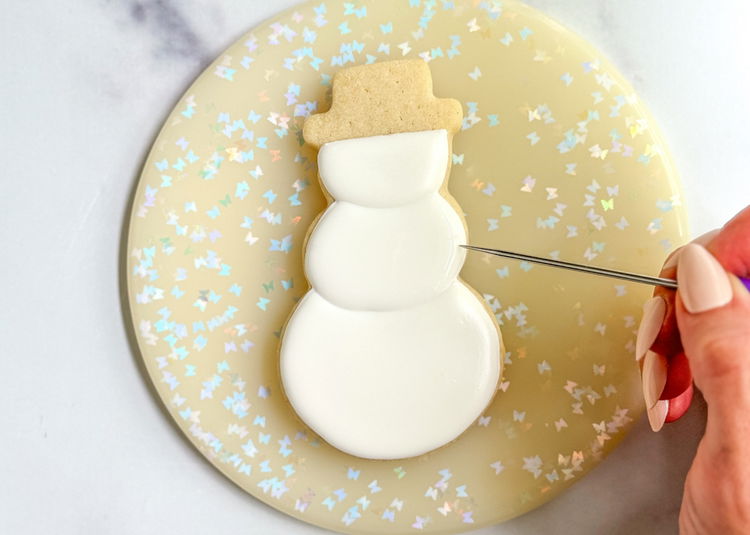
-
6
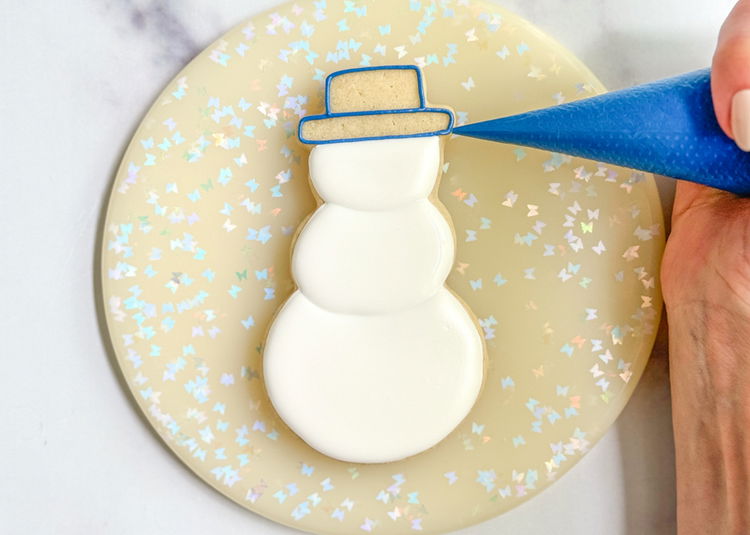
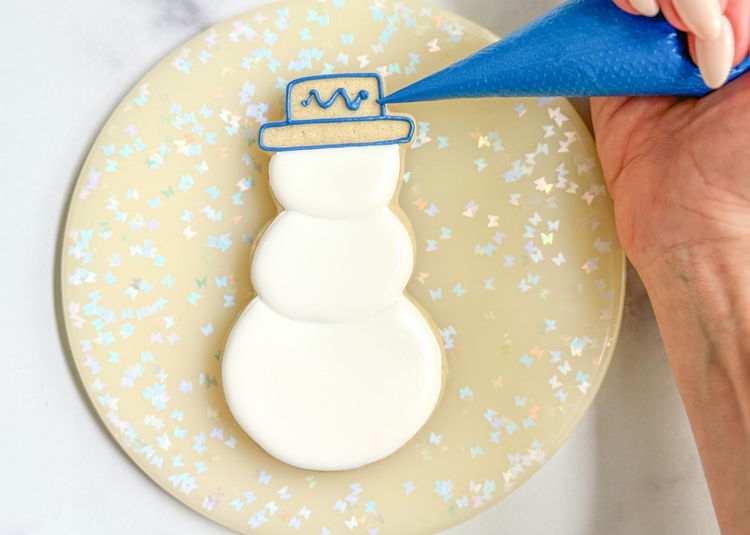
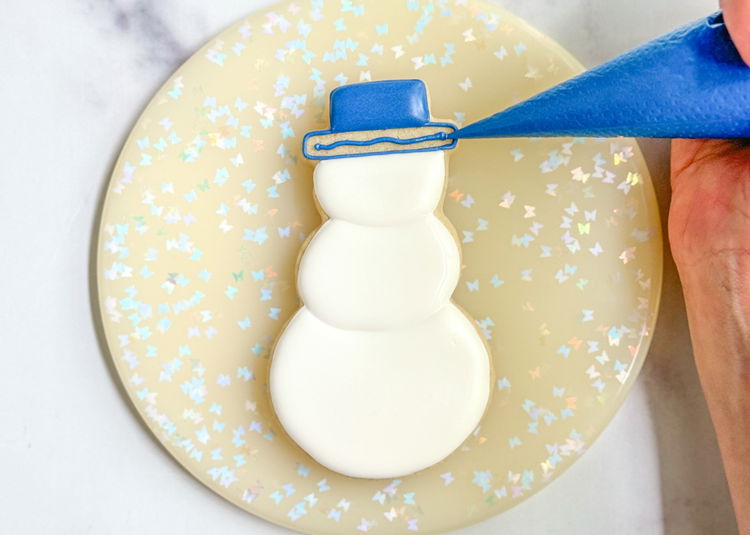
Using the royal blue outline consistency icing, outline the snowman’s hat in two sections, as shown in the photo. Add a squiggle of outline consistency icing in the top section of the hat.
Pro Tip: It is best practice to add a squiggle of outline consistency icing before flooding small areas of a cookie to help support the flood icing and prevent cratering, which are holes or sinking that can occur when flood icing dries. Cratering is much more likely to occur when flooding a small area of a cookie, so that is why we use this trick to help prevent it in these small sections.
-
7
-
8
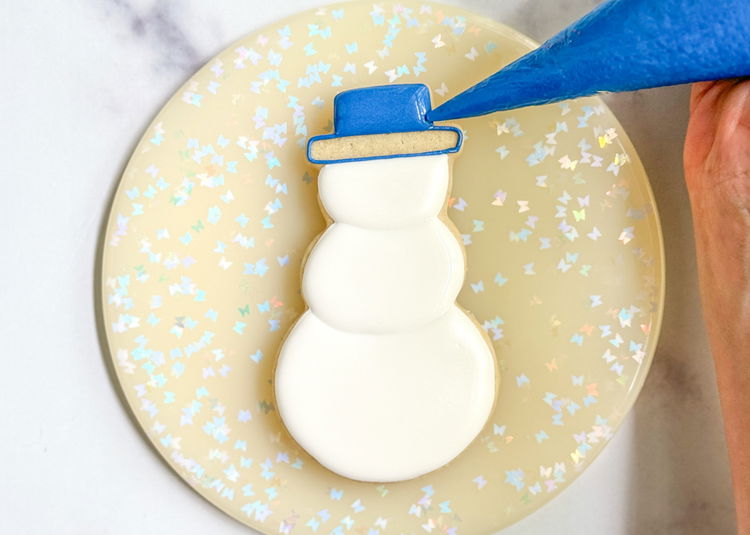
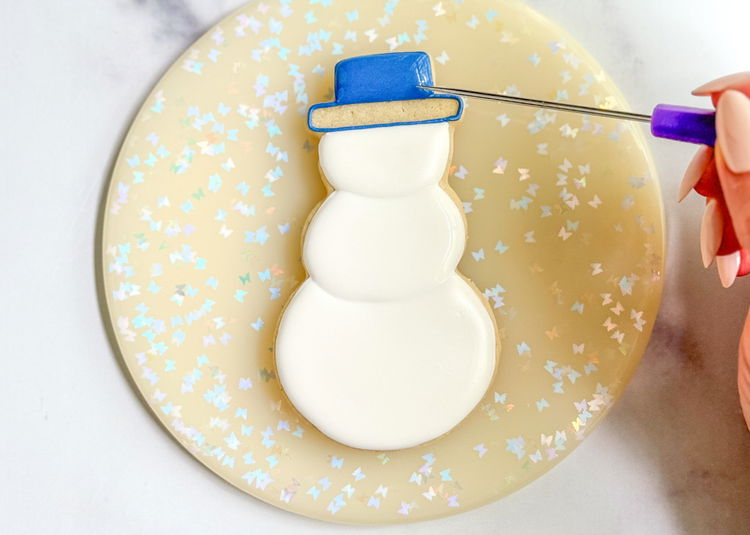
Fill in the section you just added the squiggle of icing to with the royal blue flood consistency icing. Use your scribe tool or toothpick to smooth out the icing and pop any air bubbles. Let the icing dry for 10-15 minutes before moving onto the next step.
-
9
-
10
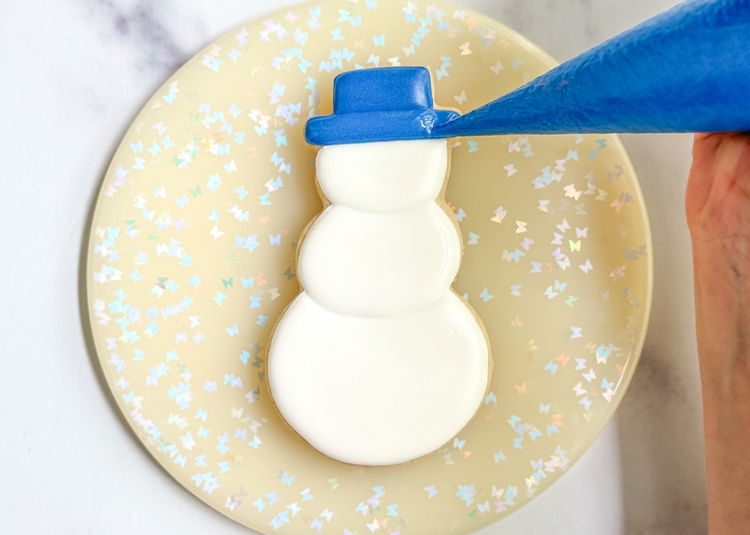
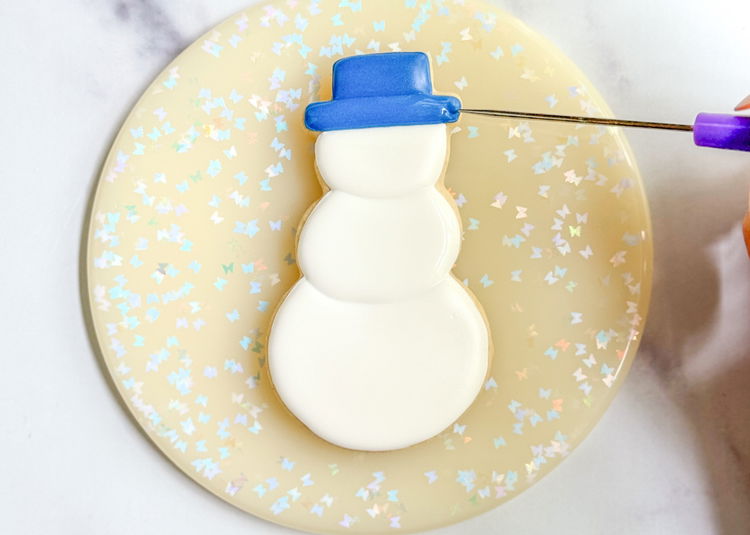
Repeat steps 5-6 for the second section of the hat design.
-
11
-
12
-
13
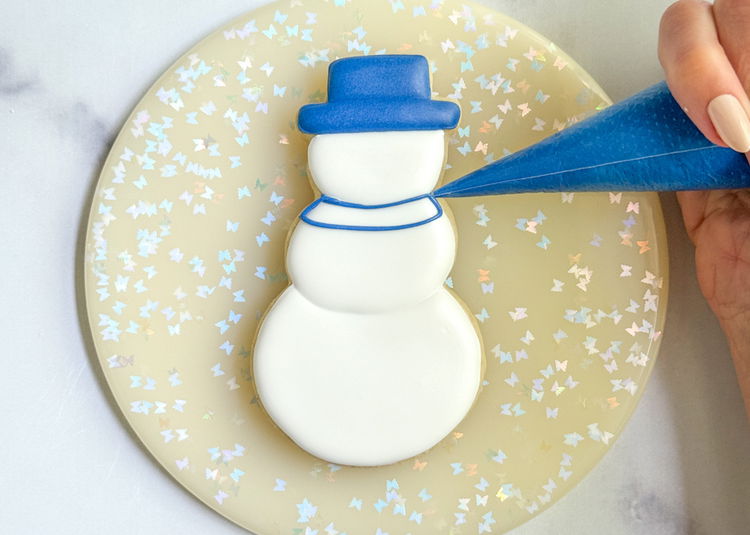
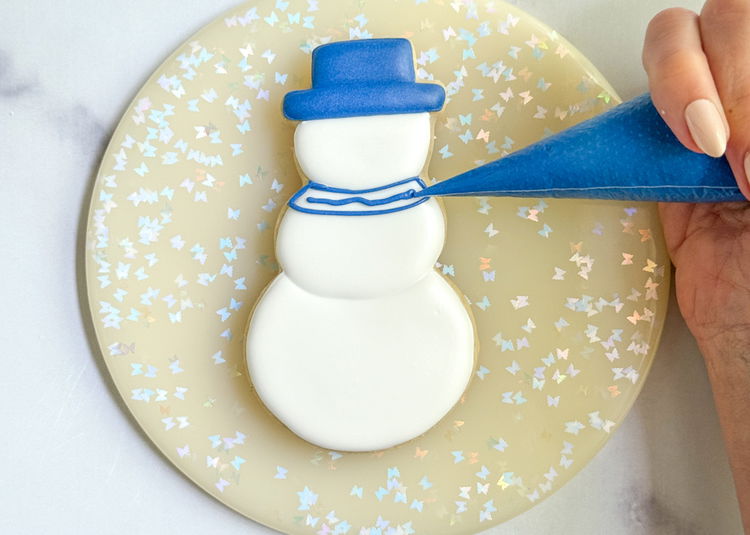
Using the royal blue outline consistency icing, pipe a scarf around the snowman’s neck, as shown in the photo. Add a squiggle of icing in the middle of the section.
-
14
-
15
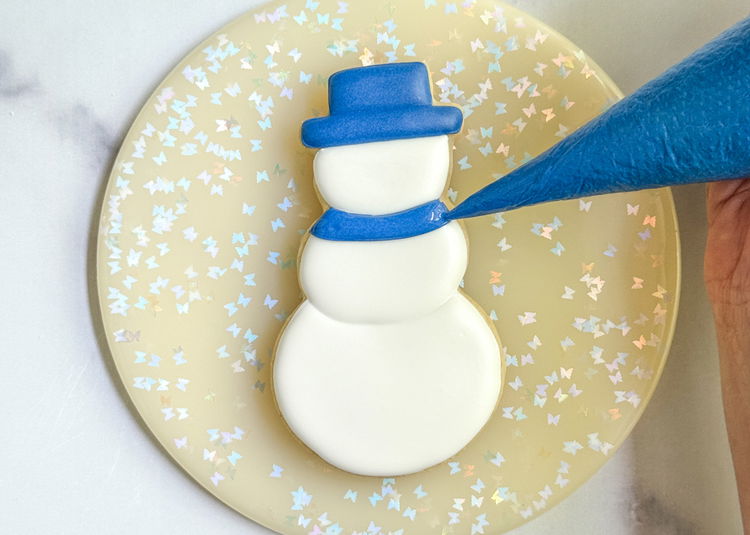
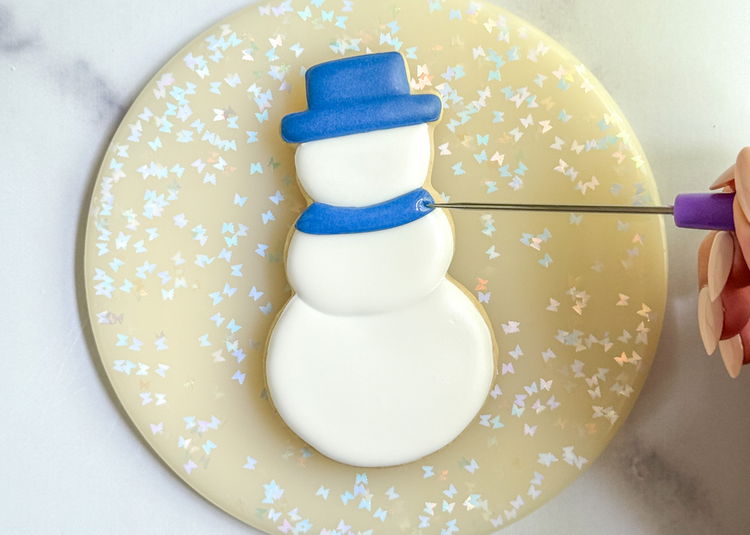
Fill in the scarf shape you just outlined with the royal blue flood consistency icing. Settle the icing with your scribe tool or toothpick, and pop any air bubbles.
-
16
-
17
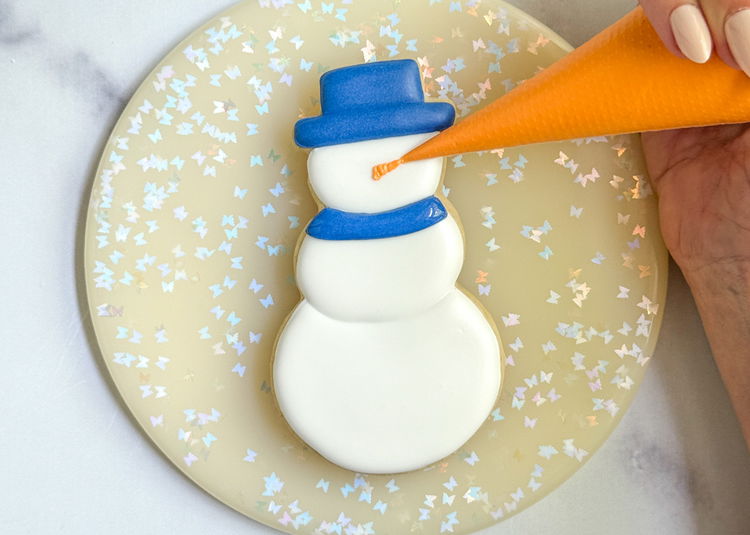
Pipe the snowman’s “carrot nose” with the orange outline consistency icing.
-
18

-
19
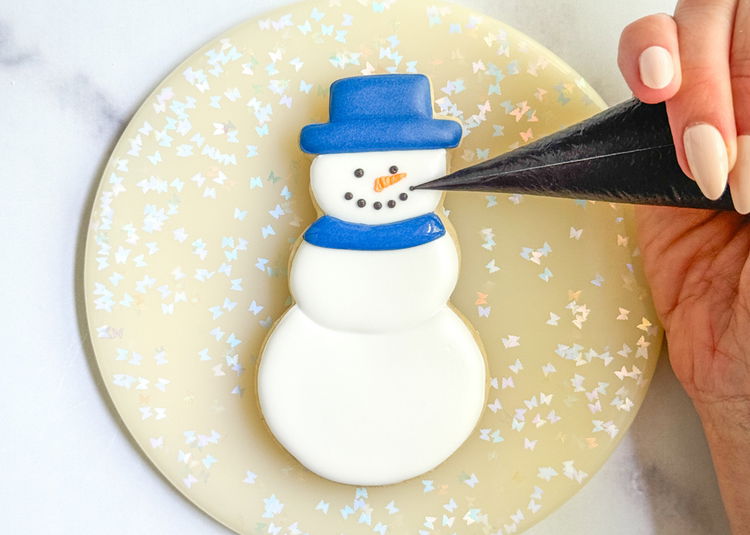
Pipe the snowman’s eyes and mouth with the black outline consistency icing.
-
20
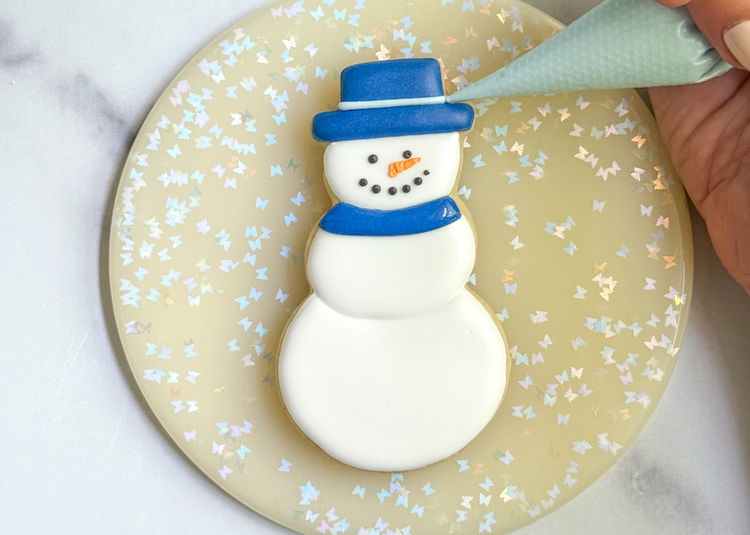
Using the light blue outline consistency icing, pipe a thick line straight across the snowman’s hat, covering where the two sections meet.
-
21
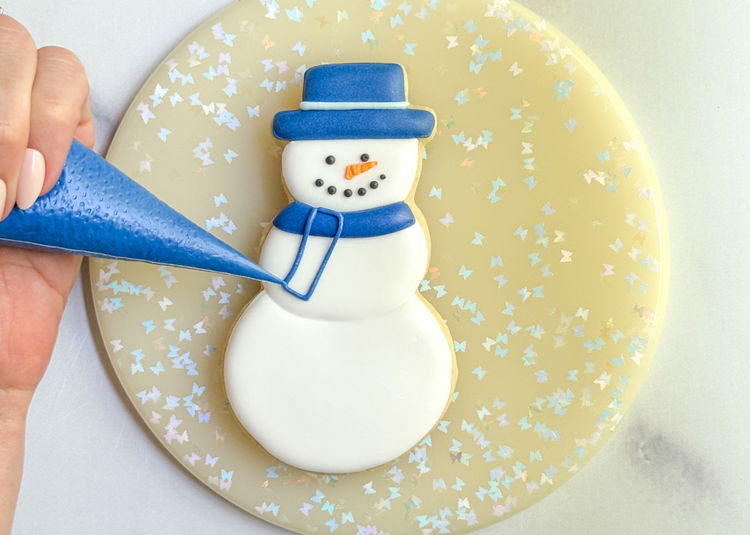
Pipe the bottom section of the snowman’s scarf using the royal blue outline consistency icing.
-
22
Fill in the bottom section of the snowman’s scarf using the royal blue flood consistency icing.

-
23
Pipe the fringe on the scarf using the royal blue outline consistency icing, as shown in the photo. This would also be very cute with the light blue icing!

-
24
Using the black outline consistency icing, pipe two black dots on the snowman’s body. Sit back and admire your charming snowman cookie!

-
25
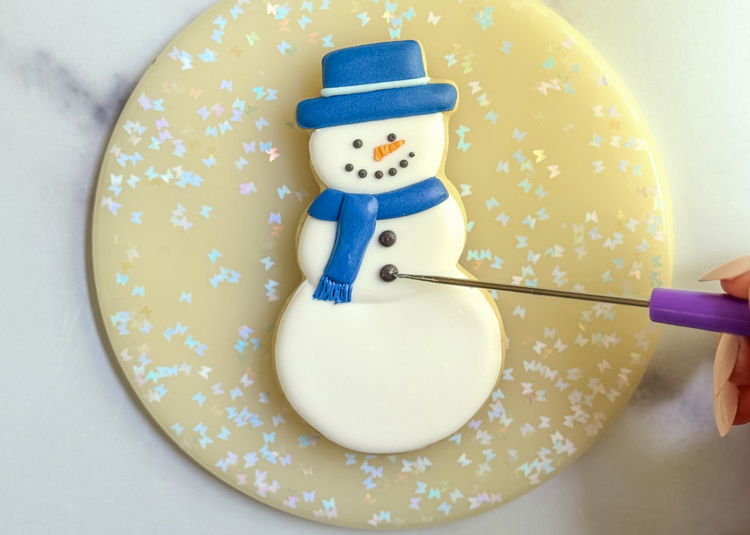
Enjoy!
Cookie decorated by Laura Luk of Butterfly Bakes


