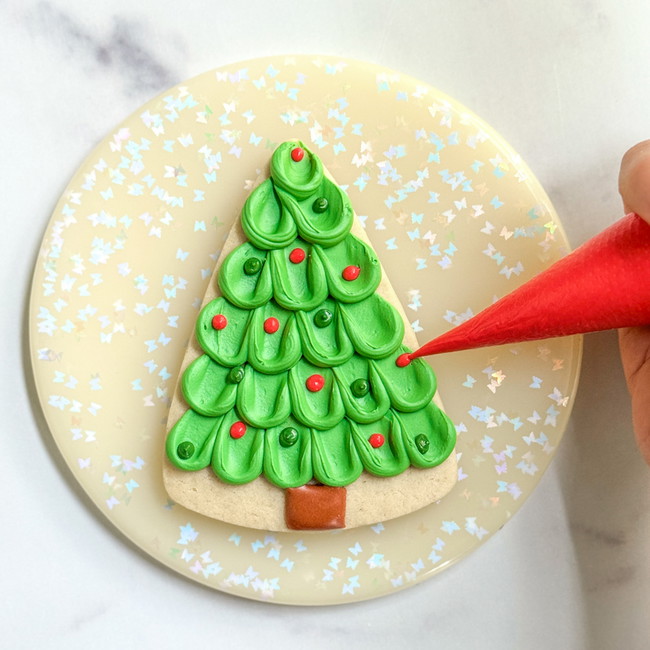
Textured Tree Cookie Decorating Tutorial
Our Centerpiece 2-Piece Cookie Cutter Set creates a visually stunning sharable holiday cookie display. See our tutorials for a holiday plaque and classic Christmas tree to complete the display.
- Print recipe
- Share on Twitter
- Share on Facebook
- Share on Pinterest
-
Centerpiece 2-Piece Set
-
Royal Icing
-
4 tipless piping bags
-
Super Red Food Coloring
-
Leaf Green Food Coloring
-
Mocha Brown Food Coloring
-
Super Black Food Coloring
-
Scribe tool or toothpick
-
Palette knife, butter knife, popsicle stick, or small spoon (to drag icing)
-
1
Bake and cool cookies fully before decorating. Prepare royal icing in the following colors and consistencies:
Outline/Piping Consistency:
Green
Dark Green (mix a tiny amount of Super Black gel food coloring into Leaf Green icing to achieve a dark green)
Brown
Red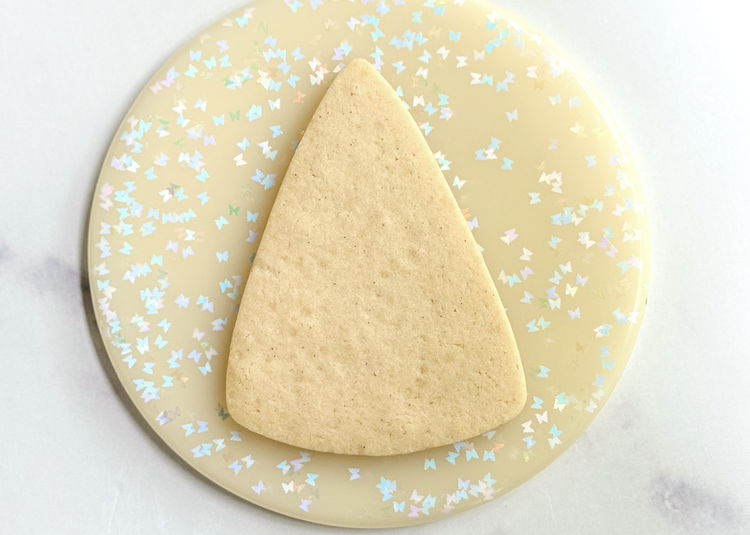
-
2
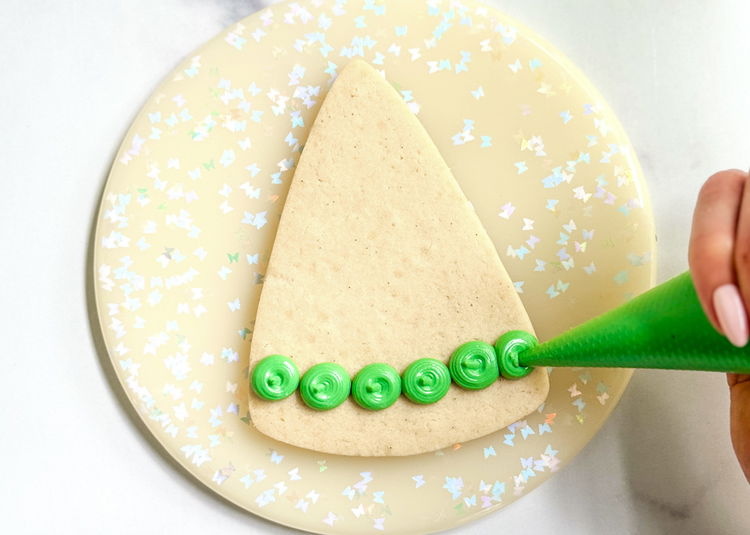
Using the outline consistency light green icing, pipe 6 similar size dots on the wide end of the triangle shape, leaving about half an inch of empty space for our tree trunk. Pipe the dots large enough so they’re barely touching each other so you fit six dots evenly across.
-
3
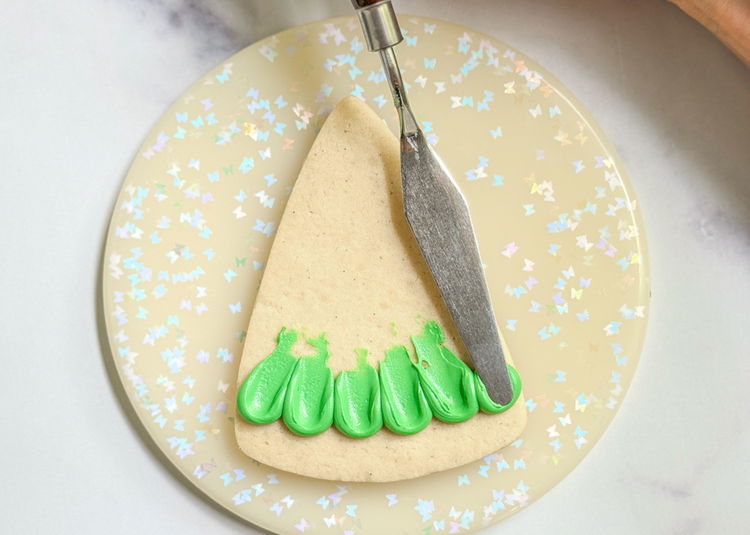
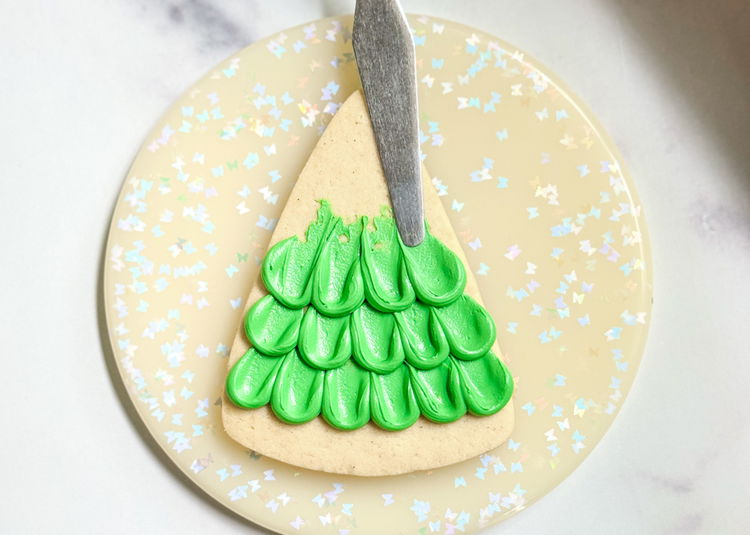
Immediately after piping, use your palette knife or other tool to gently press down on each dot and drag it up and towards the center point of the triangle. Wipe any excess icing off your palette knife or other tool, so leftover icing doesn’t dry on it or affect our design.
-
4
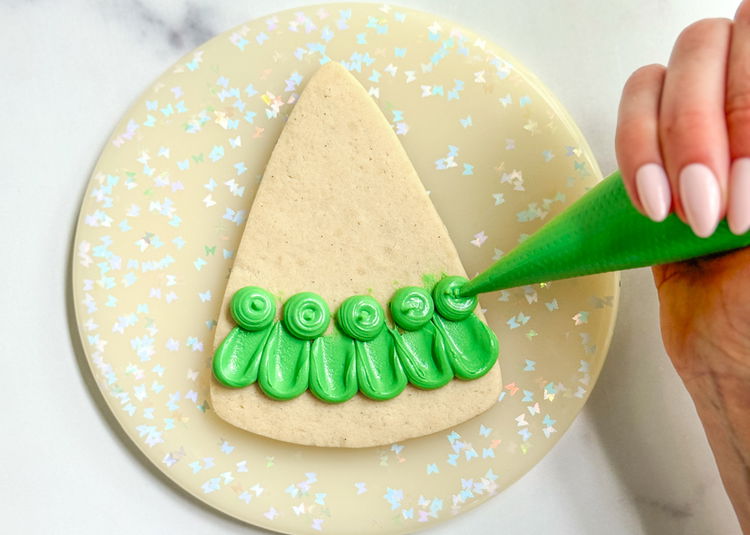
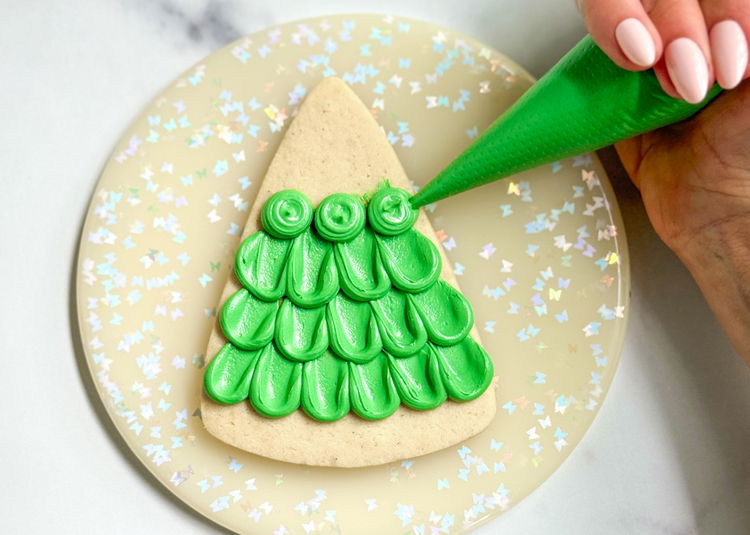
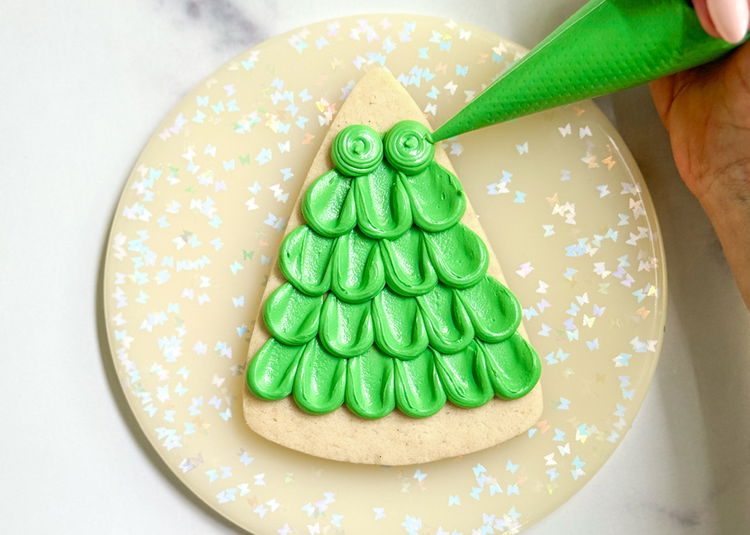
Repeat step 2, except pipe five dots evenly spaced out between and above the six dots you piped previously since we’re moving up the tree and have less space to fill.
Pro Tip: Make sure to press and drag your tool over each dot shortly after you pipe them. Royal icing starts to crust over within minutes after piping and dries even faster the thicker the icing is. It’s important that you don’t pipe your dots, then walk away and try to do this dragging motion a few minutes later, or you may risk having a crusty looking tree.
-
5
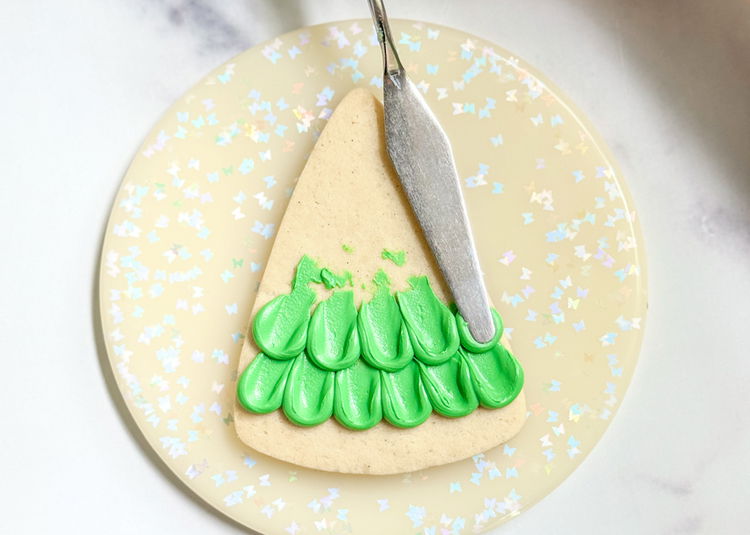
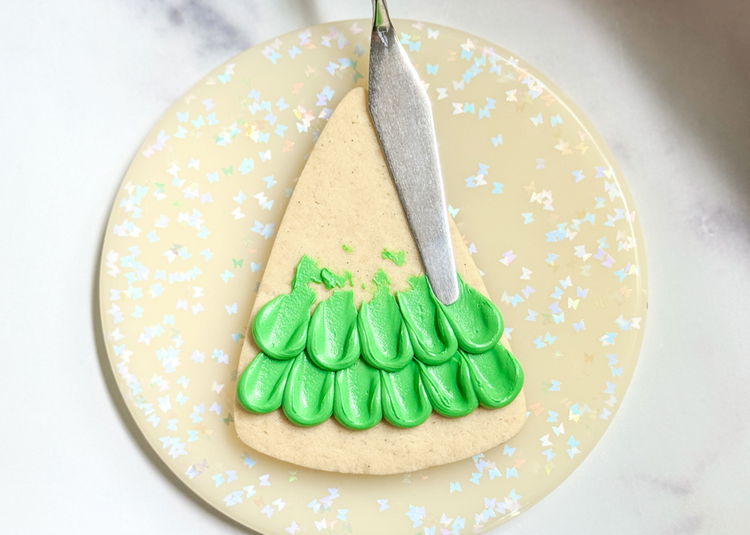
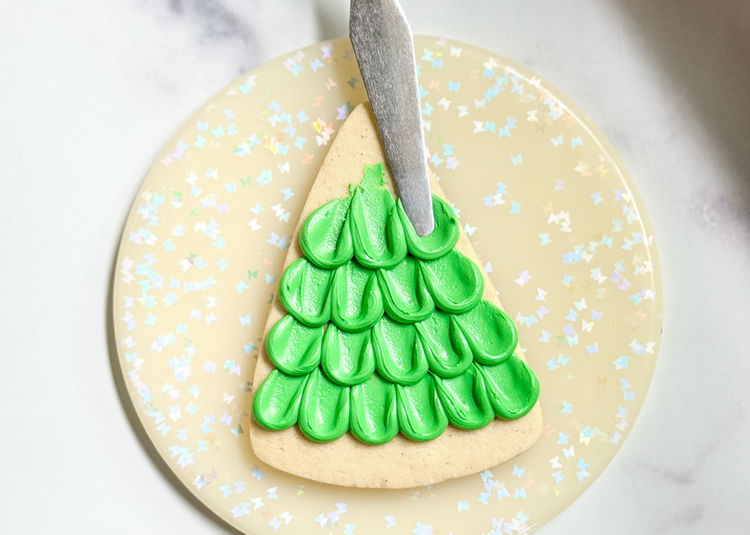
Use your palette knife or other tool to gently press down on each dot and drag it up towards the center point of the triangle.
-
6
-
7
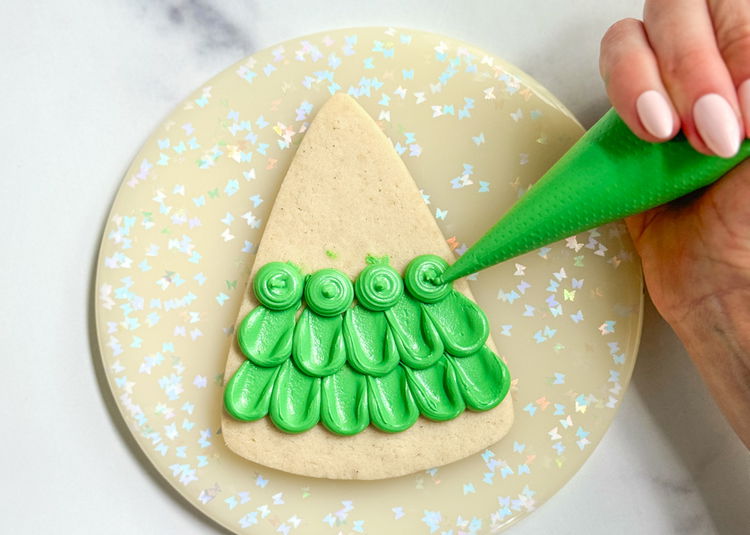
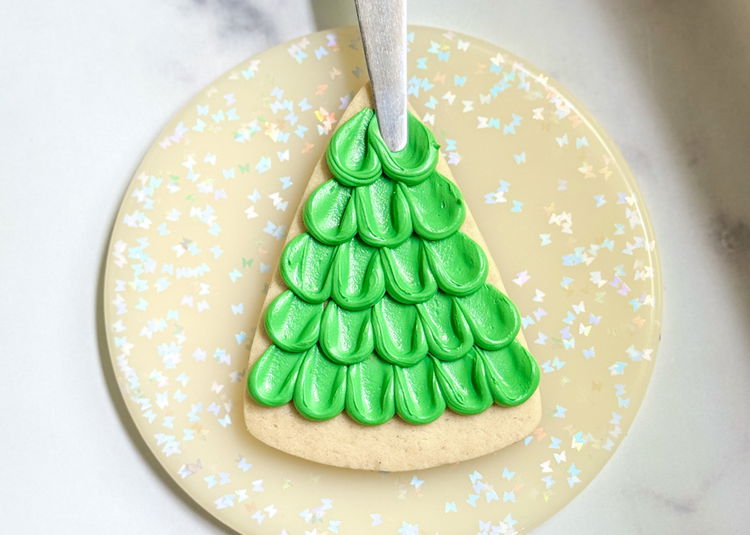
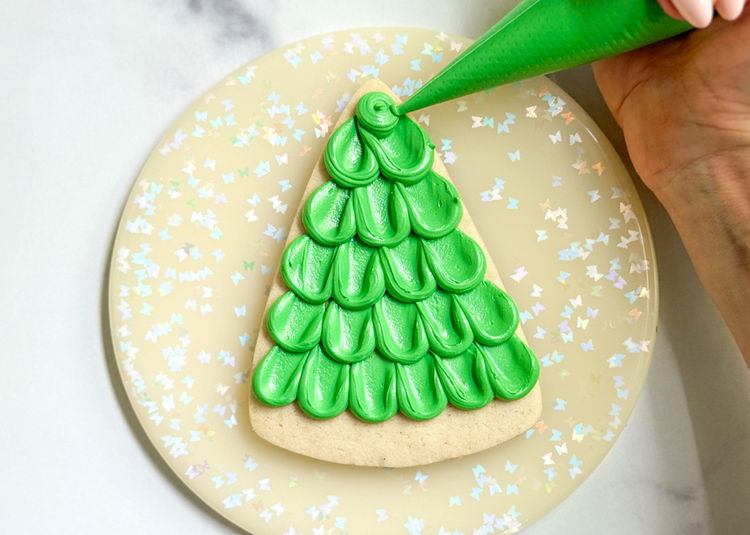
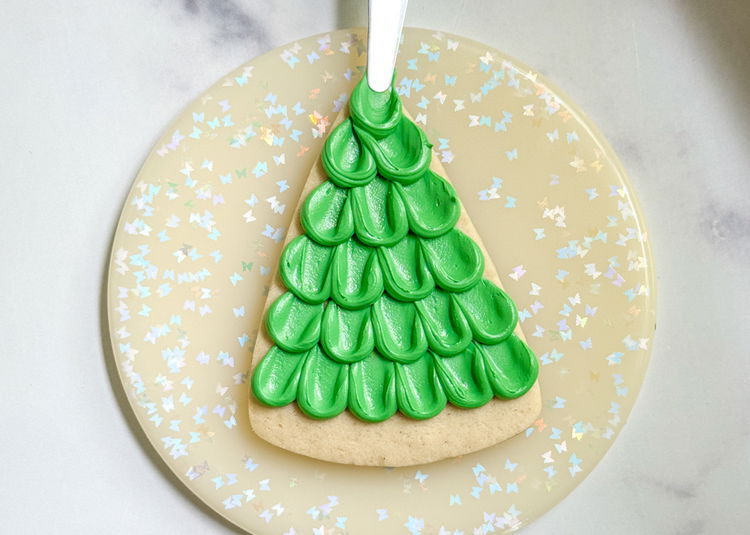
Repeat the above steps of piping and dragging rows of dots. You will have six rows of dots descending from 6, 5, 4, 3, 2, 1.
-
8
-
9
-
10
-
11
-
12
-
13
-
14
-
15
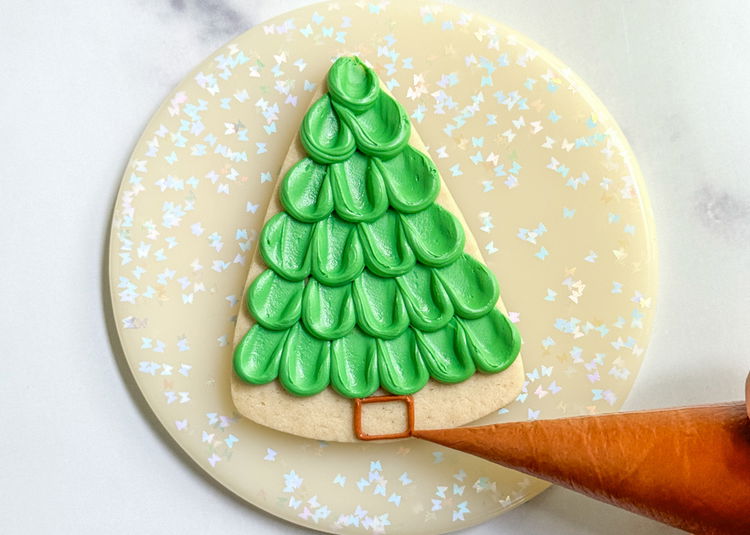
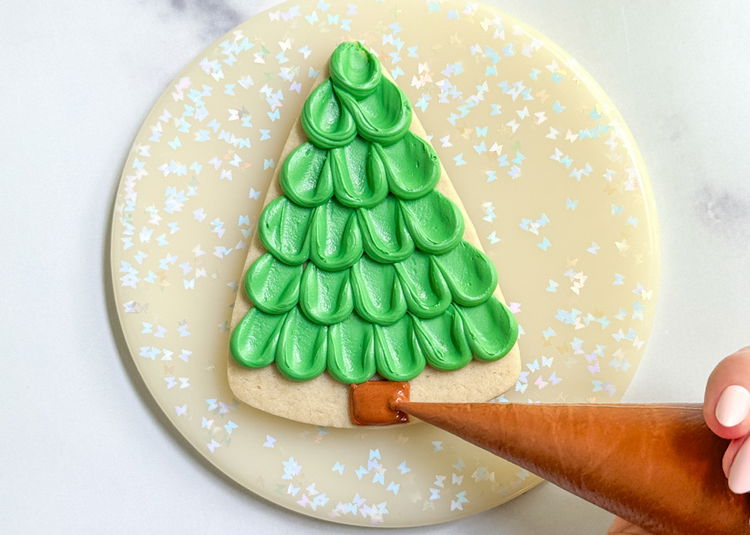
Using the brown outline consistency icing, pipe a small square at the bottom of the tree.
-
16
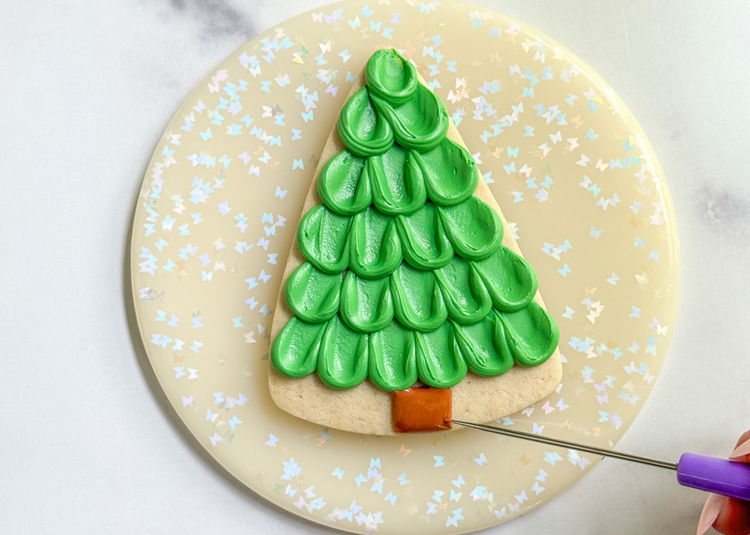
Fill in the small brown square with the same brown outline consistency icing. Smooth out the icing with your scribe tool or toothpick.
-
17
-
18
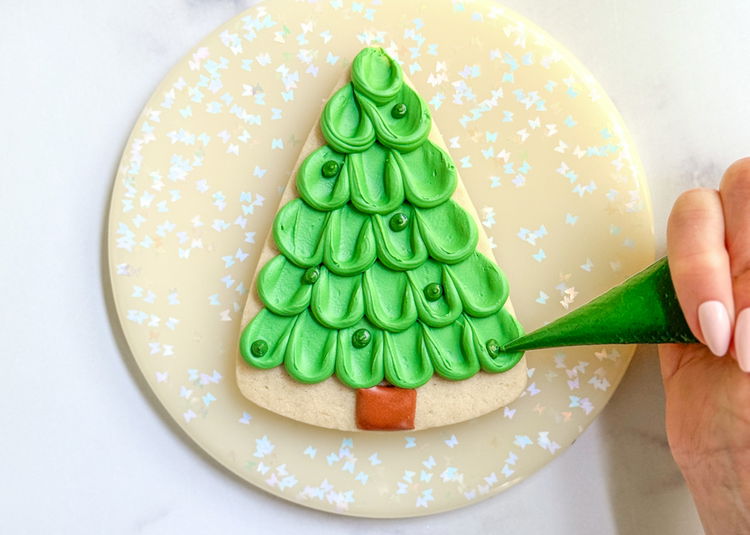
Pipe small dots of the dark brown outline consistency icing throughout the tree.
-
19
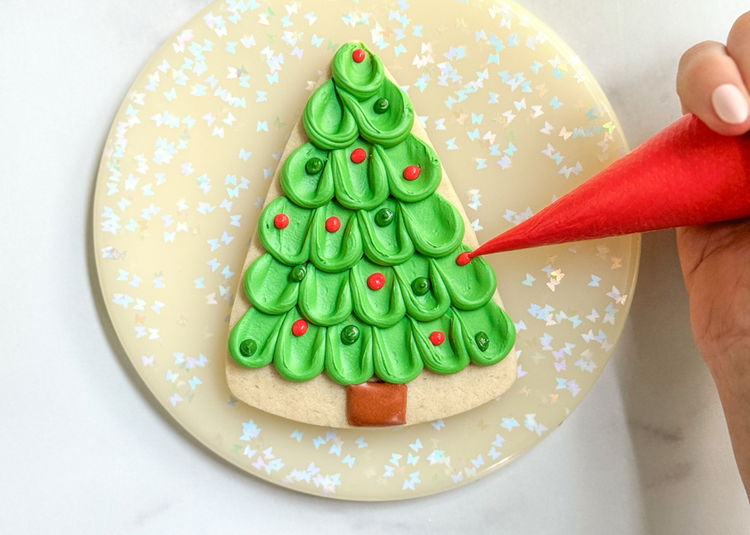
Pipe small dots of the red outline consistency icing throughout the tree.
-
20
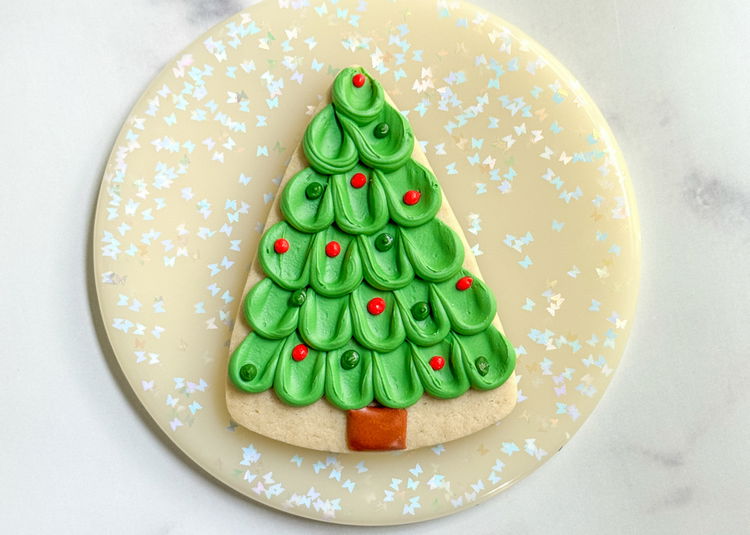
Enjoy!
Cookie decorated by Laura Luk of Butterfly Bakes


