Turkey Leg Cookie Decorating Tutorial
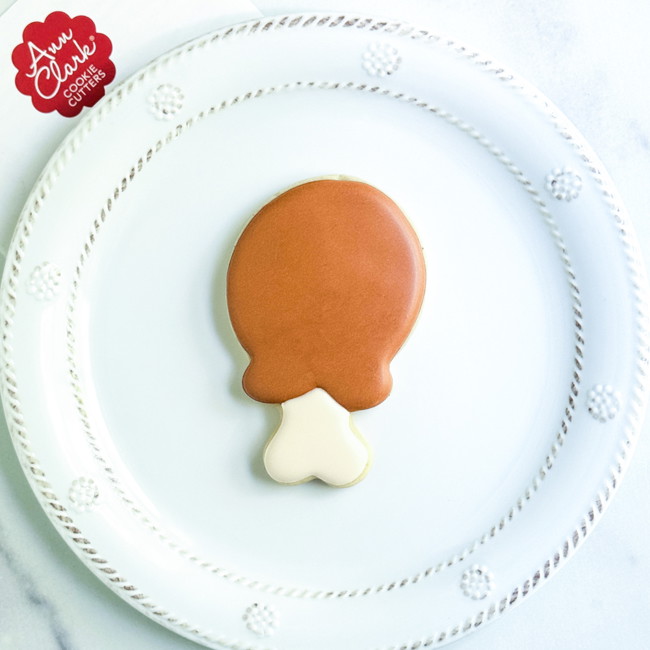
Drumroll, please! This leg-cellent design is sure to be gobbled up as soon as it reaches the Thanksgiving dessert table.
- Print recipe
- Share on Twitter
- Share on Facebook
- Share on Pinterest
-
Turkey Leg Cookie Cutter
-
Royal Icing
-
4 tipless piping bags
-
Mocha Brown Food Coloring
-
Bright White Food Coloring
-
Scribe tool or toothpick
-
1
Bake and cool cookies full before decorating. Prepare the following:
Outline/Piping Consistency:
Brown
Ivory/light tan (Make bright white icing with just a tiny amount of Mocha Brown food coloring)Flood Consistency:
Brown
Ivory/light tan (Make bright white icing with just a tiny amount of Mocha Brown food coloring)
-
2
Using the brown outline consistency icing, outline the shape of the larger, meaty section of the turkey leg, as shown in the photo.

-
3
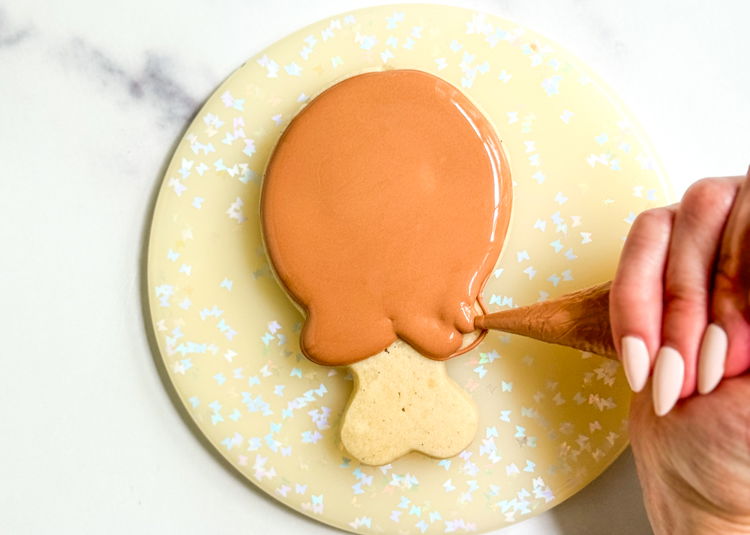
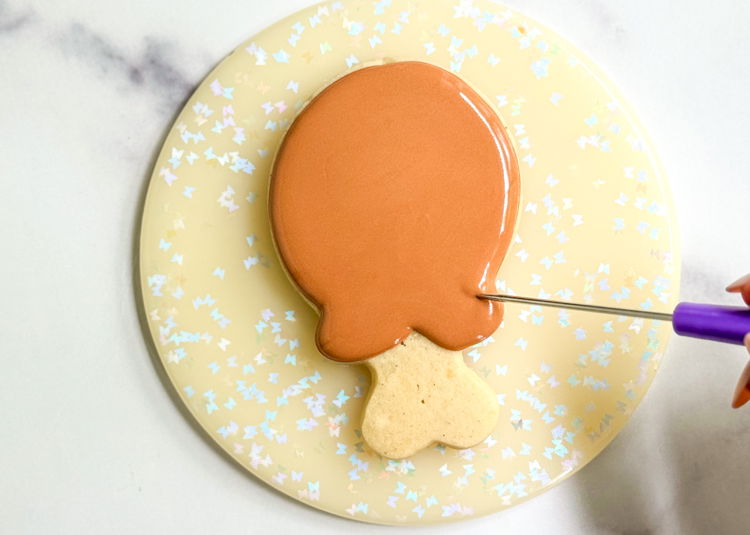
Fill in the section you just outlined with the brown flood consistency icing. Smooth out the icing with your scribe tool or toothpick and pop any air bubbles. Allow this section to dry for 20-30 minutes or until just crusted over before moving onto the next step.
Pro Tip: Allowing the icing to just crust over ensures that there is good differentiation between the two sections of the turkey leg by ensuring the icing doesn’t run together.
-
4
-
5
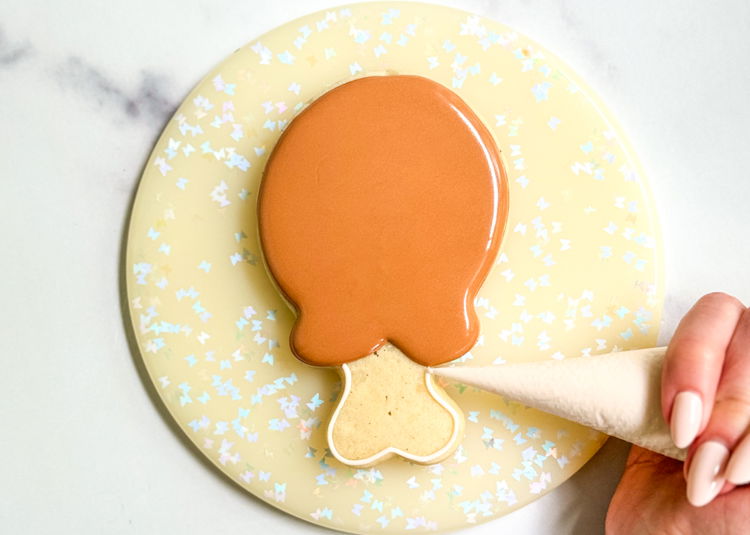
Using the ivory/light tan outline consistency icing, outline the lower section of the turkey leg shape. This will be the exposed bone of the leg.
-
6
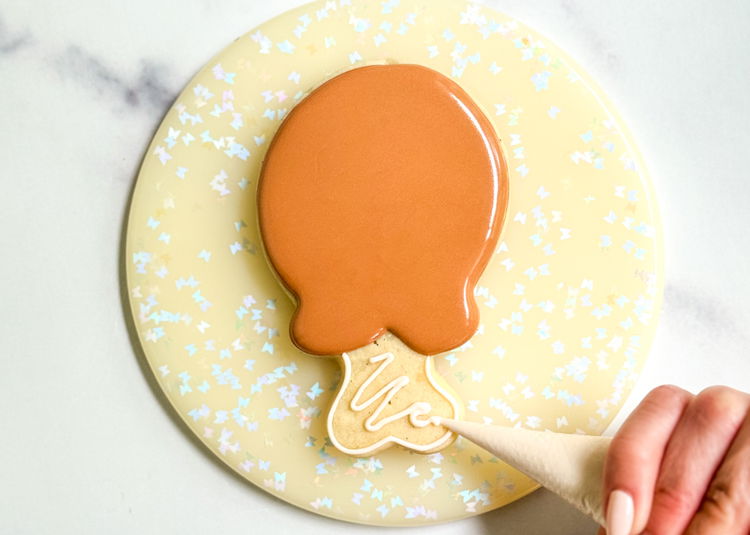
Add a squiggle of ivory/light tan outline consistency icing to the center of this section.
Pro Tip: Adding a squiggle of outline consistency icing to small flooded sections of a cookie prevents “cratering,” which is when the flood icing collapses as it dries, leaving a divot in the flooded section. The squiggle of outline consistency icing helps to support your flood layer.
-
7
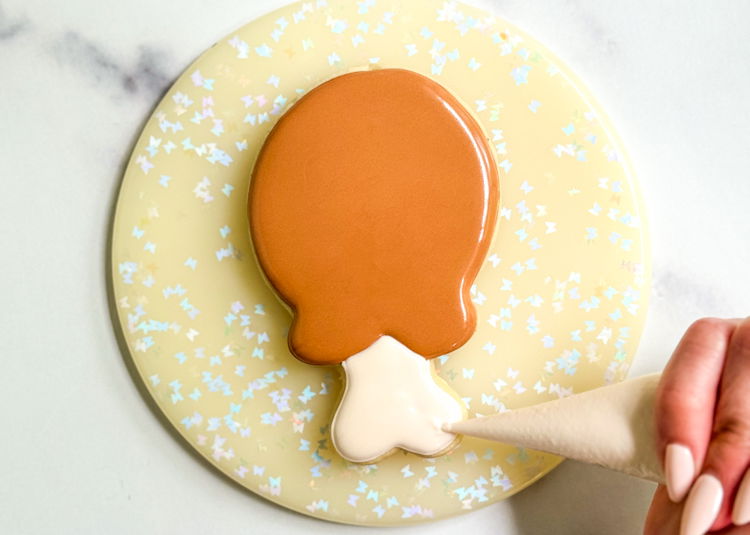
Fill in the section you just outlined with the ivory/light tan flood consistency icing. Smooth out the icing with your scribe tool or toothpick and pop any air bubbles.
-
8
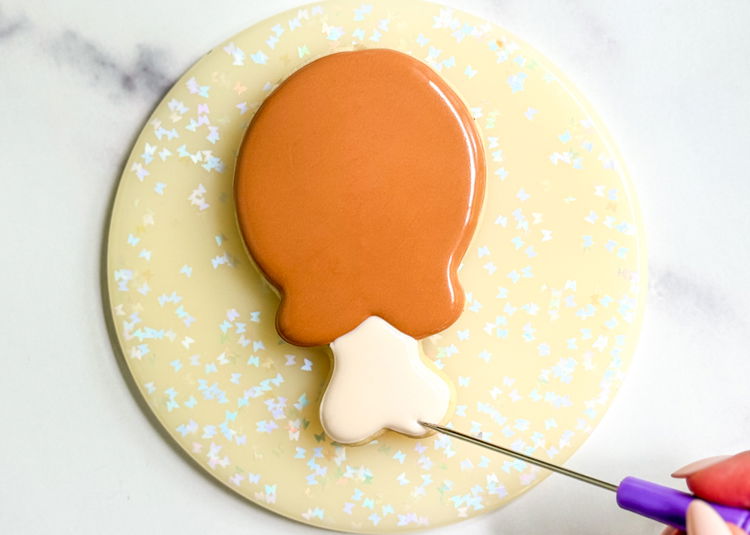
Enjoy!
Cookie decorated by Laura Luk of Butterfly Bakes


