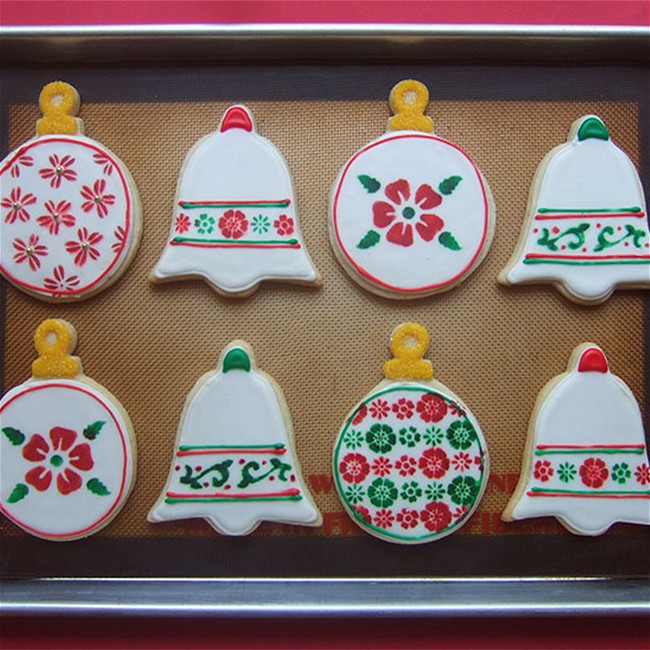
Using Cookie Stencils
Have you ever tried stenciling cookies? It's a creative and colorful way to decorate, and it's an easy way to get uniform results. Baking equipment companies sell special stencils meant for cookies and cupcakes, but they can be expensive and they are best suited for small, round cookies. For greater versatility, you can buy plastic stencil sheets found at craft stores and adapt them for cookie decorating by cutting the designs apart or simply taping paper over the designs adjacent to the one you want to use.
Cookies can be stenciled before or after they are baked.
- Print recipe
- Share on Twitter
- Share on Facebook
- Share on Pinterest

-
1
After making your favorite rolled cookie recipe, cut the cookie dough into the desired shapes and place the shapes on a cookie sheet. Don't crowd them; it's easier to stencil the cookies if you leave some room around them to work.
-
2
Position the stencil over a cookie and hold it down lightly with a finger if needed, so that it lies flush to the surface of the dough.
-
3
Carefully spoon colored sugar onto the cookie. Use just enough sugar to cover the open spaces; too much will make the design appear blurry. (If you like, you can instead sift cocoa onto the stencil designs.)
-
4
Carefully lift the stencil straight up and away; tap the excess sugar off the stencil. Use a small paintbrush if necessary to brush any stray sugar crystals from the cookies before baking.
-
5
Bake the cookies as usual; the sugar will fuse to the surface of the dough.


